The Ultimate Guide to Homemade Mall-Style Soft Pretzels: Your Kitchen’s New Favorite Snack


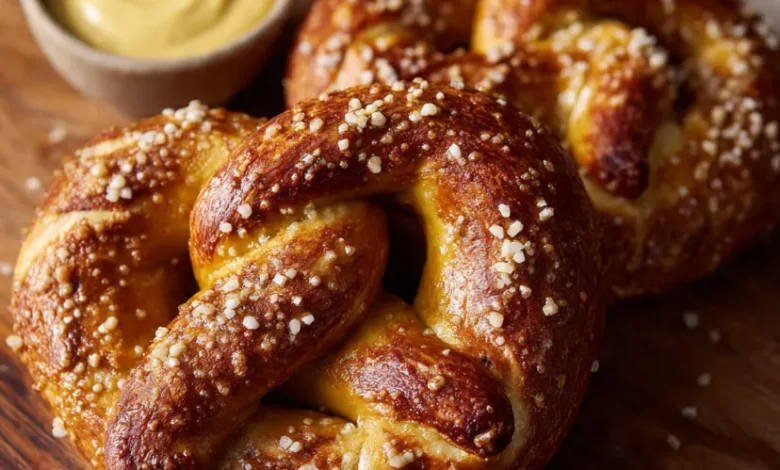
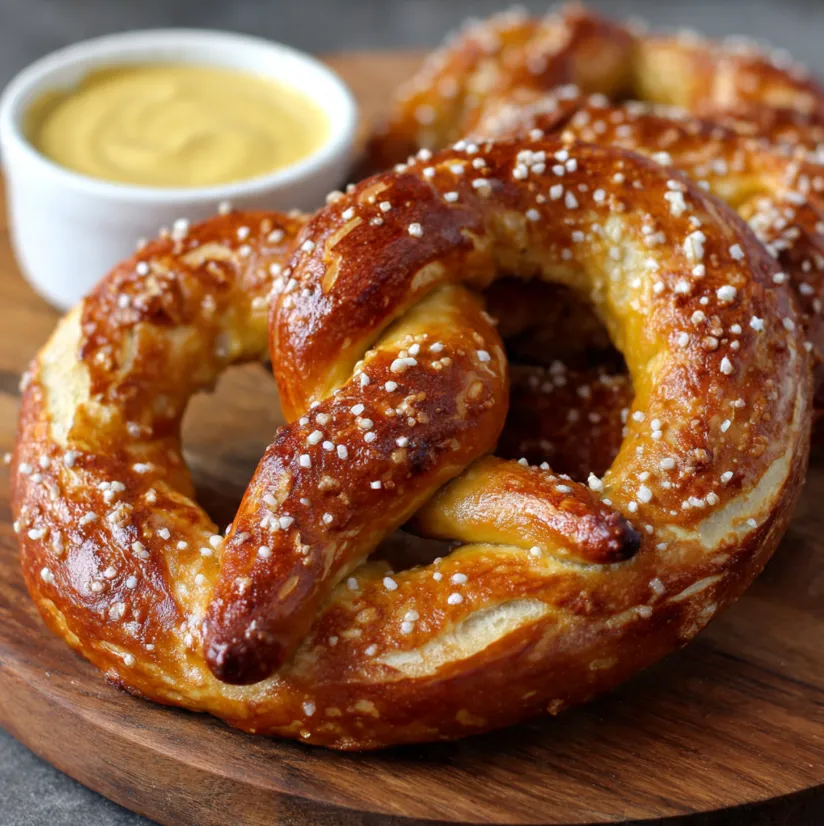
Mall pretzel counters get one thing very right: that shiny, salty crust giving way to a soft, chewy interior. Recreating it at home comes down to one unglamorous step – a quick baking soda bath before the oven – and this recipe walks through exactly how to do it so the pretzels turn out like the ones you remember.
Everything You Need: Your Pretzel Pantry List
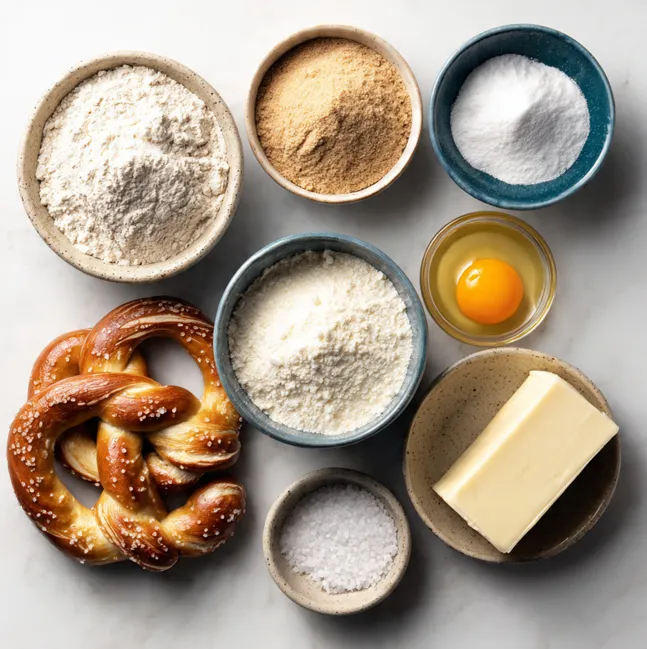
The beauty of homemade soft pretzels lies in their simplicity. You likely have most of these ingredients in your pantry already. No special equipment is needed beyond a large pot and some baking sheets.
Dough Ingredients:
- 4 cups (500g) All-Purpose Flour: The foundation of our pretzel. Spoon and level it for accurate measuring.
- 1 ½ cups (360ml) Warm Water: Around 110°F (43°C) warm to the touch but not hot.
- 1 packet (2 ¼ tsp) Active Dry Yeast: The engine that makes our dough rise and become airy.
- 1 tablespoon Granulated Sugar: This feeds the yeast and adds a hint of sweetness to balance the salt.
- 1 ½ teaspoons Table Salt: For seasoning the dough itself.
- 2 tablespoons Unsalted Butter, melted: This enriches the dough, giving it tenderness and flavor.
Pretzel “Bath” Ingredients (The Secret to the Crust!):
- 10 cups (2.4 liters) Water
- ⅔ cup (about 140g) Baking Soda: This is the star. It’s what gives pretzels their distinctive tangy flavor, dark brown color, and unique chewy crust. Do not substitute with baking powder.
Toppings:
- 1 large Egg Yolk + 1 tablespoon Water: For the egg wash that creates the beautiful shiny finish.
- Coarse Sea Salt or Pretzel Salt: A must for the classic look and taste.
- Optional: Melted butter for brushing after baking, cinnamon-sugar, everything bagel seasoning, or grated Parmesan cheese.
Your Step-by-Step Roadmap to Pretzel Perfection
Follow these numbered steps carefully. The process is straightforward and incredibly rewarding.
Phase 1: Making & Rising the Dough
Step 1: Activate the Yeast
In the bowl of a stand mixer (or a large mixing bowl), combine the warm water and sugar. Sprinkle the yeast over the top and give it a gentle stir. Let it sit for 5-10 minutes until it becomes foamy and creamy. This “proofing” step is crucial it confirms your yeast is alive and ready to work.
Step 2: Create the Dough
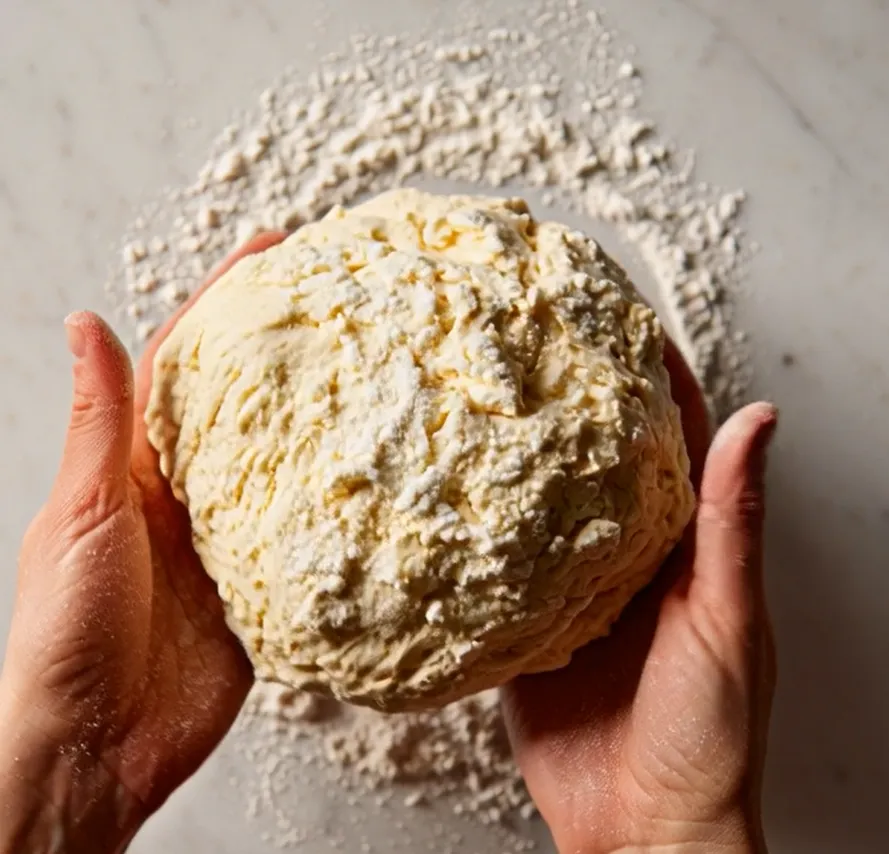
Add the melted butter and salt to the yeast mixture. Using the dough hook attachment, begin mixing on low speed and gradually add the flour, one cup at a time. If mixing by hand, use a sturdy wooden spoon. Once all flour is incorporated, increase the speed to medium and knead for 4-5 minutes until the dough is smooth and slightly sticky. It should pull away from the sides of the bowl but still stick to the bottom.
Step 3: Let the Dough Rise
Shape the dough into a ball. Lightly oil the same bowl (or a new one) and place the dough ball inside, turning it to coat with oil. Cover the bowl tightly with plastic wrap or a damp kitchen towel. Place it in a warm, draft-free area and let it rise for 1 hour, or until doubled in size.
Phase 2: Shaping the Pretzels
Step 4: Divide and Prep
Preheat your oven to 450°F (230°C). Line two large baking sheets with parchment paper and lightly grease them. Punch down the risen dough to release air. Turn it out onto a lightly floured surface. Divide it into 8 equal pieces.
Step 5: The Classic Pretzel Twist
Roll one piece of dough into a long rope, about 20-22 inches long. The middle should be slightly fatter than the ends. Form a “U” shape with the rope. Take the two ends, cross them over each other twice about 3 inches from the tips. Then, fold the twisted ends down and press them onto the bottom curve of the “U.” Place the shaped pretzel on the prepared baking sheet. Repeat with remaining dough.
Phase 3: The Baking Soda Bath & Bake
Step 6: The Iconic Pretzel Bath
This is the step that makes a pretzel a pretzel! In a large, wide pot (non-aluminum is best, like stainless steel), bring the 10 cups of water to a gentle boil. Carefully and gradually whisk in the baking soda—it will foam up. Reduce heat to a simmer. Using a slotted spoon or spider skimmer, carefully lower each pretzel into the water bath for 20-30 seconds. Flip it once. It will puff up slightly. Remove, let excess water drip off, and return to the baking sheet.
Step 7: Top and Bake
In a small bowl, whisk the egg yolk with 1 tablespoon of water. Brush this egg wash generously over each boiled pretzel. This is what creates the deep golden, glossy finish. Sprinkle immediately with coarse salt. Bake for 12-15 minutes, or until deeply browned and shiny. Rotate the pans halfway through for even baking.
Phase 4: The Final, Delicious Touch
Step 8: Cool and Serve
Remove the pretzels from the oven. For an extra layer of flavor, brush them with melted butter while still hot. Transfer to a wire rack to cool for a few minutes. Soft pretzels are best enjoyed warm on the day they are made, with your favorite mustard or cheese sauce.
Pro Tips for Foolproof Pretzels Every Time
- Yeast is Temperature-Sensitive: Ensure your water is “warm,” not hot. Hot water will kill the yeast, preventing the dough from rising.
- The Baking Soda Bath is Key: Don’t skip it or rush it. The bath (called lyeing, traditionally done with food-grade lye) is non-negotiable for authentic flavor, color, and texture. Handle the simmering bath with care.
- Shaping Success: If the dough ropes keep shrinking back as you roll them, let them rest for 5 minutes. This relaxes the gluten, making them easier to shape.
- Storage: Store completely cooled pretzels in an airtight container at room temperature for 1-2 days. To reheat, wrap in foil and warm in a 300°F (150°C) oven for 5-10 minutes, or microwave for 10-15 seconds (though the oven method preserves texture better).
- Get Creative: Before baking, try topping with everything bagel seasoning, cinnamon sugar (skip the egg wash and brush with butter, then dip in cinnamon sugar after baking), or garlic powder and Parmesan.
Ready, Set, Bake Your Own Pretzel Magic!
Congratulations! You now hold the secret to creating unforgettable homemade mall-style soft pretzels. This recipe isn’t just about following steps; it’s about embracing the fun, hands-on process of baking. From the moment you see the yeast foam to the final, glorious reveal of your shiny, brown pretzels from the oven, it’s a truly satisfying experience.
Don’t be intimidated the steps are simple, the ingredients are basic, and the reward is immense. Imagine surprising your family with a fresh batch for movie night, or impressing friends at your next game-day gathering. So, tie on your apron, gather your ingredients, and take that first step. Your kitchen is about to become the best pretzel shop in town. Happy baking!
For more general food safety and nutrition guidance, see the Harvard T.H. Chan School of Public Health Nutrition Source.
You Might Also Like
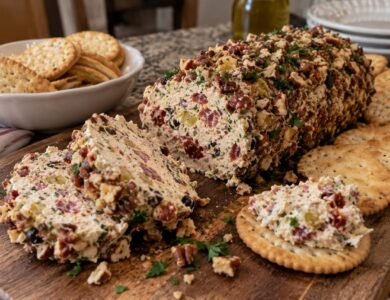
- Antipasto Cream Cheese Log: The Ultimate Holiday Appetizer
- Smoked Salmon Roses: An Elegant Appetizer for Stunning First Impressions
- Blackened Shrimp Avocado Cucumber Bites: Your New Favorite 42-Piece Party Appetizer