Balsamic Thyme Potato Torte: Crispy Layers and Rich Flavor– Get 45 Delicious Recipes for Free
👉 Download the “45 Delicious Recipes” eBook for FREE and start cooking today!
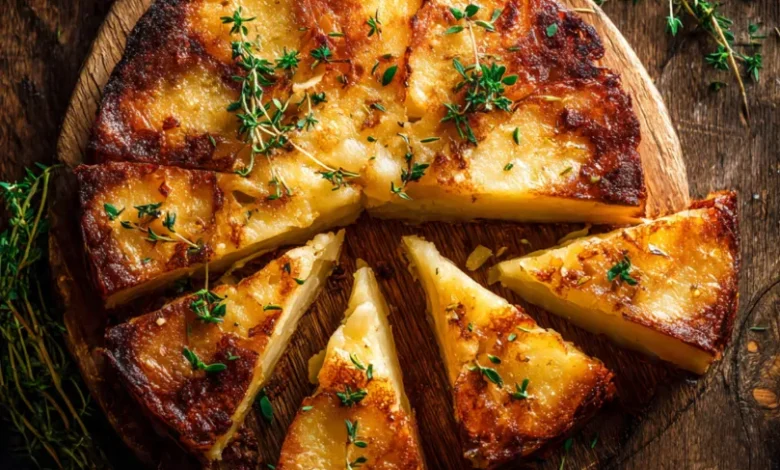
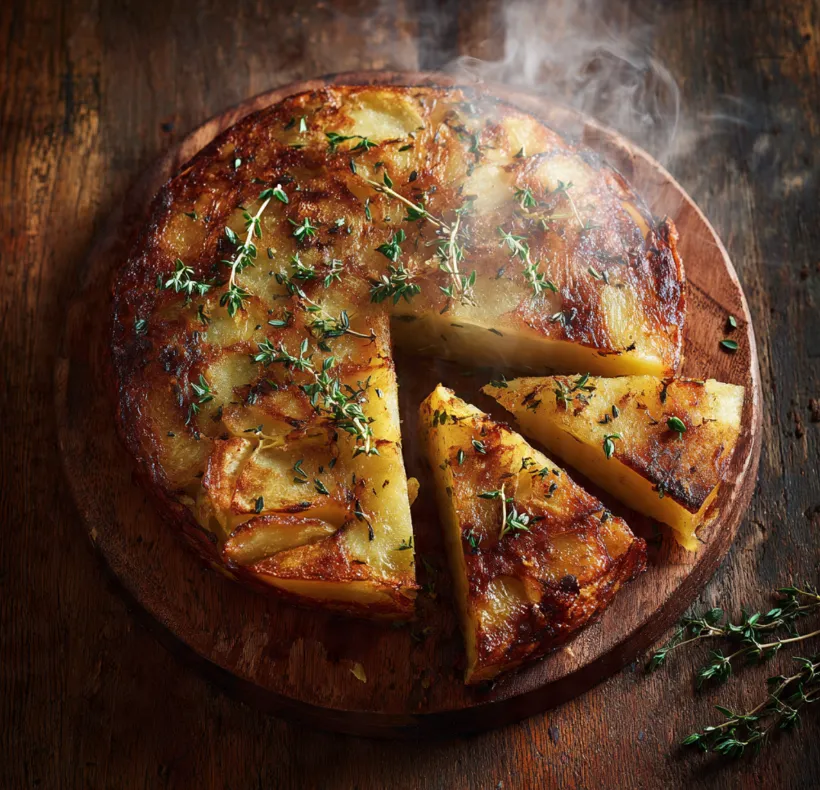
If you are searching for a side dish that feels both rustic and elegant, look no further than the Balsamic Thyme Potato Torte. This isn’t your average mashed or roasted potato side. Imagine this: thin, delicate slices of Yukon Gold potatoes, stacked in perfect layers, infused with the aromatic warmth of fresh thyme and the sweet, tangy depth of balsamic vinegar.
As it bakes, the edges turn gloriously crispy and golden, while the inside becomes buttery soft. The balsamic reduction creates a sticky, caramelized glaze that coats each layer, transforming simple ingredients into a dish that looks stunning on a holiday table but is simple enough for a Sunday dinner.
Whether you are a seasoned home cook or a beginner looking to impress, this recipe for Balsamic Thyme Potato Torte is your ticket to creating a memorable meal. Let’s dive into how to build these crispy layers of rich flavor.
Why You’ll Love This Potato Torte
Before we get to the ingredients, here is why this recipe deserves a spot in your cooking rotation:
- Crispy vs. Tender: The perfect textural contrast between the crunchy, caramelized exterior and the soft, melt-in-your-mouth interior.
- Simple Ingredients: You only need a handful of pantry staples to create something that tastes gourmet.
- Make-Ahead Friendly: You can assemble it ahead of time and bake it just before serving.
- Visually Stunning: The layered look is far more impressive than a standard potato gratin.
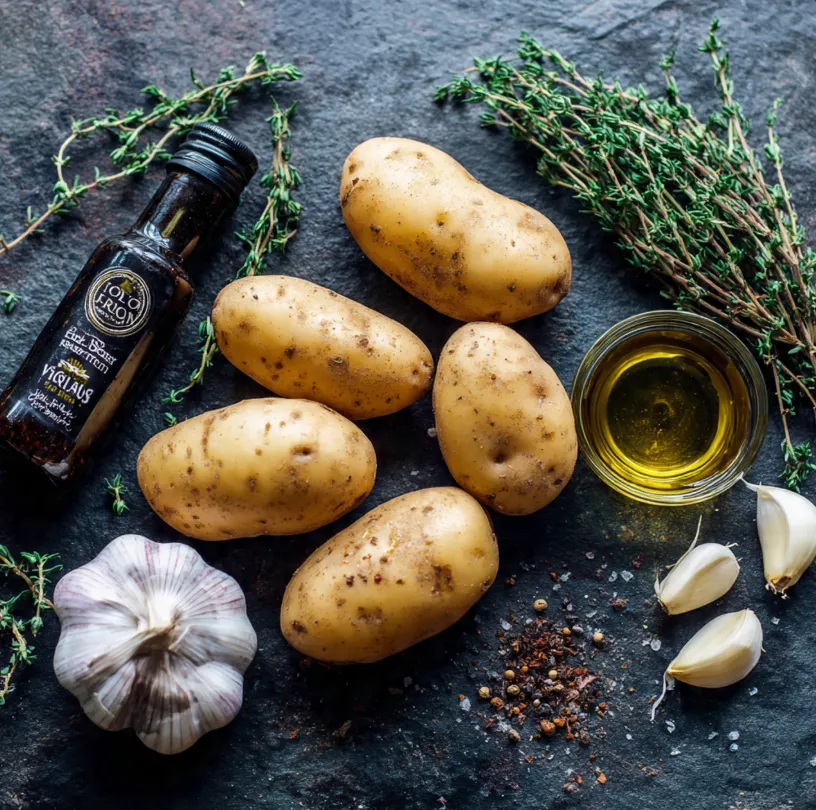
Ingredients for Balsamic Thyme Potato Torte
The key to this dish is quality ingredients. Since there are so few components, using a good aged balsamic and fresh thyme makes a significant difference.
- 2 lbs Yukon Gold Potatoes: These are ideal because they are buttery, hold their shape, and have the right starch content for crisping.
- 3 tbsp Olive Oil (plus more for greasing): Helps achieve the crispy crust.
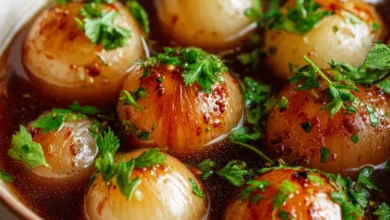
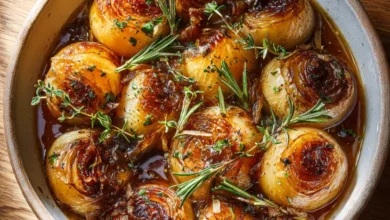
- 3 tbsp Balsamic Vinegar (plus 1 tsp for drizzling): Use a good quality glaze or thick vinegar for the best caramelization.
- 2 tbsp Unsalted Butter (melted): Adds richness and helps browning.
- 4-5 sprigs Fresh Thyme (leaves stripped): Provides an earthy, lemony flavor that pairs perfectly with balsamic. Reserve a few sprigs for garnish.
- 2 cloves Garlic (minced): For a savory backbone.
- 1 tsp Sea Salt (or to taste)
- ½ tsp Black Pepper (freshly cracked)
- Parmesan Cheese (optional, for topping): Adds a salty, umami crust.
Step-by-Step Instructions
This recipe is easier than it looks. Follow these numbered steps to achieve perfect layers.
Preparing the Potatoes and Oven
- Preheat your oven to 375°F (190°C). Generously grease a 9-inch round cake pan or cast-iron skillet with olive oil or butter. For easy removal, you can line the bottom with a circle of parchment paper.
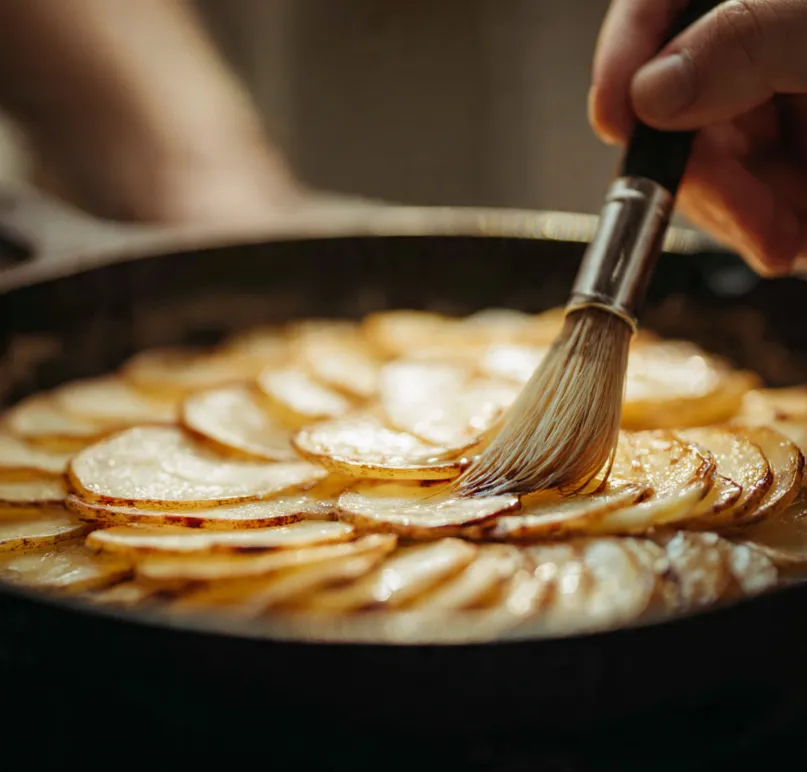
- Wash and Slice the Potatoes: There is no need to peel the Yukon Golds—the skin adds texture and nutrients. Using a sharp knife or a mandoline, slice the potatoes thinly (about ⅛-inch thick). Uniform thickness is crucial for even cooking.
Creating the Flavorful Balsamic Mixture
- Make the Infused Oil: In a small bowl or liquid measuring cup, combine the olive oil, melted butter, balsamic vinegar, minced garlic, and fresh thyme leaves. Whisk until well combined. Season the mixture generously with salt and pepper.
Assembling the Layered Torte
- Start Layering: Place a layer of potato slices in the prepared pan, arranging them in concentric circles, slightly overlapping like shingles. This creates the beautiful “torte” look.
- Brush and Repeat: Using a pastry brush, drizzle or brush a generous amount of the balsamic mixture over the first layer. Don’t be shy you want the liquid to seep down into all the cracks.
- Build the Stack: Continue adding layers of potatoes and brushing with the balsamic-thyme oil until you have used all the potatoes. Press down firmly on the stack with your hands or a spatula to compact the layers.
- Final Topping: Pour any remaining liquid evenly over the top. If using Parmesan, sprinkle it over the final layer now.
The Baking Process
- Cover and Bake: Cover the pan tightly with aluminum foil. Bake for 45 minutes. The foil traps steam, ensuring the inside of the torte becomes tender.
- Crisp the Top: Remove the foil carefully. Increase the oven temperature to 400°F (200°C). Return the torte to the oven (uncovered) and bake for another 20-30 minutes, or until the top is deep golden brown and the edges are visibly crispy and caramelized.
- Rest Before Serving: This is a vital step. Let the torte rest in the pan for at least 10-15 minutes. This allows the layers to set, preventing it from falling apart when you slice it.
5 Tips for the Perfect Potato Torte
To ensure your Balsamic Thyme Potato Torte turns out perfectly crispy and full of flavor, keep these expert tips in mind:
1. Use a Mandoline for Consistency
A knife can work, but a mandoline guarantees uniformly thin slices. If the slices are different thicknesses, the thinner ones will burn before the thick ones are cooked through.
2. Don’t Skip the Resting Time
This cannot be overstated. If you try to cut the torte right out of the oven, the steam will escape and the layers will slide apart. Resting allows the starches to settle.
3. Get the Crispiness Right
If the top isn’t crispy enough after the uncovered baking time, switch the oven to a high broil for 1-2 minutes. Watch it closely to prevent burning.
4. Choose the Right Pan
A cast-iron skillet is perfect because it retains heat and creates a great crust on the bottom and sides. A standard metal cake pan works well too, but avoid glass, as it doesn’t promote browning as effectively.
H3: 5. Variations to Try
- Cheesy Version: Add shredded Gruyere or Parmesan between the layers for a richer torte.
- Herb Swap: If you don’t have thyme, rosemary is a fantastic substitute.
- Vinegar Glaze: For a more intense flavor, reduce ½ cup of balsamic vinegar on the stove until syrupy and drizzle it over the finished torte just before serving.
What to Serve With This Dish
This savory, crispy potato torte is incredibly versatile. It pairs beautifully with:
- Roasted Meats: Serve alongside a herb-crusted prime rib, roasted chicken, or pork tenderloin.
- Vegetarian Mains: It makes a hearty side for a lentil loaf or stuffed portobello mushrooms.
- Breakfast/Brunch: Leftovers (if there are any!) are fantastic served with eggs and avocado.
Conclusion: Time to Get Cooking!
This Balsamic Thyme Potato Torte is proof that humble ingredients can create something spectacular. The contrast between the crispy, balsamic-glazed edges and the tender, thyme-scented layers is simply irresistible.
It’s a recipe that looks complicated but is surprisingly simple to assemble. Whether you are hosting a dinner party or just want to elevate your weeknight meal, this torte delivers on flavor and presentation.
Have you tried making this Balsamic Thyme Potato Torte? Share your results and any creative twists in the comments below! Don’t forget to pin this recipe for your next special occasion.