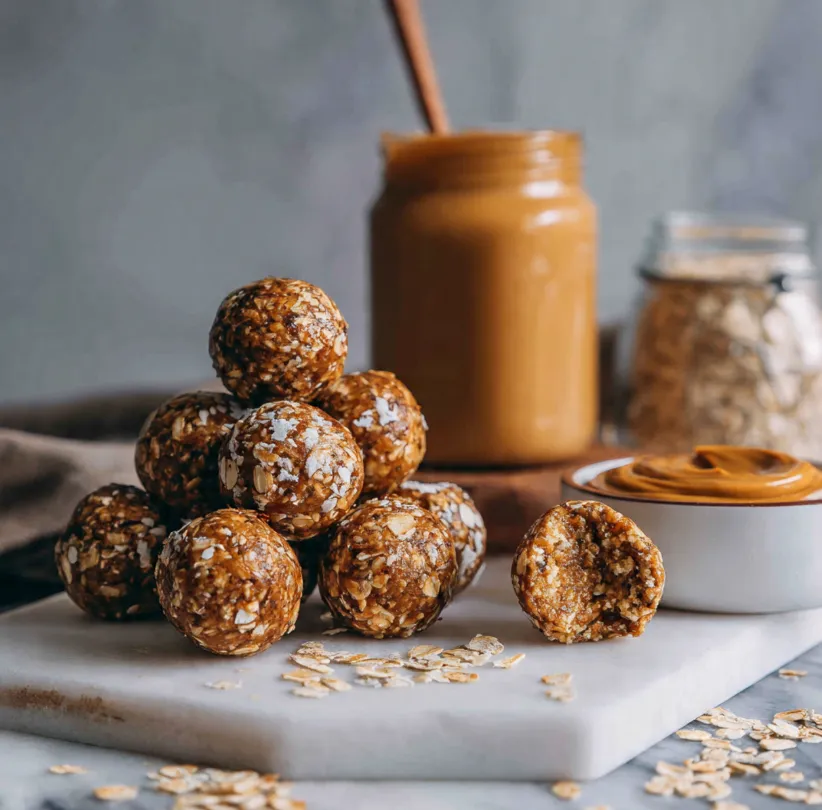
Granola Peanut Butter Energy Balls (No-Bake) – Your Ultimate Healthy & Delicious Snack
Are you searching for the perfect snack that’s both incredibly satisfying and genuinely good for you? Look no further! These No-Bake Granola Peanut Butter Energy Balls are about to become your new kitchen staple. Imagine a snack that combines the hearty crunch of granola with the rich, creamy comfort of peanut butter, all sweetened naturally and held together in a convenient, bite-sized ball. The best part? They require zero baking, minimal cleanup, and just 15 minutes of your time. Whether you need a quick breakfast on-the-go, a pre-workout boost, or a wholesome treat to curb afternoon cravings, these energy balls are delicious, nutritious, and unbelievably easy to make. Let’s dive in and create a snack that powers your day deliciously.
Why You’ll Love This Recipe
Before we get to the ingredients, let’s talk about why this recipe is a guaranteed winner. First, it’s a no-bake recipe, meaning no oven preheating and no heat in your kitchen perfect for warm days or when you’re short on time. Second, it’s highly customizable. Don’t have a specific ingredient? We’ll offer plenty of swaps. Third, it’s packed with sustained energy from a balance of healthy fats, protein, and complex carbs. Finally, it’s family-friendly and great for meal prep. Make a batch on Sunday, and you’ve got snacks sorted for the entire week!
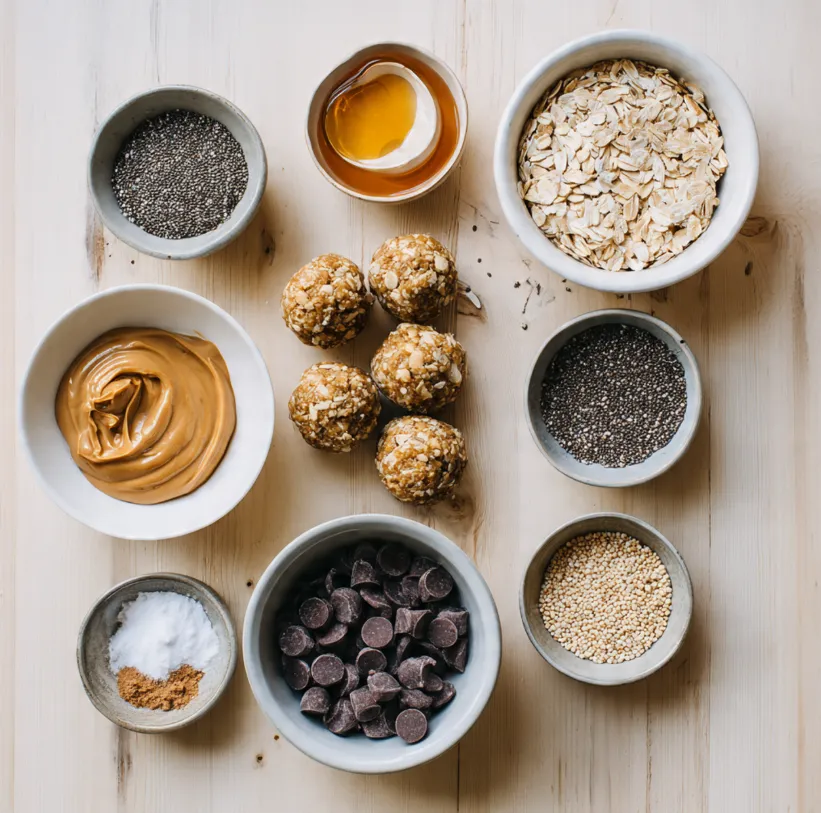
Ingredients You’ll Need
Gathering your ingredients is the first simple step. You’ll likely have most of these pantry staples already.
Core Ingredients:
- 1 cup old-fashioned rolled oats (use certified gluten-free if needed)
- ½ cup creamy natural peanut butter (drippy is best for binding)
- ⅓ cup pure honey or maple syrup (for a vegan option)
- ¼ cup ground flaxseed (adds fiber and healthy fats)
- 1 teaspoon pure vanilla extract
- A pinch of sea salt
The “Granola” Mix-Ins & Texture:
- ½ cup crunchy granola (choose your favorite brand or use homemade)
- 2 tablespoons chia seeds (for an extra nutrient punch)
- 2-3 tablespoons mini dark chocolate chips (optional, but highly recommended!)
For Rolling (Optional):
- 2 tablespoons additional ground flaxseed, oats, or unsweetened shredded coconut
Essential Kitchen Tools
- Large Mixing Bowl
- Spatula or wooden spoon
- Measuring Cups and Spoons
- Baking Sheet or large plate
- Parchment Paper (for easy cleanup)
- Your hands!
Step-by-Step Preparation Guide
Follow these simple steps for perfect energy balls every single time.
Step 1: Combine the Wet Ingredients
In your large mixing bowl, add the ½ cup creamy peanut butter, ⅓ cup honey (or maple syrup), and 1 teaspoon vanilla extract. Stir vigorously with a spatula until the mixture is completely smooth and well-blended. This wet base is what will hold all your dry ingredients together, so make sure it’s evenly mixed.
Step 2: Add the Dry Ingredients
Now, add all your dry ingredients directly into the same bowl: 1 cup rolled oats, ¼ cup ground flaxseed, ½ cup granola, 2 tablespoons chia seeds, the pinch of sea salt, and the chocolate chips (if using).
Pro Tip: If your granola has very large chunks, you can give it a quick rough chop before adding it to create a more uniform texture in your energy balls.
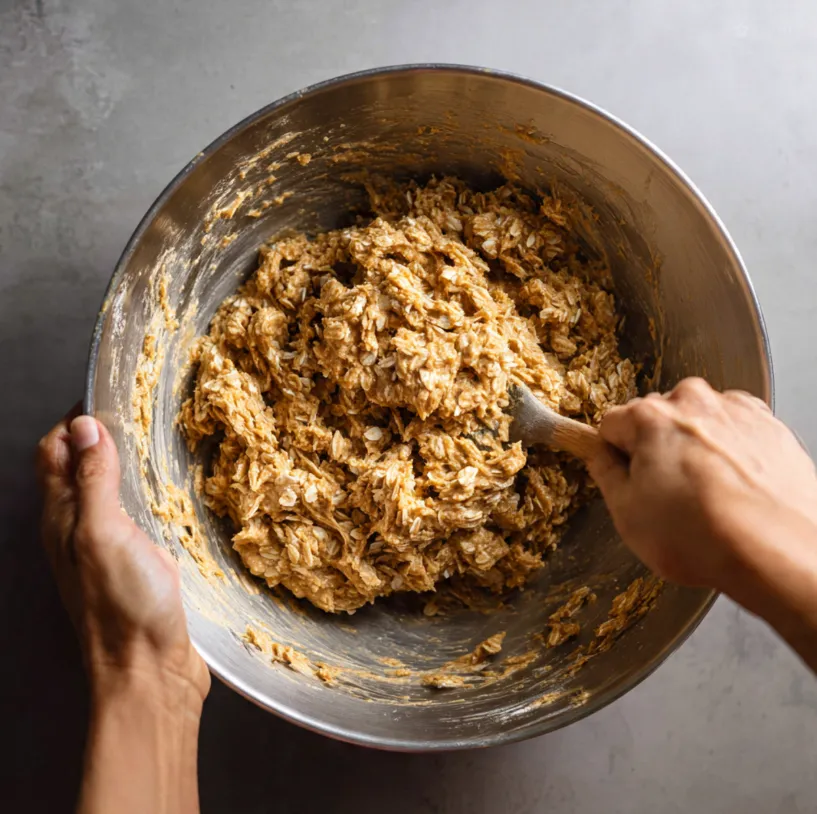
Step 3: Mix Until a Dough Forms
This is the fun part! Use your spatula to fold everything together. At first, it might seem dry, but keep mixing. As the peanut butter and honey fully coat the dry ingredients, a thick, sticky dough will form. Make sure there are no dry patches at the bottom of the bowl.
Step 4: Chill the Dough (The Secret Step!)
Here’s a crucial tip for success: cover the bowl and place the dough in the refrigerator for 20-30 minutes. This short chill time allows the oats and chia seeds to absorb some of the moisture, firms up the peanut butter, and makes the dough much easier to handle and roll. Skipping this can lead to sticky fingers and misshapen balls.
Step 5: Roll into Balls
After chilling, prepare a baking sheet or plate lined with parchment paper. If you’re using a coating, spread it (like shredded coconut) on a separate small plate.
Using a tablespoon or a small cookie scoop, portion out the dough. Roll each portion firmly between your palms to form a smooth, compact ball about 1 inch in diameter. If desired, roll the finished ball in your chosen coating for extra flavor and texture. Place each ball on the prepared sheet.
Step 6: Set and Serve
Once all balls are rolled, you have two options:
- For immediate serving: Let them sit at room temperature for 10 minutes to firm up slightly.
- For best texture and storage: Place the entire baking sheet in the refrigerator for at least 1 hour to allow them to set completely. This makes them firm and perfect for grabbing on the go.
Helpful Tips & Customization Ideas
This recipe is wonderfully forgiving. Use these tips and swaps to make it your own.
Ingredient Substitutions
- Nut Butter: Almond butter, cashew butter, or sunflower seed butter (for a nut-free option) work perfectly.
- Sweetener: Agave nectar or brown rice syrup can replace honey or maple syrup.
- Binders: If you need a nut-free option or are out of nut butter, sunflower seed butter or tahini mixed with an extra tablespoon of honey can work.
- Add-Ins: Get creative! Add dried cranberries, chopped nuts, protein powder (add a splash of milk if dough gets too dry), cacao nibs, or unsweetened coconut flakes.
Troubleshooting Common Issues
- Dough is too dry and crumbly? Add more peanut butter or honey, one teaspoon at a time, until it holds together.
- Dough is too sticky and wet? Add a few more tablespoons of oats or ground flaxseed until the texture is manageable.
- Balls won’t hold their shape? You likely skipped the chilling step. Pop the dough back in the fridge for a bit longer.
Storage & Meal Prep Instructions
- Refrigerator: Store energy balls in an airtight container in the fridge for up to 2 weeks. This is the best method for keeping them fresh and firm.
- Freezer: They freeze exceptionally well! Place them in a single layer on a sheet to freeze solid, then transfer to a freezer bag for up to 3 months. Thaw in the fridge or at room temperature for 15 minutes.
- Portioning: Doubling or tripling the batch is highly recommended for easy, healthy snacks all week long.
Conclusion: Your New Go-To Snack Awaits
There you have it the simplest, most delicious path to homemade, healthy snacking. These No-Bake Granola Peanut Butter Energy Balls are more than just a recipe; they’re a tool for a healthier, more energized lifestyle. With their perfect balance of flavors and textures, and their incredible convenience, they prove that eating well doesn’t have to be complicated or time-consuming.
So, what are you waiting for? Gather those pantry staples, spend 15 joyful minutes in the kitchen, and treat yourself to a snack that truly loves you back. Don’t forget to experiment with your favorite add-ins and make the recipe your own.
We’d love to see your creations! Tag your photos on social media with #HealthyEnergyBalls and share your unique twists. Happy snacking