Golden and Sweet Potato Hash Browns with Vegan Chorizo: The Ultimate Savory Breakfast Hash
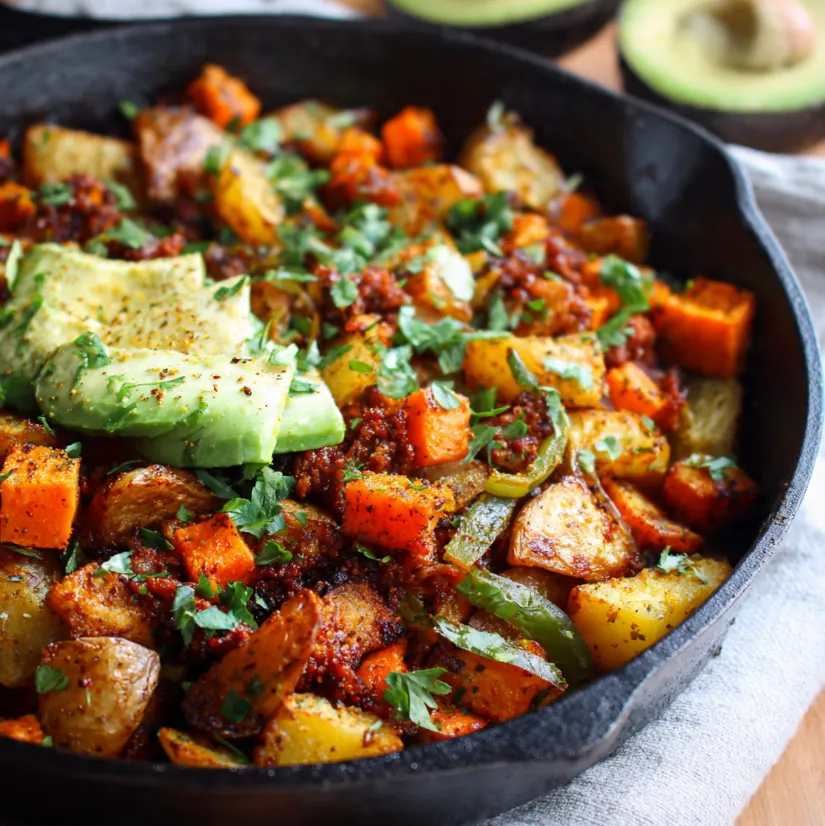
There’s nothing quite like a hearty, savory breakfast to start your day on the right foot. But what if you could elevate the classic breakfast hash into a vibrant, flavor-packed, and completely plant-based masterpiece? Enter our Golden and Sweet Potato Hash Browns with Vegan Chorizo. This dish is a symphony of textures and tastes crispy, golden-brown potatoes, sweet caramelized sweet potatoes, and savory, spiced vegan chorizo, all coming together in one glorious skillet. It’s not just a breakfast; it’s a satisfying meal that will power you through any morning and impress anyone at the brunch table. Whether you’re a seasoned vegan or simply looking to add more delicious plants to your diet, this ultimate savory breakfast hash recipe is easy to follow, incredibly rewarding, and destined to become a weekend favorite.
Gathering Your Ingredients for the Perfect Hash
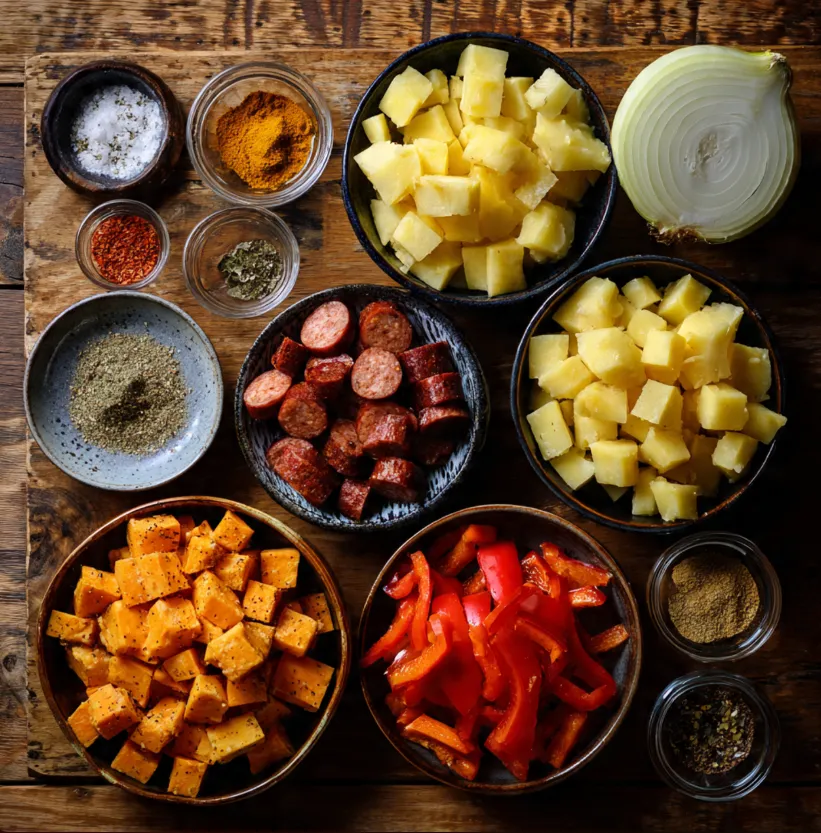
This recipe strikes a beautiful balance between simplicity and deep flavor. The combination of starchy and sweet potatoes creates the perfect texture, while the vegan chorizo brings a smoky, spicy kick that ties everything together. Here’s everything you’ll need to create this feast for four.
Main Ingredients:
- 2 medium russet potatoes (about 1 lb), peeled and diced into 1/2-inch cubes
- 1 large orange sweet potato (about 3/4 lb), peeled and diced into 1/2-inch cubes
- 1 (8-oz) package vegan chorizo (store-bought like Soyrizo or homemade)
- 1 medium yellow onion, diced
- 1 red bell pepper, diced
- 3 cloves garlic, minced
- 2 tablespoons olive oil or avocado oil, divided
- Salt and freshly ground black pepper to taste
Seasonings & Garnish:
- 1 teaspoon smoked paprika
- 1/2 teaspoon ground cumin
- 1/4 teaspoon chili powder (optional, for extra heat)
- Fresh cilantro or parsley, chopped
- Green onions, sliced
- Avocado slices or guacamole for serving
- Lime wedges for serving
Pro Tip: For the crispiest hash browns, after dicing the russet potatoes, soak them in cold water for 10-15 minutes. This removes excess starch, leading to a better crisp.
Step-by-Step Instructions for Crispy Vegan Hash Browns
Follow these simple, numbered steps to create a flawless breakfast hash. We’ll build flavors layer by layer for the best possible result.
Step 1: Prepare and Par-Cook the Potatoes
Start by placing your diced russet potatoes in a medium pot. Cover them with cold water and add a generous pinch of salt. Bring to a boil over high heat, then reduce to a simmer and cook for exactly 5 minutes. They should be just starting to become tender but still very firm in the center. This par-cooking step is the secret to crispy, not mushy, hash browns. Drain the potatoes well and let them steam dry in the colander for a few minutes.
Step 2: Sauté the Aromatics
While the potatoes boil, heat 1 tablespoon of oil in a large, heavy-bottomed skillet or cast-iron pan over medium heat. Add the diced onion and red bell pepper. Cook, stirring occasionally, until they are softened and the onion becomes translucent, about 5-7 minutes. Add the minced garlic and cook for another minute until fragrant.
Step 3: Brown the Vegan Chorizo
Push the onion and pepper mixture to the sides of the pan. Crumble the vegan chorizo into the center. Cook for 4-5 minutes, breaking it up with a spatula, until it’s nicely browned and heated through. Then, mix it with the onions and peppers. Transfer this entire mixture to a clean bowl and set aside.
Step 4: Achieve the Perfect Crisp on the Potatoes
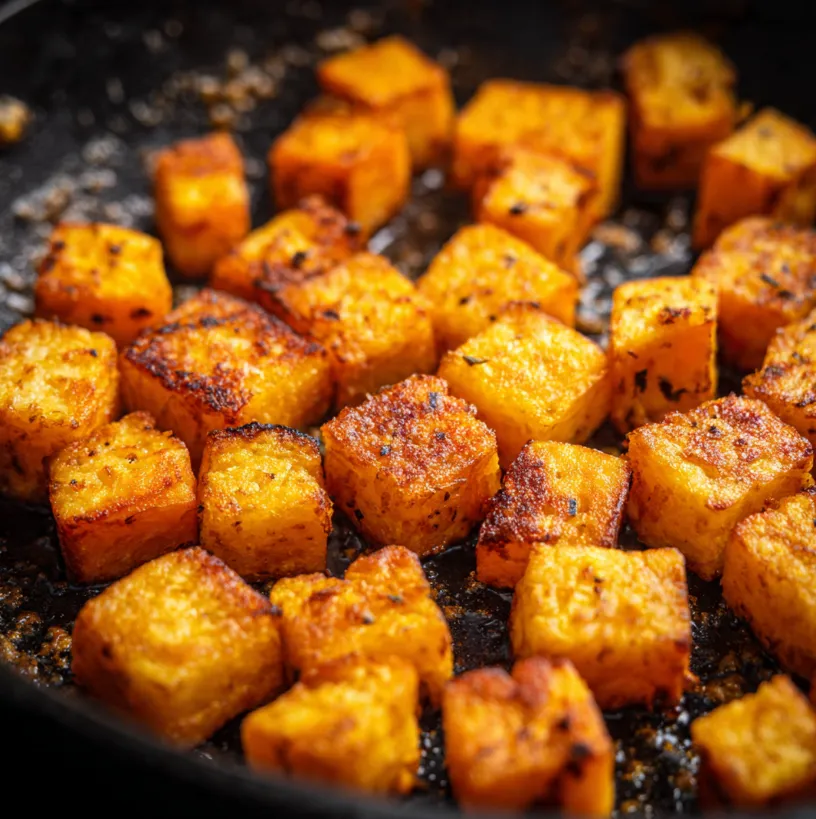
In the now-empty skillet, heat the remaining 1 tablespoon of oil over medium-high heat. Add the par-cooked russet potatoes and the raw diced sweet potatoes. Spread them out in an even layer and let them cook, WITHOUT stirring, for 4-5 minutes to develop a golden-brown crust on one side.
Step 5: Combine and Season
After the first side is crispy, gently flip and stir the potatoes. Let them cook for another 4-5 minutes to crisp up on other sides. Once the sweet potatoes are tender and the russets are golden and crispy, reduce the heat to medium. Return the chorizo and vegetable mixture to the skillet. Add the smoked paprika, cumin, chili powder (if using), salt, and pepper. Stir everything together thoroughly and cook for another 2-3 minutes to let the flavors meld.
Step 6: Serve and Enjoy!
Taste and adjust seasoning if needed. Remove from heat and garnish generously with fresh chopped cilantro or parsley and sliced green onions. Serve immediately with creamy avocado slices and a squeeze of fresh lime juice to brighten all the rich, savory flavors.
Pro Tips for Hash Brown Perfection
- The Potato Soak: Don’t skip soaking the russet potatoes! It’s the best way to ensure they get ultra-crispy instead of gummy.
- Patience is Key: Resist the urge to constantly stir the potatoes in the pan. Letting them sit undisturbed is what creates that desirable crispy crust.
- Customize Your Heat: Adjust the spice level to your liking. Choose a mild or spicy vegan chorizo, and control the chili powder.
- Add More Veggies: This recipe is versatile. Try adding diced zucchini, mushrooms, or corn in the last few minutes of cooking.
- Make it a Feast: Serve your savory breakfast hash with vegan sour cream, a drizzle of hot sauce, toasted tortillas for breakfast tacos, or alongside a simple green salad.
- Meal Prep Friendly: You can dice the potatoes and vegetables the night before. Store them in water (for potatoes) and airtight containers to speed up morning prep.
Whip Up This Ultimate Savory Breakfast Today
This Golden and Sweet Potato Hash with Vegan Chorizo is more than just a recipe it’s a guaranteed way to make your morning spectacular. It proves that plant-based eating can be indulgent, deeply satisfying, and full of bold flavor. The contrast of textures from the crispy potatoes to the savory chorizo, paired with the freshness of avocado and lime, creates a breakfast experience that is truly unforgettable.
So, grab your skillet this weekend and treat yourself to the ultimate savory breakfast hash. It’s easy enough for beginners, impressive enough for guests, and delicious enough to make you look forward to waking up. Don’t forget to share your beautiful creations online we’d love to see how yours turns out

