Heavenly Chocolate-Covered Custard Desserts: A Step-by-Step Recipe Guide
Heavenly Chocolate-Covered Custard Desserts: A Step-by-Step Recipe Guide
Introduction: Discover Dessert Perfection
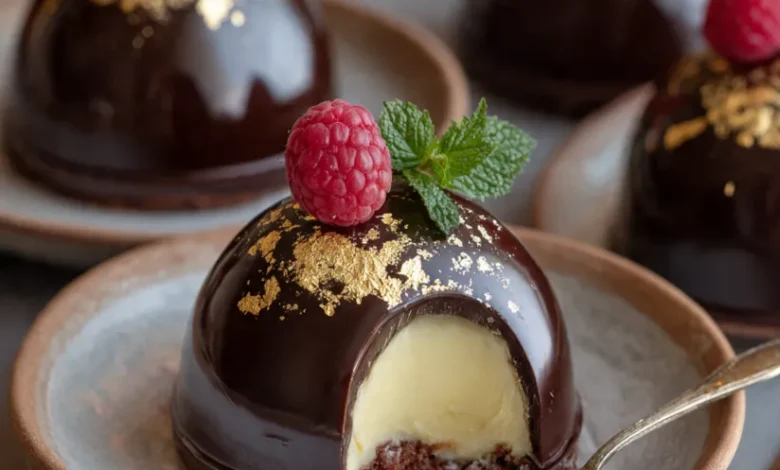
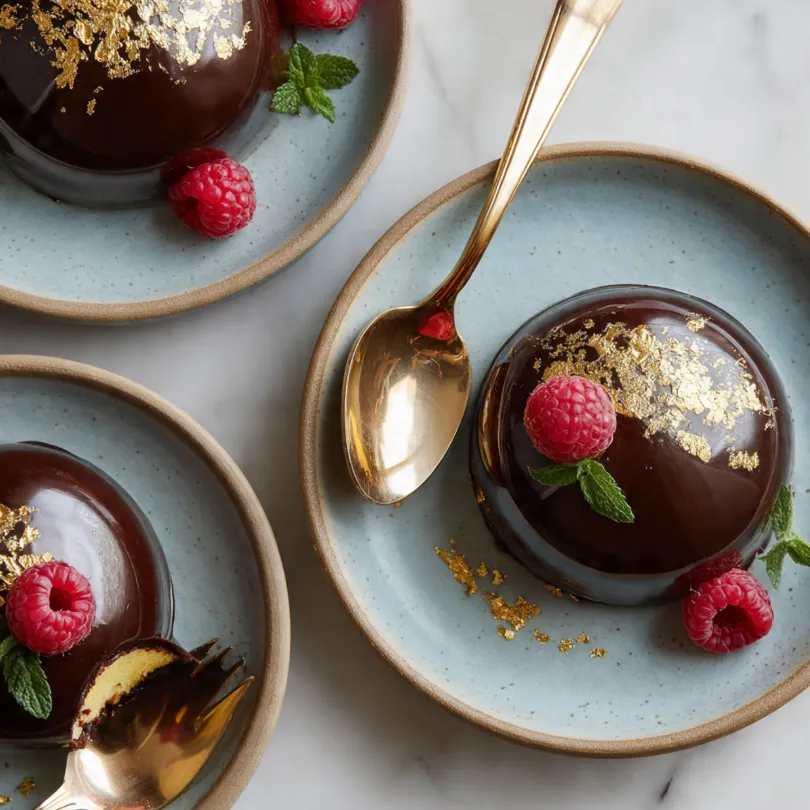
Imagine breaking through a glossy, rich shell of dark chocolate to reveal a spoonful of the smoothest, creamiest, vanilla-kissed custard. This is not just a dessert; it’s an experience a heavenly chocolate-covered custard dessert that marries simplicity with elegance. Perfect for dinner parties, special occasions, or when you simply deserve a treat, this guide will walk you through creating these stunning individual desserts from scratch. Even if you’re a beginner in the kitchen, our detailed, easy-to-follow steps will ensure your success. Let’s create magic that tastes as divine as it looks.
What You’ll Need: The Custard Dessert Ingredients
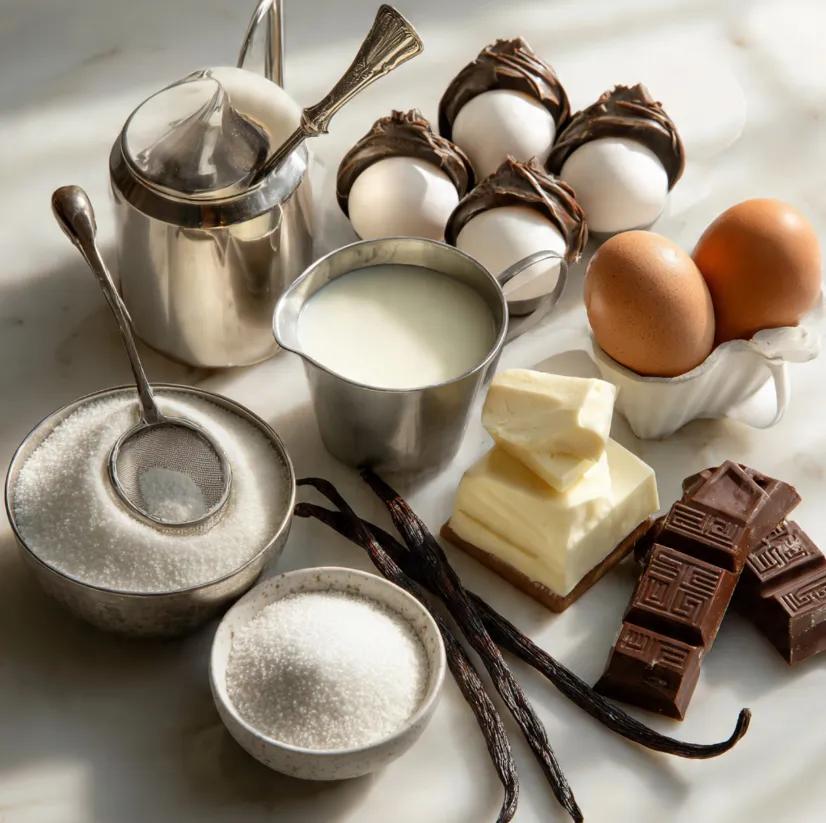
Before we begin, let’s gather everything. Using high-quality ingredients is the secret to an extraordinary result. Here’s your shopping list.
For the Vanilla Bean Custard (Crème Anglaise)
- 2 cups (480ml) whole milk – Full-fat is essential for creaminess.
- 1 cup (240ml) heavy cream – This adds luxurious richness.
- 1 whole vanilla bean (or 2 teaspoons pure vanilla extract) – For authentic, fragrant flavor.
- 5 large egg yolks – They provide the custard’s structure and silkiness.
- 1/2 cup (100g) granulated sugar – Sweetens and helps thicken.
- A pinch of fine sea salt – Balances and enhances all flavors.
For the Chocolate Shell & Assembly
- 10 oz (285g) high-quality semi-sweet or dark chocolate – Chopped bars or high-quality callets/chips.
- 2 tablespoons refined coconut oil – This makes the shell harden beautifully and gives it a satisfying snap.
- Special Equipment: 6-8 small silicone hemisphere molds or small ramekins, a fine-mesh strainer, a heatproof bowl, and a saucepan.
Your Foolproof Step-by-Step Recipe Guide
Follow these numbered steps carefully for guaranteed creamy, dreamy custard desserts.
Step 1: Preparing the Vanilla Custard Base
- Split & Scrape: Using a sharp knife, slice the vanilla bean pod lengthwise. Scrape out the tiny, fragrant seeds with the back of your knife.
- Infuse the Dairy: In a medium saucepan, combine the milk, heavy cream, the scraped vanilla bean seeds, and the empty pod. Heat over medium heat until it just begins to simmer (small bubbles form around the edges). Remove from heat, cover, and let it steep for 20-30 minutes to build the vanilla flavor.
Step 2: Tempering the Eggs for a Smooth Custard
- Whisk Yolks & Sugar: In a separate medium bowl, vigorously whisk the egg yolks, sugar, and pinch of salt until the mixture is pale, thick, and falls from the whisk in a ribbon. This takes about 2-3 minutes.
- Temper Slowly: This is the crucial step to avoid scrambled eggs! Remove the vanilla pod from the warm milk mixture. While constantly whisking the egg yolk mixture, very slowly drizzle in about 1/2 cup of the warm milk. This gently raises the eggs’ temperature.
- Combine: Gradually pour the tempered egg mixture back into the saucepan with the remaining milk, whisking constantly.
Step 3: Cooking to Perfect Thickness
- Cook Gently: Return the saucepan to low heat. Cook, stirring constantly and slowly with a wooden spoon or heatproof spatula, for 5-8 minutes. Do not let it boil.
- Check for Doneness: The custard is ready when it coats the back of the spoon, and you can draw a clean line through it with your finger. It should reach about 170°F (77°C) on an instant-read thermometer.
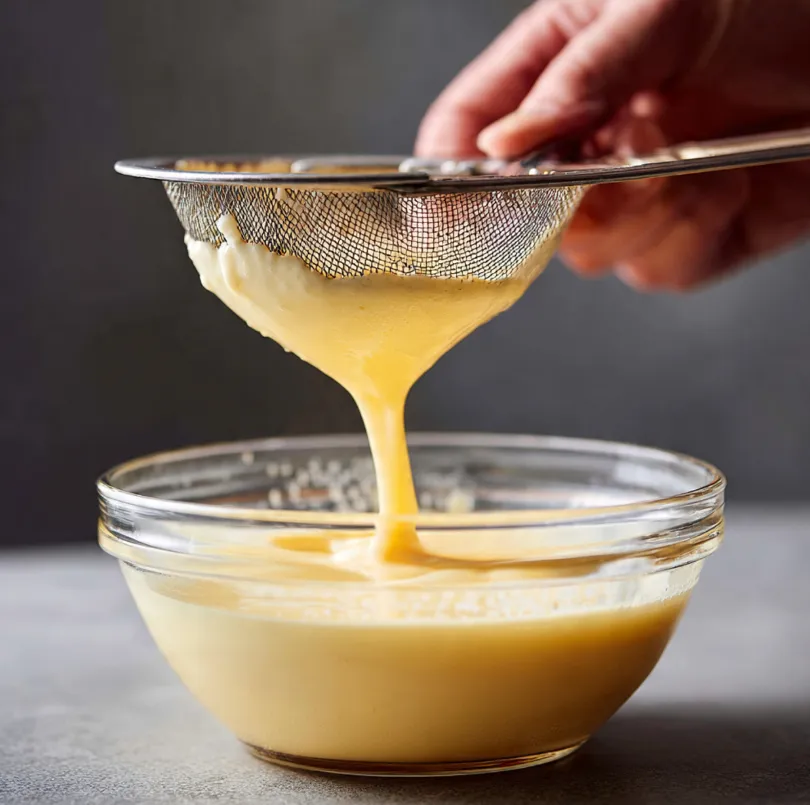
- Strain for Silkiness: Immediately pour the custard through a fine-mesh strainer into a clean bowl. This catches any cooked egg bits, ensuring a flawlessly smooth texture.
Step 4: Chilling & Setting the Custard
- Cool & Cover: Place a piece of plastic wrap directly on the surface of the custard to prevent a skin from forming. Let it cool to room temperature, then refrigerate for at least 4 hours, preferably overnight. The custard will thicken as it chills.
Step 5: Creating the Chocolate Shell
- Melt Chocolate: Create a double boiler by placing a heatproof bowl over a saucepan of barely simmering water (the bowl should not touch the water). Add the chopped chocolate and coconut oil. Stir gently until completely melted and smooth. Remove from heat and let cool slightly (5-10 minutes).
- Coat the Molds: Using a pastry brush or spoon, generously coat the inside of your silicone hemisphere molds with the melted chocolate. Ensure the layer is even and thick enough (about 1/8 inch) to hold its shape. Place the coated molds on a tray and freeze for 15 minutes until solid.
- Add a Second Coat (Optional but Recommended): Apply a second thin coat of chocolate and freeze again for 10 minutes. This guarantees a strong, non-leaking shell.
Step 6: The Magical Assembly
- Fill with Custard: Remove the molds from the freezer. Spoon or pipe your chilled vanilla custard into each chocolate cup, filling almost to the top but leaving a small rim.
- Seal the Dome: Re-melt your chocolate if needed. Pour or spread a final layer of chocolate over the custard to seal the dessert. Use an offset spatula to scrape away any excess, creating a flat base. Freeze for a final 20-30 minutes until completely set.
Step 7: The Grand Reveal
- Unmold: Gently pop the desserts out of their silicone molds. They should release easily. If they resist, let them sit at room temperature for just a minute.
- Serve & Enjoy: Let the desserts sit at room temperature for 5-7 minutes before serving to slightly soften the custard. Garnish with berries, a dusting of cocoa powder, or a sprinkle of sea salt.
Pro Tips & Tricks for Flawless Desserts
- Avoid Curdling: The key to smooth custard is low, slow heat and constant stirring. If you see small lumps starting to form, immediately remove from heat and strain vigorously.
- Chocolate Choices: For a deeper flavor, use 70% dark chocolate. For a sweeter dessert, use semi-sweet. Ensure your chocolate is properly tempered or use the coconut oil method for a reliable, snappy shell.
- Make-Ahead Marvel: These desserts are perfect for preparing ahead! You can make the custard 2 days in advance and assemble the complete desserts 1 day before your event. Store them airtight in the freezer.
- Troubleshooting: If your chocolate shell cracks, the layer was likely too thin. The double-coat method prevents this. If the custard is too runny, it may not have been cooked to the proper thickness use a thermometer next time.
Conclusion: Your Turn to Create Heaven
Congratulations! You’ve just mastered the art of creating exquisite, restaurant-quality chocolate-covered custard desserts in your own kitchen. This guide proves that with a bit of patience and attention to detail, even intricate-looking desserts are completely achievable. The combination of the crisp chocolate and the velvety custard is a textural dream that will impress anyone who tries it.
So, gather your ingredients, follow the steps, and prepare for the compliments. Don’t forget to share your beautiful creations online and tag us! Ready for your next challenge? Stay tuned for more heavenly dessert guides. Happy baking
