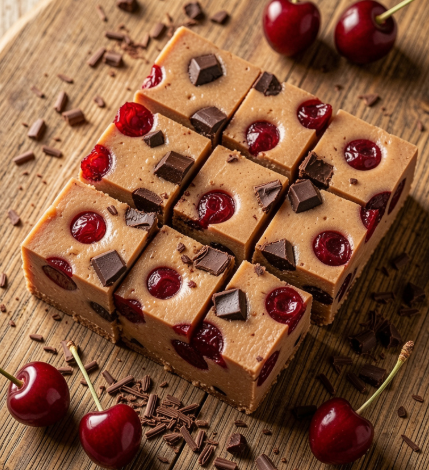
If you’ve ever found yourself scraping the bottom of a Ben & Jerry’s Cherry Garcia pint, wishing you could capture that magic in a more shelf-stable form, this recipe is for you. This Homemade Cherry Garcia Fudge takes everything you love about the iconic ice cream the rich chocolate base, the sweet-tart cherries, and those irresistible chunks of dark chocolate and transforms it into a creamy, dreamy fudge that’s pure indulgence.
This isn’t just another fudge recipe. It’s a love letter to one of the most beloved ice cream flavors of all time, reimagined as a decadent, sliceable treat that you can share (or keep all to yourself). It’s the perfect dessert for parties, holiday gatherings, or any time you’re craving something sweet and special.
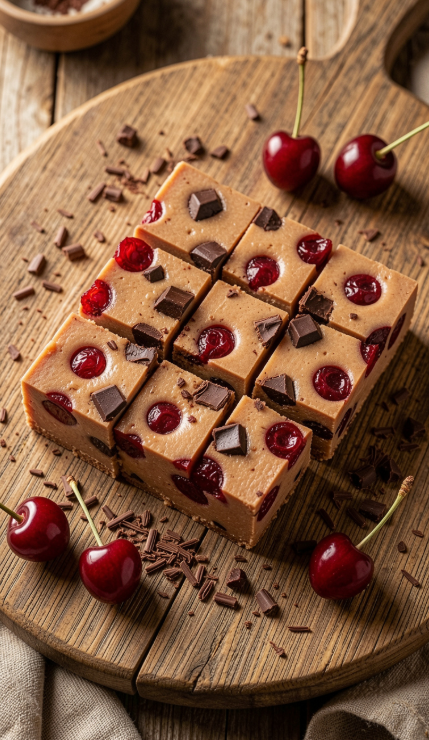
Homemade Cherry Garcia Fudge: A Decadent Tribute to an Ice Cream Legend
If you’ve ever found yourself scraping the bottom of a Ben & Jerry’s Cherry Garcia pint, wishing you could capture that magic in a more shelf-stable form, this
Table of Contents
Recipe Overview
- Prep Time: 15 minutes
- Cook Time: 10 minutes
- Chill Time: 3 hours minimum
- Total Time: 3 hours 25 minutes
- Servings: 16-20 squares
- Cuisine: American
- Course: Dessert
- Calories (Approximate): 280 per square
Why You’ll Love This Recipe
- All the Flavors You Love: Tastes exactly like the iconic Cherry Garcia ice cream creamy chocolate with pops of cherry.
- Incredibly Easy: No candy thermometer required just melt, mix, pour, and chill.
- Perfect for Gifting: Beautifully packaged, this fudge makes a thoughtful homemade gift.
- Customizable: Add white chocolate or nuts to make it your own.
- Make-Ahead Friendly: Stays fresh for weeks in the fridge or freezer.
Ingredients
For the Cherry Swirl:
- ½ cup maraschino cherries, drained and finely chopped
- 2 tablespoons cherry juice (from the jar)
- 1 teaspoon vanilla extract
For the Chocolate Fudge Base:
- 1 can (14 oz) sweetened condensed milk
- 3 cups semi-sweet chocolate chips
- ¼ cup unsalted butter
- ½ teaspoon salt
- 1 cup dark chocolate chunks or chopped chocolate bar
- ¼ cup dried cherries, chopped (optional, for extra texture)
Ingredient Notes
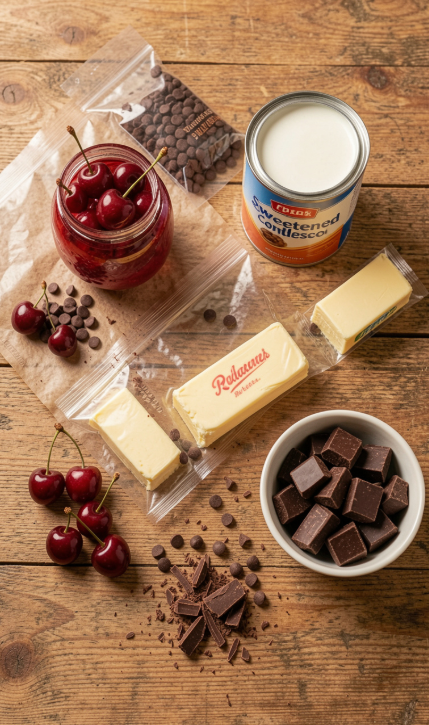
Cherries: Maraschino cherries are the classic choice for that signature Cherry Garcia flavor. You can also use fresh cherries that have been pitted and macerated in a little sugar, though the texture will be slightly different.
Chocolate: A combination of semi-sweet chocolate chips and dark chocolate chunks gives this fudge the perfect balance of sweetness and rich cocoa flavor. Feel free to use your favorite chocolate bar, chopped into chunks.
Sweetened Condensed Milk: This is the secret to the fudge’s creamy, dense texture. Be sure to use full-fat sweetened condensed milk for the best results.
Cherry Juice: Using a bit of the cherry juice from the jar adds an extra layer of fruity flavor and helps the cherry pieces stay moist.
Step-by-Step Instructions
1. Prepare Your Pan
Line an 8×8-inch or 9×9-inch baking dish with parchment paper, leaving overhang on two sides for easy removal.
2. Prepare the Cherries
In a small bowl, combine the chopped maraschino cherries, 2 tablespoons of cherry juice, and vanilla extract. Set aside.
3. Melt the Fudge Base
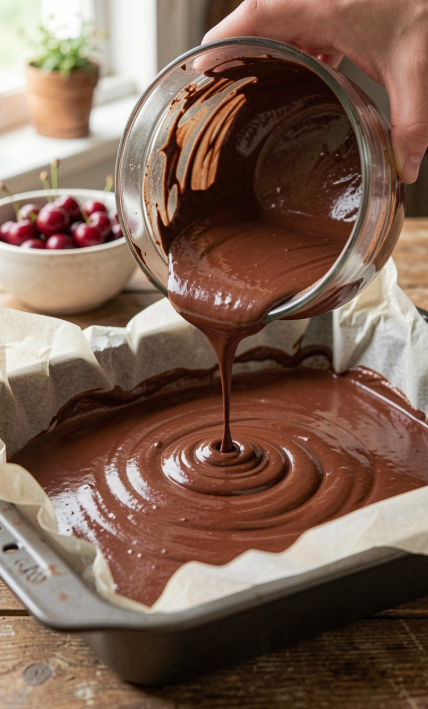
In a medium saucepan over low heat, combine the sweetened condensed milk, semi-sweet chocolate chips, butter, and salt. Cook, stirring constantly, until the chocolate is completely melted and the mixture is smooth and glossy.
4. Add the Chocolate Chunks
Remove the saucepan from the heat. Stir in the dark chocolate chunks until just combined, leaving some chunks intact for texture.
5. Swirl in the Cherries
Pour half of the chocolate mixture into your prepared pan and spread it evenly. Spoon half of the cherry mixture over the top and swirl it in with a knife. Pour the remaining chocolate mixture over the top, spread it evenly, and repeat with the remaining cherry mixture.
6. Add the Dried Cherries
If using, sprinkle the chopped dried cherries over the top and gently press them into the surface.
7. Chill and Set
Refrigerate the fudge for at least 3 hours, or until completely firm.
8. Slice and Serve
Once set, use the parchment overhang to lift the fudge out of the pan. Place it on a cutting board and slice into squares. Serve chilled or at room temperature.
Expert Tips
- Don’t Overheat the Chocolate: Melt the chocolate and condensed milk over low heat, stirring constantly. High heat can cause the chocolate to seize and become grainy.
- Use Quality Chocolate: Since this fudge has so few ingredients, the quality of your chocolate really matters. Use chocolate you’d enjoy eating on its own.
- Chill Completely: Don’t rush the chilling process. The fudge needs at least 3 hours to set properly.
- Cut with a Warm Knife: For clean, neat slices, run your knife under hot water and wipe it dry between cuts.
Variations
- White Chocolate Cherry Fudge: Use white chocolate chips instead of semi-sweet for a sweeter, creamier version.
- Cherry Almond Fudge: Add ½ cup of toasted sliced almonds along with the cherries for extra crunch.
- Boozy Cherry Fudge: Add 1 tablespoon of cherry liqueur or bourbon to the cherry mixture for an adult twist.
- Dark Chocolate Cherry Fudge: Use all dark chocolate (60-70% cocoa) for a deeper, more intense flavor.
Storage Instructions
Store the fudge in an airtight container in the refrigerator for up to 2 weeks. For longer storage, it can be frozen for up to 3 months. Simply wrap the fudge in plastic wrap and place it in a freezer-safe container.
Reheating Tips
This fudge is best enjoyed chilled or at room temperature. If it has been frozen, let it thaw in the refrigerator for a few hours before serving.
Common Mistakes to Avoid
- Overheating the Chocolate: Chocolate can seize and become grainy if exposed to high heat. Keep the heat low and stir constantly.
- Skipping the Parchment Paper: Lining your pan with parchment paper is essential for easy removal.
- Not Chilling Long Enough: Rushing the chilling process can result in fudge that’s too soft to cut cleanly.
- Using Wet Cherries: Make sure your cherries are well-drained before adding them to the fudge. Excess moisture can cause the fudge to become watery.
What to Serve With
- Coffee or Tea: The rich chocolate pairs beautifully with a hot cup of coffee.
- Vanilla Ice Cream: Crumble the fudge over ice cream for an extra indulgent treat.
- Fresh Fruit: Serve alongside fresh berries for a beautiful dessert platter.
Frequently Asked Questions
Q: Can I use fresh cherries instead of maraschino?
A: Yes! Pit and chop fresh cherries, then macerate them with a little sugar and lemon juice before using.
Q: Why is my fudge grainy?
A: This usually happens when the chocolate is overheated or when sugar crystals form. Keep the heat low and stir constantly.
Q: Can I use a different pan size?
A: Yes, but the thickness of the fudge will change. A larger pan will produce thinner squares, while a smaller pan will produce thicker squares.
Q: How do I get clean, neat slices?
A: Use a sharp knife and run it under hot water, wiping it dry between each cut.
Q: Can I add nuts to this recipe?
A: Absolutely! Toasted almonds, walnuts, or pecans would be a wonderful addition.
Q: Is this fudge gluten-free?
A: Yes! This recipe is naturally gluten-free.
Conclusion
This Homemade Cherry Garcia Fudge is a true celebration of a beloved flavor. It captures the essence of the iconic ice cream the creamy chocolate, the burst of cherry, the satisfying chocolate chunks in a decadent, sliceable form that’s perfect for any occasion. It’s a dessert that’s both nostalgic and new, comforting and exciting.
So go ahead grab your ingredients, melt some chocolate, and create a batch of fudge that will have everyone asking for the recipe. Whether you’re gifting it, sharing it, or keeping it all for yourself, it’s guaranteed to be a hit.
Have you tried making this Cherry Garcia Fudge? I’d love to hear how it turned out! Share your photos, tips, and any creative variations in the comments below. Happy baking!