Easy Portuguese Custard Tarts (Pastel de Nata) Recipe: A Taste of Lisbon at Home
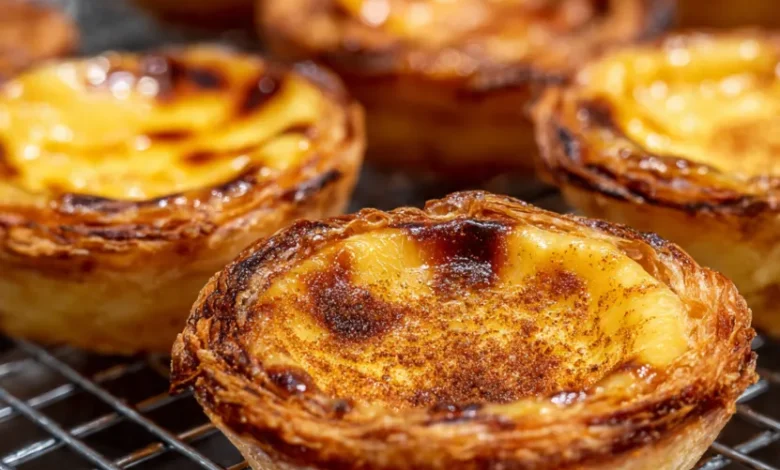
There’s a magic to biting into a perfect Pastel de Nata. The shatteringly crisp, flaky pastry gives way to a creamy, sweet, and slightly caramelized custard center. This iconic Portuguese tart, with its golden, blistered top, is a beloved treat worldwide. While they may seem like a bakery-only marvel, I’m here to show you that making authentic-tasting Easy Portuguese Custard Tarts (Pastel de Nata) at home is not only possible but incredibly rewarding. This simplified recipe strips away the intimidation factor, guiding you step-by-step to create these little pockets of joy in your own kitchen. Let’s bring the flavors of a Lisbon pastelaria to your table.
Why You’ll Love This Easy Pastel de Nata Recipe
This recipe is designed for success, whether you’re a seasoned baker or a complete beginner. We use a clever shortcut store-bought puff pastry to achieve those signature layers without the labor-intensive traditional dough. The custard is cooked on the stovetop for foolproof smoothness. The result? Tarts that are astonishingly close to the original: impossibly crisp, wonderfully creamy, and utterly delicious. They’re perfect for impressing guests, treating your family, or satisfying a specific pastry craving.
Gathering Your Ingredients
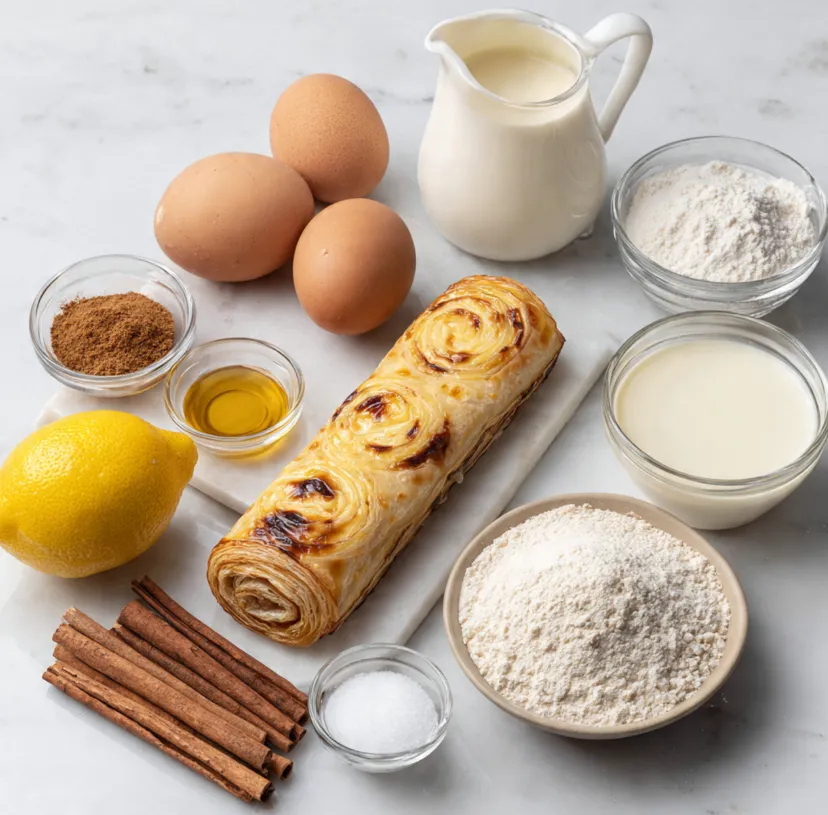
The ingredient list is pleasingly short. Using high-quality, fresh components will make a noticeable difference in the final flavor.
For the Simplified Pastry:
- 1 sheet (about 250g) of good-quality all-butter puff pastry, thawed if frozen.
- A little plain flour, for dusting.
For the Classic Custard Filling:
- 1 cup (200g) granulated sugar
- 1/3 cup (80ml) water
- 1 cinnamon stick (or 1/2 tsp ground cinnamon)
- Peel of 1/2 lemon (avoid the white pith)
- 1/3 cup (40g) all-purpose flour
- A pinch of salt
- 1 2/3 cups (400ml) whole milk
- 4 large egg yolks
- 1 tsp pure vanilla extract or paste
For Finishing (Optional but Recommended):
- Ground cinnamon and/or powdered sugar for dusting.
Essential Equipment You’ll Need
- 12-cup standard muffin tin (do not use a non-stick or silicone pan for best browning)
- Small saucepan (for syrup)
- Medium saucepan (for custard)
- Whisk
- Rolling pin
- Fine-mesh strainer
- Measuring cups and spoons
- Cooling rack
Step-by-Step Guide to Perfect Pastéis de Nata
Follow these numbered steps carefully for the best results. Read through all steps once before you begin.
Part 1: Preparing the Sugar Syrup & Custard Base
We start with the filling so it has time to cool completely.
Step 1: Make the Cinnamon-Lemon Syrup
- In a small saucepan, combine the sugar, water, cinnamon stick, and lemon peel.
- Place over medium heat and stir just until the sugar dissolves.
- Once dissolved, stop stirring. Bring the mixture to a boil and let it simmer for 3-4 minutes until it becomes a slightly thickened syrup. You don’t need a candy thermometer; just watch for bubbles covering the surface.
- Remove from heat, discard the cinnamon stick and lemon peel, and set the syrup aside to cool slightly.
Step 2: Create the Custard Mixture
- In your medium saucepan, whisk together the flour, salt, and about 1/2 cup of the milk until you have a completely smooth, lump-free paste.
- Gradually whisk in the remaining milk until fully incorporated.
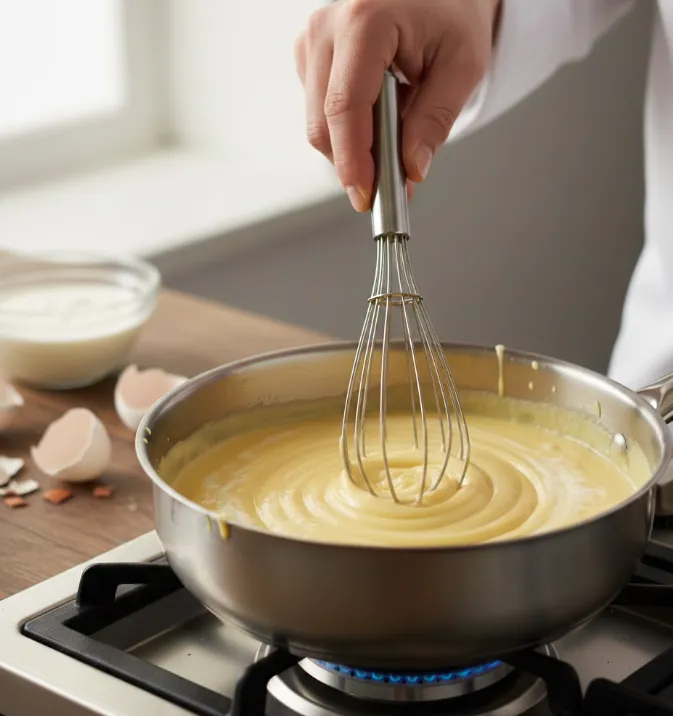
- Place the saucepan over medium-low heat. Cook, whisking constantly, until the mixture thickens significantly into a very thick, pudding-like consistency. This should take about 5-7 minutes. Be patient and keep whisking to prevent lumps.
- Remove the thick milk mixture from the heat.
Part 2: Combining & Completing the Custard
Step 3: Temper the Eggs
- In a separate bowl, whisk the egg yolks and vanilla extract until smooth.
- While whisking the egg yolks continuously, very slowly drizzle in about 1/3 of the warm (not hot) sugar syrup. This gradual process, called tempering, prevents the eggs from scrambling.
- Now, slowly whisk this egg-syrup mixture back into the remaining warm sugar syrup in the saucepan.
Step 4: Finalize the Custard
- Return the saucepan to low heat. Whisking constantly, add the thickened milk mixture to the syrup-egg mixture a spoonful at a time, ensuring it’s fully incorporated before adding more.
- Once everything is combined, continue to cook over low heat for another 1-2 minutes, whisking non-stop, until you have a gloriously smooth, velvety custard that coats the back of a spoon.
- Immediately pour the custard through a fine-mesh strainer into a clean bowl or jug to ensure perfect silkiness. Cover the surface directly with plastic wrap to prevent a skin from forming. Let it cool to room temperature, then refrigerate for at least 30 minutes.
Part 3: Shaping the Tart Shells
Step 5: Prepare the Puff Pastry
- Lightly dust your work surface with flour.
- Unroll the puff pastry sheet. If it’s not already a rectangle, roll it out slightly to even it.
- Starting from one short end, tightly roll the pastry into a log, like a Swiss roll. Wrap the log in plastic wrap and place it in the freezer for 15-20 minutes to firm up. This makes slicing clean and helps create layers.
Step 6: Form the Tart Cups
- Preheat your oven to 550°F (290°C) or as high as it will go. This extreme heat is the secret to the signature blistering and browning. Place a baking sheet on a lower rack to preheat as well—this will help cook the bottom of the tarts.
- Remove the pastry log from the freezer. Using a sharp serrated knife, cut it into 12 equal slices (about 2cm or 3/4-inch thick).
- Take one slice. Place it cut-side down on a lightly floured surface. Using your fingers, press from the center outwards to flatten it into a disc about 3 inches (8cm) wide.
- Place the disc into a cup of your ungreased muffin tin. Using your thumbs, carefully press the dough from the bottom up the sides, ensuring the bottom is thinner than the top rim. The pastry should come just slightly above the rim. Repeat with all 12 slices.
Part 4: Baking to Perfection
Step 7: Fill and Bake
- Give the chilled custard a quick stir. Divide it evenly among the 12 pastry cups, filling each one about 80-85% full. Do not overfill.
- Carefully place the muffin tin on the preheated baking sheet in your scorching hot oven.
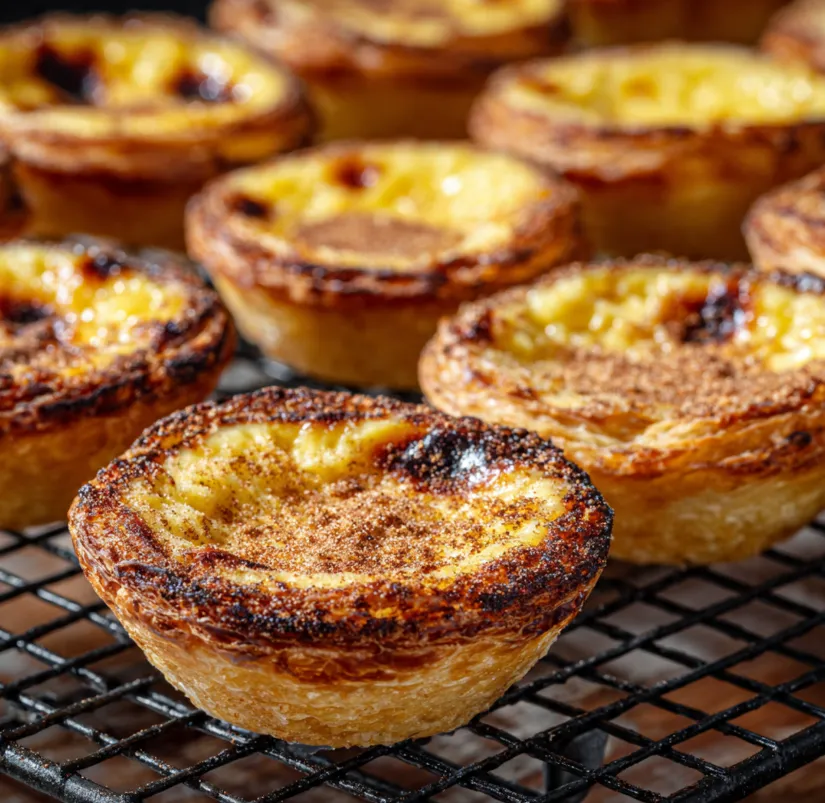
- Bake for 11-15 minutes. Watch closely! The goal is for the custard to puff up, the tops to develop large, dark brown blisters, and the pastry edges to become deeply golden and crisp.
- The tarts will look dramatic. Rotate the pan halfway through if your oven has hot spots.
Step 8: Cooling and Serving
- As soon as the tarts are done, remove the tin from the oven. Let them cool in the pan for just 5 minutes.
- Then, the crucial step: use a small offset spatula or butter knife to carefully lift each tart out and place it on a wire cooling rack. This stops the cooking and prevents the bottoms from steaming and getting soggy.
- Allow to cool for at least 10-15 minutes. Pastéis de Nata are traditionally served warm, not piping hot.
Pro Tips for Guaranteed Success (The Pasteis de Nata Secrets)
- Oven Temperature is King: Do not fear the high heat. It’s non-negotiable for authentic texture. If your oven max is 500°F (260°C), that will work; just extend baking by 1-2 minutes.
- Custard Consistency: The custard must be thick before baking. If it seems runny after refrigeration, whisk in a teaspoon of flour and cook for another minute on the stove to thicken.
- Avoid Soggy Bottoms: The preheated baking sheet and prompt removal from the muffin tin are your best defenses.
- The Blister Look: For more dramatic blisters, you can place the tarts under a very hot broiler for 30-60 seconds at the very end of baking watch like a hawk!
- Make Ahead: You can prepare the custard up to 2 days in advance and keep it refrigerated. The pastry log can also be frozen for up to a month and sliced while frozen.
Serving and Enjoying Your Homemade Portuguese Tarts
Dust your beautiful tarts with a little ground cinnamon and/or powdered sugar just before serving. They are sublime with a strong espresso or a cup of tea. Enjoy them the day they are made for the ultimate crisp-to-creamy contrast. While they can be stored at room temperature for a day, they are truly at their peak within a few hours of baking.
Conclusion: Your Lisbon Moment Awaits
Making these Easy Portuguese Custard Tarts (Pastel de Nata) is a joyful kitchen adventure. The process is surprisingly straightforward, and the payoff is enormous the pride of pulling a tray of gorgeous, professional-looking pastries from your own oven. The combination of crisp, buttery layers and that luscious, fragrant custard is a celebration in every bite. So, preheat that oven, roll up your sleeves, and get ready to experience the magic. Bom apetite! Don’t forget to share your baking results and tag your creations!