There’s something magical about a dessert that is both brilliantly sunny and blissfully simple. If you’re craving a burst of bright, citrusy flavor but dread the thought of a mountain of dishes, you’ve found your perfect recipe. This Easy One-Bowl Lemon Dessert is a celebration of minimal effort and maximum reward. It delivers a perfect balance of sweet and tangy, with a luscious texture that will have everyone asking for seconds. Best of all, it truly lives up to its name mixing, whisking, and pouring all happen in one single bowl, making cleanup a dream. Whether you’re a baking novice or a seasoned pro looking for a hassle-free treat, this recipe is your ticket to a stunning dessert with minimal fuss.
Why You’ll Love This One-Bowl Lemon Dessert
Let’s be honest: sometimes you just need a dessert that comes together without a fuss. This recipe is designed for those moments. It requires no special equipment just a bowl, a whisk, and a baking dish. The flavor is intensely lemony, yet not overpowering, thanks to the clever combination of fresh juice and zest. It’s sweet, tart, creamy, and incredibly satisfying. Imagine the taste of a sunny lemon bar meets a velvety cheesecake, all achieved with a fraction of the work and cleanup. It’s the ideal dessert for weeknight treats, last-minute guests, or when you simply need a dose of citrus sunshine.
Simple Ingredients You Likely Already Have
The beauty of this recipe lies in its humble ingredient list. Most of these items are pantry staples, making it easy to whip up spontaneously.
For the Lemon Filling:
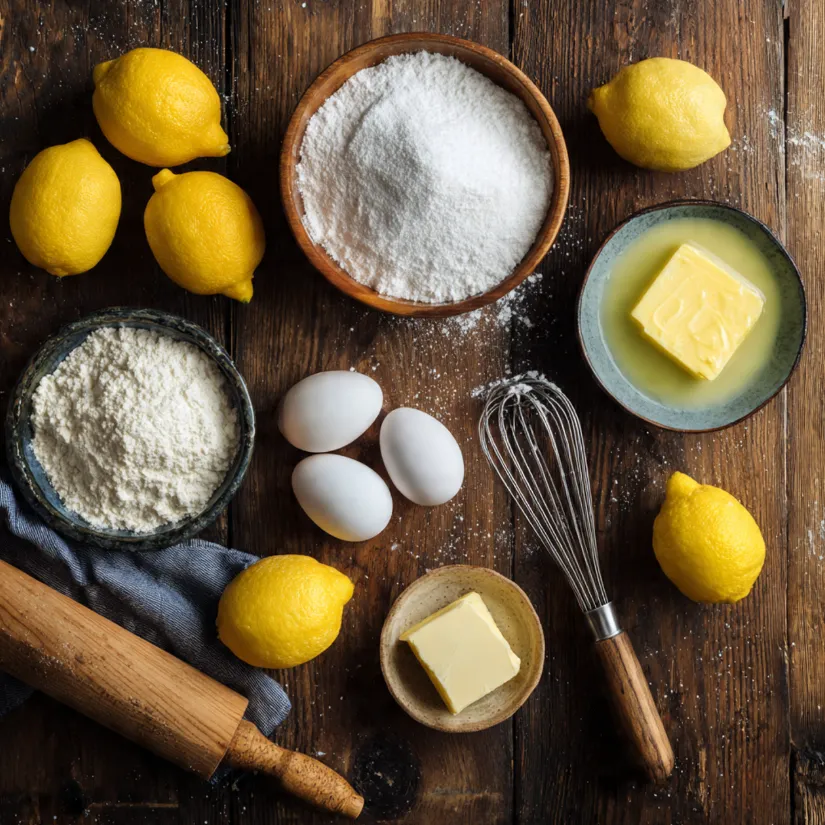
- 1 ½ cups (300g) granulated sugar: Provides the foundational sweetness that balances the lemon’s tartness.
- ½ cup (115g) unsalted butter, melted: Adds rich flavor and contributes to the dessert’s tender structure.
- 4 large eggs, at room temperature: Essential for binding the ingredients and creating the custard-like consistency.
- ½ cup (120ml) fresh lemon juice (about 3-4 lemons): The star of the show! Fresh juice is non-negotiable for that vibrant, authentic citrus punch.
- Zest of 2 lemons: This is where the potent lemon aroma lives. It intensifies the flavor without adding more liquid.
- ⅓ cup (40g) all-purpose flour: The slight thickening agent that gives the dessert its perfect set—not too runny, not too firm.
- ½ teaspoon baking powder: Adds a whisper of lift for a light texture.
- A pinch of salt: Enhances all the other flavors.
For Serving (Optional):
- Powdered sugar for dusting
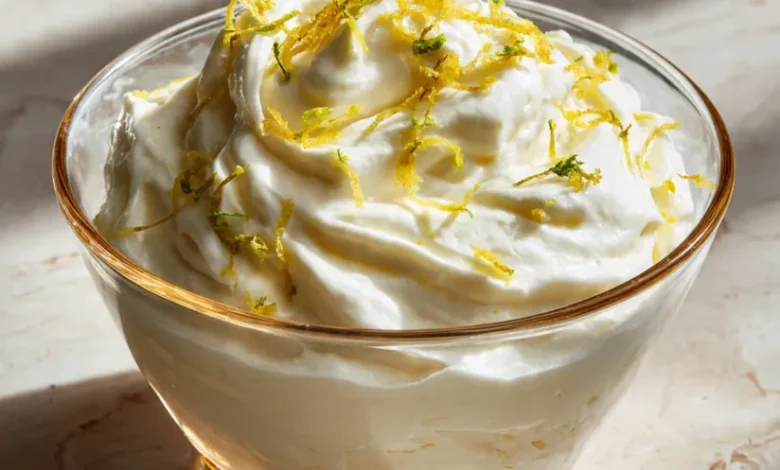
- Fresh berries (raspberries, blueberries, or strawberries)
- A dollop of whipped cream or a scoop of vanilla ice cream
Step-by-Step Instructions for Perfect Results
Follow these simple, numbered steps for a foolproof dessert every single time.
Step 1: Prepare and Preheat
Start by preheating your oven to 350°F (175°C). This ensures a consistent temperature for even baking. Then, grease an 8×8 inch (20×20 cm) baking dish with a little butter or non-stick spray. You can also line it with parchment paper for super easy removal and cleanup.
Step 2: The One-Bowl Mix
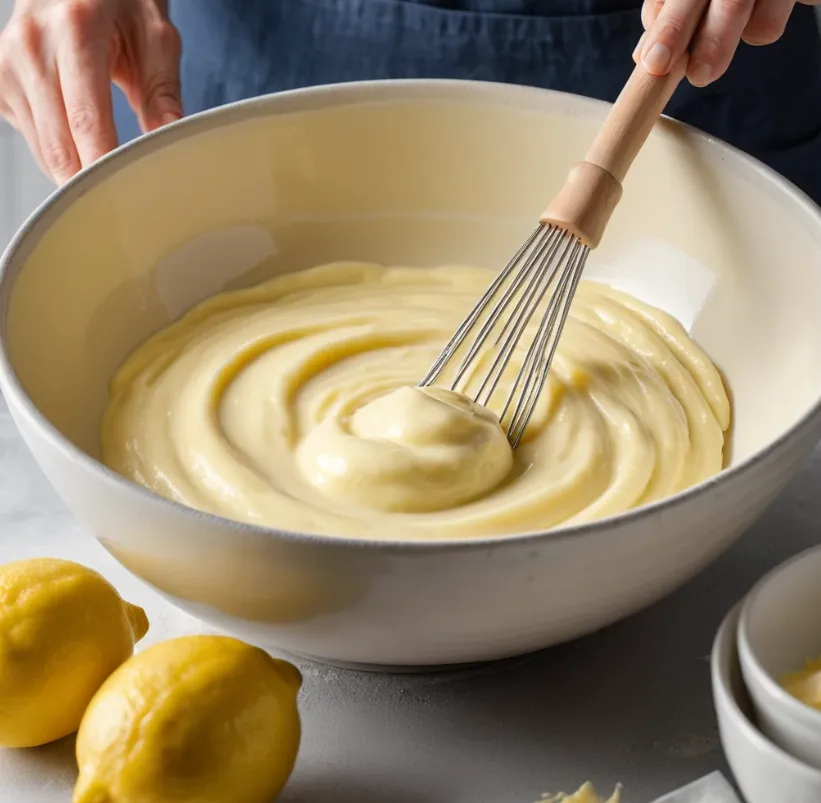
This is where the magic happens. In a large mixing bowl, combine the melted butter and granulated sugar. Whisk them together vigorously for about a minute until they are well blended. The goal isn’t to cream them until fluffy, just to combine thoroughly.
Step 3: Incorporate the Eggs and Lemon
Add the eggs, one at a time, to the butter-sugar mixture, whisking well after each addition. This gradual process helps create a smooth, emulsified base. Next, pour in the fresh lemon juice and add the finely grated lemon zest. Whisk until the mixture is uniform and fragrant.
Step 4: Add the Dry Ingredients
Place a fine-mesh sieve over your bowl. Add the all-purpose flour, baking powder, and pinch of salt to the sieve. Sift these dry ingredients directly into the wet mixture. This step prevents lumps and ensures the flour is evenly distributed. Gently whisk everything together just until the flour disappears and no dry streaks remain. Be careful not to overmix.
Step 5: Bake to Perfection
Pour the smooth, pourable batter directly from the mixing bowl into your prepared baking dish. Give the dish a gentle tap on the counter to release any air bubbles.
Place it in the center of your preheated oven. Bake for 30-40 minutes. The dessert is done when the edges are a light golden brown and the center is set but still has a very slight, gentle jiggle when you shake the pan. A toothpick inserted near the center should come out mostly clean, perhaps with a few moist crumbs.
Step 6: Cool and Serve
Remove the dish from the oven and place it on a wire rack. It’s crucial to let the dessert cool completely to room temperature. As it cools, it will finish setting into its final, perfect creamy-custardy texture. For the cleanest slices, you can even refrigerate it for 1-2 hours before serving.
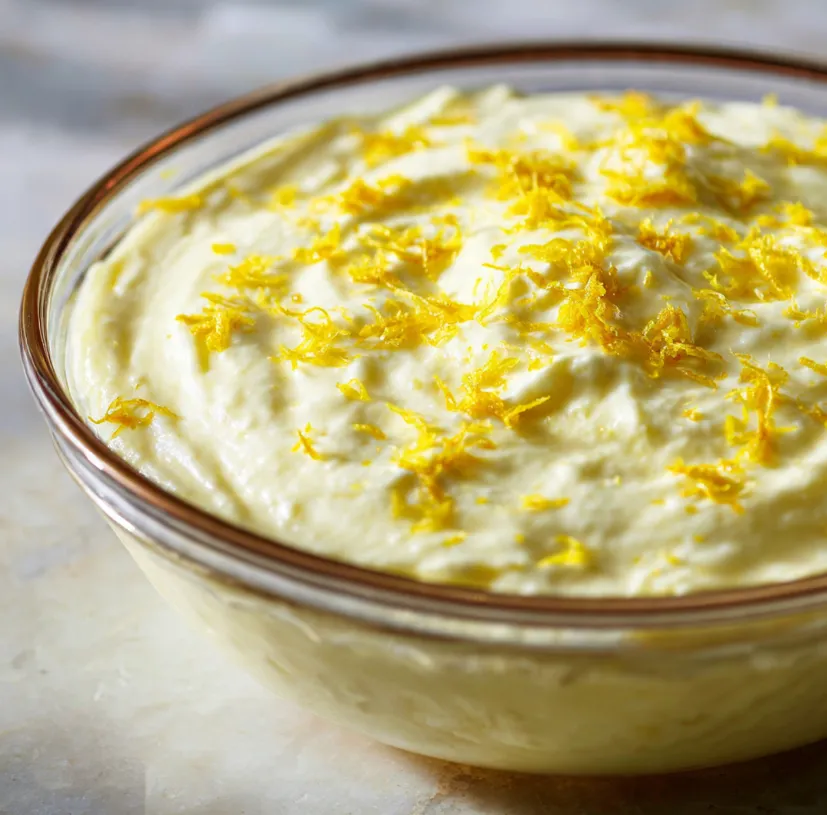
Once cooled, dust with powdered sugar if desired, cut into squares, and serve with fresh berries or whipped cream.
Helpful Tips & Tricks for Success
- Room Temperature is Key: Using room-temperature eggs is important. They incorporate into the batter much more easily than cold eggs, resulting in a smoother, more homogeneous mixture.
- Fresh Lemon Juice is Non-Negotiable: Bottled lemon juice simply won’t deliver the same bright, fresh, vibrant flavor. The extra minute it takes to juice fresh lemons makes all the difference in the world.
- Don’t Skip the Zest: The zest contains the essential oils of the lemon, which pack an incredible aroma and flavor punch. Be sure to zest your lemons before you juice them—it’s much easier!
- Avoid Overmixing: Once you add the flour, mix only until combined. Overmixing can develop the gluten in the flour, potentially leading to a tougher, less tender texture.
- The Jiggle Test: Trust the visual cues over the clock. That slight jiggle in the center when you take it out of the oven is your guarantee of a creamy, not dry, final product.
- Storage: Cover the baking dish with plastic wrap or transfer slices to an airtight container. It will keep beautifully in the refrigerator for up to 3 days.
Frequently Asked Questions (FAQs)
Can I make this gluten-free?
Absolutely! You can substitute the all-purpose flour with an equal amount (by weight, 40g) of a 1:1 gluten-free flour blend. The results are virtually identical.
Can I use a different citrus fruit?
Yes! This recipe is wonderfully adaptable. Try it with limes for a “Key Lime” style dessert, or a mix of lemon and orange for a more complex citrus flavor. Just keep the total juice volume the same.
My dessert cracked on top. What happened?
A few small surface cracks are normal and won’t affect the taste. They usually occur from a slightly high oven temperature or over-baking. Using the correct temperature and removing it when the center is just set will minimize cracking.
Can I double this recipe?
Yes, you can easily double all ingredients. Use a 9×13 inch baking dish and increase the baking time by about 10-15 minutes, checking for the same visual doneness cues.
The Final Slice: A Dessert Worth Making Again and Again
This Easy One-Bowl Lemon Dessert proves that incredible flavor doesn’t have to come with complexity or a sink full of dishes. It’s a testament to the power of simple, quality ingredients combined in a smart, efficient way. The result is a radiant, tangy-sweet treat that feels both indulgent and light.
So, the next time a lemon craving hits or you need a guaranteed crowd-pleaser, remember this recipe. Grab your bowl, whisk up some sunshine, and get ready to enjoy a dessert that’s as joyful to make as it is to eat. Don’t just take our word for it gather your ingredients and experience the simple delight for yourself. Happy baking