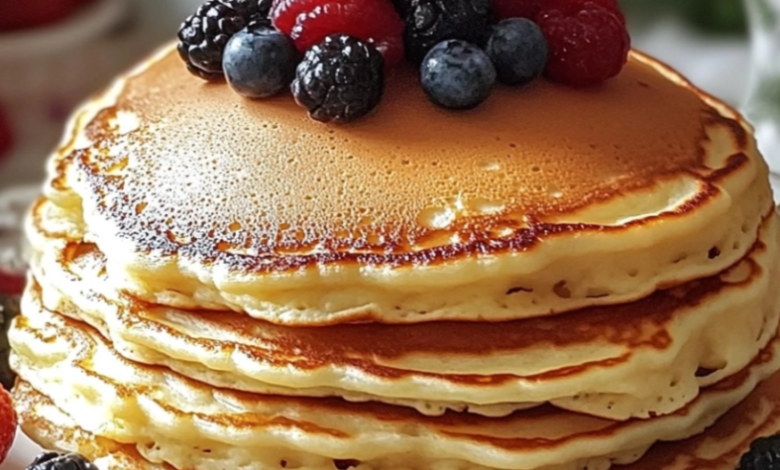
There’s something undeniably comforting about a stack of warm, homemade pancakes. That golden-brown surface, the impossibly fluffy interior, and the sweet aroma of vanilla and butter wafting through the kitchen it’s a sensory experience that promises a perfect morning. While trendy breakfasts come and go, old fashioned pancakes remain a beloved classic for a reason. This isn’t just a recipe; it’s a ritual, a simple act of creating joy from a handful of pantry staples. In this guide, we’ll walk you through every step to master the art of the perfect, fluffy old fashioned pancake. Whether you’re a complete beginner or a seasoned cook looking to refine your technique, this recipe is your ticket to a timeless, delicious breakfast.

The Secret to Truly Fluffy Old Fashioned Pancakes
Before we dive into the ingredients, let’s talk about fluffiness. The hallmark of a great old fashioned pancake is its light, airy texture. The magic lies in two key factors:
- The Leavening Agents: The combination of baking powder and baking soda creates bubbles of carbon dioxide when they react with the wet ingredients and heat. This is what makes the batter rise.
- Gentle Mixing: Overmixing is the enemy of fluffy pancakes! It develops the gluten in the flour, leading to tough, flat pancakes. A few lumps in the batter are not just okay—they are essential.
What You’ll Need: The Pantry-Friendly Ingredients List
The beauty of this old fashioned pancake recipe is its simplicity. You likely have everything you need in your kitchen right now.
Dry Ingredients:
- 1 ½ cups (190g) all-purpose flour
- 3 ½ teaspoons baking powder
- 1 teaspoon baking soda
- ½ teaspoon salt
- 2 tablespoons granulated sugar
Wet Ingredients:
- 1 ¼ cups (300ml) milk (whole milk is ideal, but any kind works)
- 1 large egg
- 3 tablespoons unsalted butter, melted (plus extra for cooking)
- 1 teaspoon pure vanilla extract
For Cooking & Serving:
- Butter or neutral oil (like canola or vegetable) for the pan
- Pure maple syrup, warmed
- Fresh berries, sliced bananas, or whipped cream (optional)
- Additional butter for topping

Step-by-Step Guide to Perfect Pancakes
Follow these numbered steps carefully for foolproof, fluffy breakfast pancakes every single time.
Step 1: Prepare the Dry Mix
In a large mixing bowl, whisk together the all-purpose flour, baking powder, baking soda, salt, and granulated sugar. Whisking ensures the leavening agents and salt are evenly distributed throughout the flour, which is crucial for consistent rise and flavor.
Step 2: Combine the Wet Ingredients
In a separate bowl or large measuring jug, whisk together the milk and egg until well combined. Next, whisk in the melted butter and vanilla extract. Pro Tip: Let the melted butter cool slightly before adding it to the milk and egg to avoid cooking the egg.
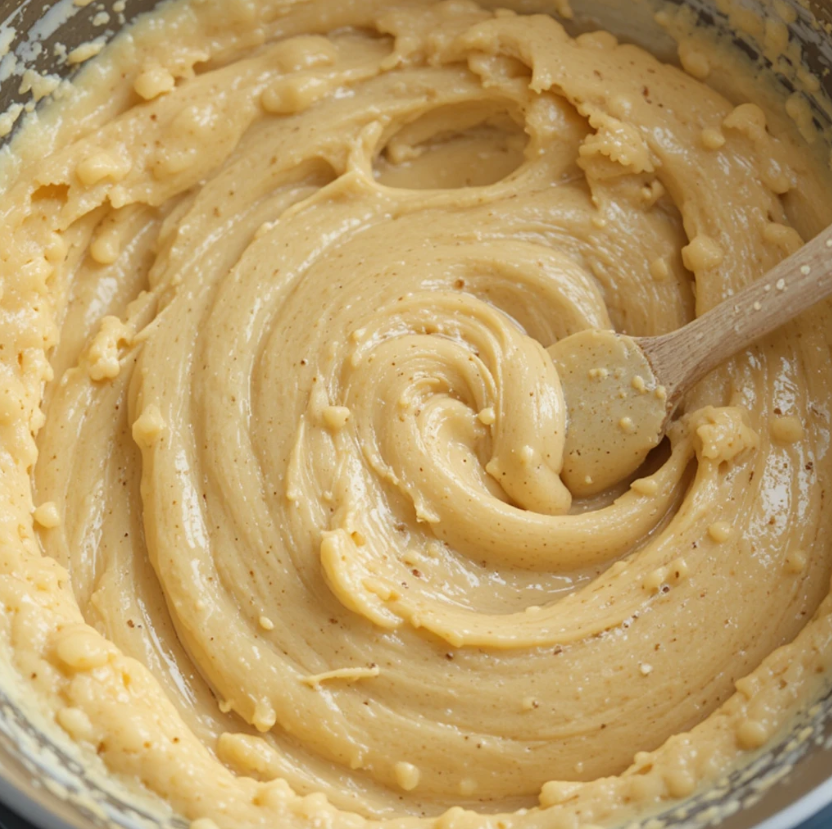
Step 3: Bring the Batter Together
Create a well in the center of your dry ingredients. Pour the wet mixture into the well. Using a fork or a whisk, gently stir the mixture just until the flour is moistened. The batter will be thick and lumpy—this is exactly what you want. Stop stirring immediately once you no longer see large pockets of dry flour.
Step 4: Let the Batter Rest (The Secret Step!)
Allow the batter to rest for 5-10 minutes at room temperature. This rest period allows the flour to fully hydrate, the baking powder to activate, and the gluten to relax. You’ll see small bubbles forming on the surface—this is a good sign!
Step 5: Heat Your Pan or Griddle
While the batter rests, heat a large non-stick skillet, cast-iron pan, or electric griddle over medium heat. The right temperature is key: too hot, and the pancakes will burn outside while staying raw inside; too low, and they’ll be pale and greasy. Test the heat by sprinkling a few drops of water on the surface—they should dance and evaporate quickly.
Step 6: Cook to Golden-Brown Perfection
Lightly grease the hot surface with a small amount of butter or oil. For each pancake, pour about ¼ cup of batter onto the skillet. Cook until bubbles form on the surface and the edges look set and slightly dry, about 2-3 minutes.
Step 7: The Flip
Carefully slide a thin, wide spatula under the pancake and flip it in one confident motion. Cook on the second side until golden brown and cooked through, about 1-2 minutes more.
Step 8: Serve Immediately
Transfer the cooked pancakes to a warm plate. You can keep them warm in a low oven (200°F / 95°C) while you finish cooking the rest of the batch. Serve stacks warm with plenty of warm maple syrup and your favorite toppings.
Pro Tips for Pancake Mastery
- Don’t Press!: Never press down on cooking pancakes with your spatula. You’ll squeeze out the precious air bubbles we worked so hard to create.
- Keep Them Warm: Place cooked pancakes in a single layer on a baking sheet in a preheated 200°F (95°C) oven. This prevents them from getting soggy.
- Flavor Variations: Add ½ cup of fresh blueberries, chocolate chips, or chopped nuts to the batter just after pouring it onto the griddle.
- Buttermilk Substitute: For tangier, even more tender pancakes, substitute the milk for 1 ¼ cups of buttermilk. If using buttermilk, you can reduce the baking powder to 1 teaspoon and keep the baking soda as is.
- Consistency is Key: If the batter seems too thick, add a tablespoon of milk at a time. If it’s too runny, add a tablespoon of flour.
A Breakfast Tradition Worth Keeping
Making old fashioned pancakes from scratch is a rewarding and surprisingly simple process. It connects us to a tradition of home cooking that prioritizes warmth, care, and delicious results over speed. This recipe is your foundation reliable, proven, and endlessly customizable. Once you master this basic formula, you’ll find yourself skipping the boxed mix forever.
So, this weekend, gather your simple ingredients, heat up your griddle, and fill your home with the irresistible smell of cooking pancakes. Share a stack with loved ones, or enjoy a quiet, syrupy breakfast for one. The perfect fluffy breakfast is now well within your reach. Happy cooking