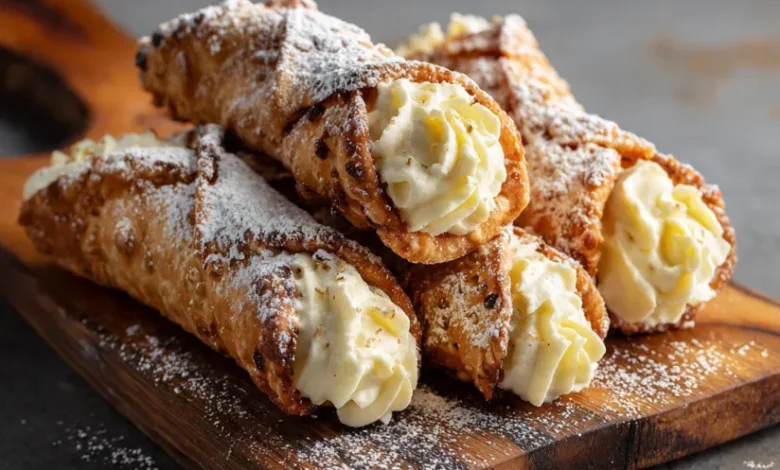
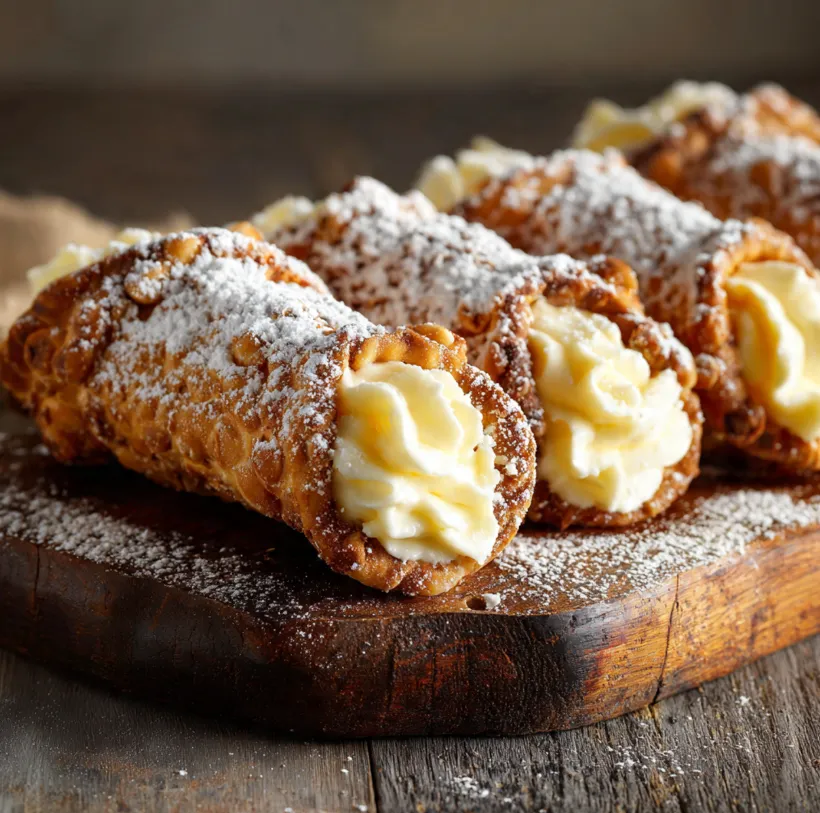
There’s a moment of pure bliss in Italian pastry a crisp, golden shell shatters to reveal a luscious, velvety filling that melts on your tongue. That is the magic of a cannolo. While many know the ricotta-filled classic, today we unveil a divine variation: the Creamy Custard Cannoli. This recipe transforms the traditional into the extraordinary, featuring a silky-smooth vanilla custard (crema pasticcera) nestled inside a perfectly fried shell. Forget dry, overly sweet versions; we’re crafting heaven in a pastry tube. This guide will demystify the process, making it achievable for bakers of all levels. Get ready to create the most talked-about dessert at your table.
Your Creamy Custard Cannoli Shopping List
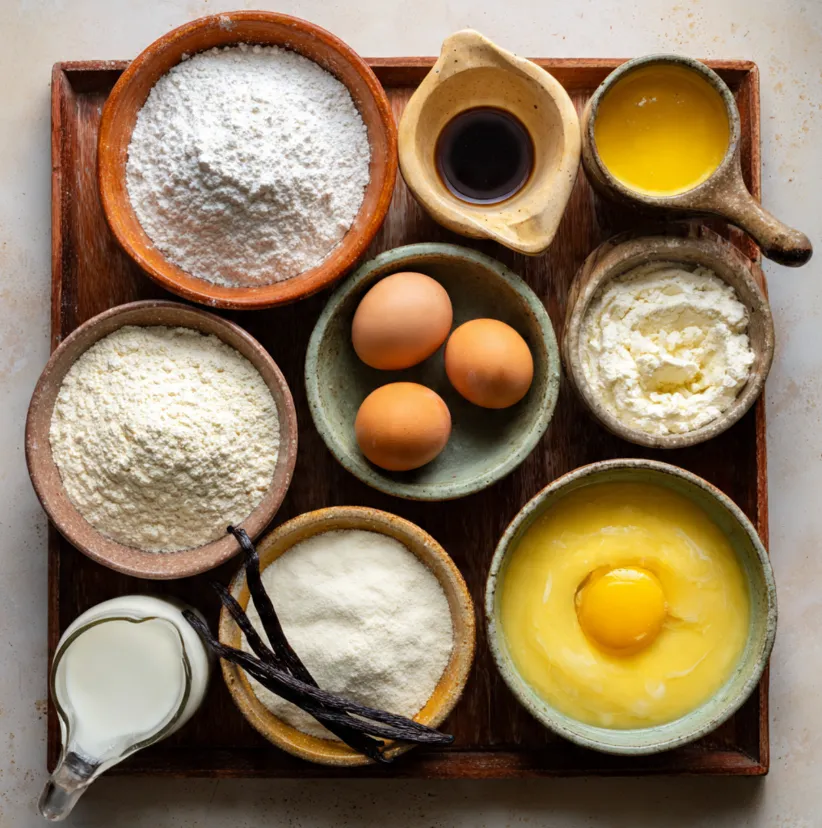
Gathering your ingredients is the first step to success. For the most authentic flavor, use high-quality products. Here’s what you’ll need, divided into components.
For the Cannoli Shells:
- 2 cups (250g) all-purpose flour
- 2 tablespoons granulated sugar
- ½ teaspoon salt
- 2 tablespoons (30g) cold unsalted butter, cubed
- 1 large egg, lightly beaten
- ¼ cup (60ml) dry white wine or marsala wine (room temperature)
- 1 tablespoon white wine vinegar
- 1 large egg white, for sealing
- Vegetable oil or lard, for frying (about 1 quart)
- Optional for garnish: Powdered sugar, chopped pistachios, mini chocolate chips, candied orange peel.
For the Heavenly Vanilla Custard Filling (Crema Pasticcera):
- 2 cups (500ml) whole milk
- 1 vanilla bean (or 2 teaspoons pure vanilla extract)
- 6 large egg yolks
- ¾ cup (150g) granulated sugar
- ⅓ cup (40g) all-purpose flour
- A pinch of salt
- 2 tablespoons (30g) unsalted butter, softened
Pro Tip: Have all ingredients at room temperature unless specified as “cold.” This ensures proper dough formation and a lump-free custard.
Step-by-Step Guide to Perfect Custard Cannoli
Follow these detailed steps to craft your masterpiece from scratch. We recommend reading through all steps once before beginning.
Part 1: Crafting the Cannoli Dough & Shells
- Mix the Dry Ingredients: In a large mixing bowl, whisk together the 2 cups of flour, 2 tablespoons of sugar, and salt.
- Incorporate the Fat: Add the cubed cold butter. Using your fingertips or a pastry cutter, work the butter into the flour until the mixture resembles coarse breadcrumbs.
- Form the Dough: Make a well in the center. Pour in the beaten whole egg, white wine, and vinegar. Using a fork, gradually incorporate the flour into the wet ingredients until a shaggy dough forms.
- Knead and Rest: Turn the dough onto a lightly floured surface. Knead gently for about 5 minutes until smooth and elastic. Form into a disc, wrap tightly in plastic wrap, and let it rest at room temperature for at least 1 hour. This relaxes the gluten, preventing tough shells.
- Roll Out Thinly: Divide the dough in half. Using a pasta machine or rolling pin, roll one piece out to an ultra-thin thickness (about 1/16 inch or 1-2mm). The dough should be almost translucent.
- Cut into Circles: Using a round cutter (4 to 5 inches in diameter), cut out as many circles as you can. Re-roll the scraps once to make more circles. You should get 12-16 circles.
- Wrap the Tubes: Lightly brush the edge of a dough circle with egg white. Wrap it firmly around a cannoli metal tube, overlapping the edges and pressing to seal. Place seam-side down on a parchment-lined tray. Repeat.
- Fry to Golden Perfection: In a deep, heavy pot, heat 2-3 inches of oil to 365°F (185°C). Carefully fry 2-3 shells at a time for about 2-3 minutes, turning once, until golden brown and blistered. Use tongs to handle the hot tubes.
- Drain and Cool: Carefully remove the fried shells (still on tubes) and place them on a paper towel-lined rack. After 1-2 minutes, while still warm but cool enough to handle, gently twist the tube and slide off the shell. Let shells cool completely on the rack before filling.
Part 2: Mastering the Vanilla Custard Filling
Important: The custard must be completely cold before filling the shells to maintain its structure.
- Infuse the Milk: Pour the milk into a medium saucepan. Split the vanilla bean lengthwise, scrape out the seeds, and add both pod and seeds to the milk. Heat over medium until it just begins to simmer. Remove from heat, cover, and let infuse for 15 minutes. Remove the pod. (If using extract, add it at the very end).
- Whisk Yolks and Sugar: In a separate large bowl, vigorously whisk the egg yolks and sugar for 2-3 minutes until pale, thick, and creamy.
- Incorporate Flour: Sift the flour and salt into the yolk mixture. Whisk vigorously until a smooth, thick paste forms with no lumps.
- Temper the Eggs: While whisking constantly, slowly drizzle about 1/3 of the hot milk into the egg mixture to gently warm it. Then, slowly pour the tempered egg mixture back into the saucepan with the remaining milk, whisking constantly.
- Cook to Perfection: Place the saucepan back over medium-low heat. Cook, whisking constantly and scraping the bottom and corners, until the custard thickens and comes to a low boil. Let it bubble gently for 1-2 minutes to cook out the flour taste. It should be very thick.
- Finish with Butter: Remove from heat. Whisk in the softened butter until fully incorporated and the custard is glossy.
- Chill Thoroughly: Immediately pour the custard into a clean bowl. Press plastic wrap directly onto its surface to prevent a skin from forming. Refrigerate for at least 4 hours, preferably overnight.
Part 3: The Grand Finale: Assembly
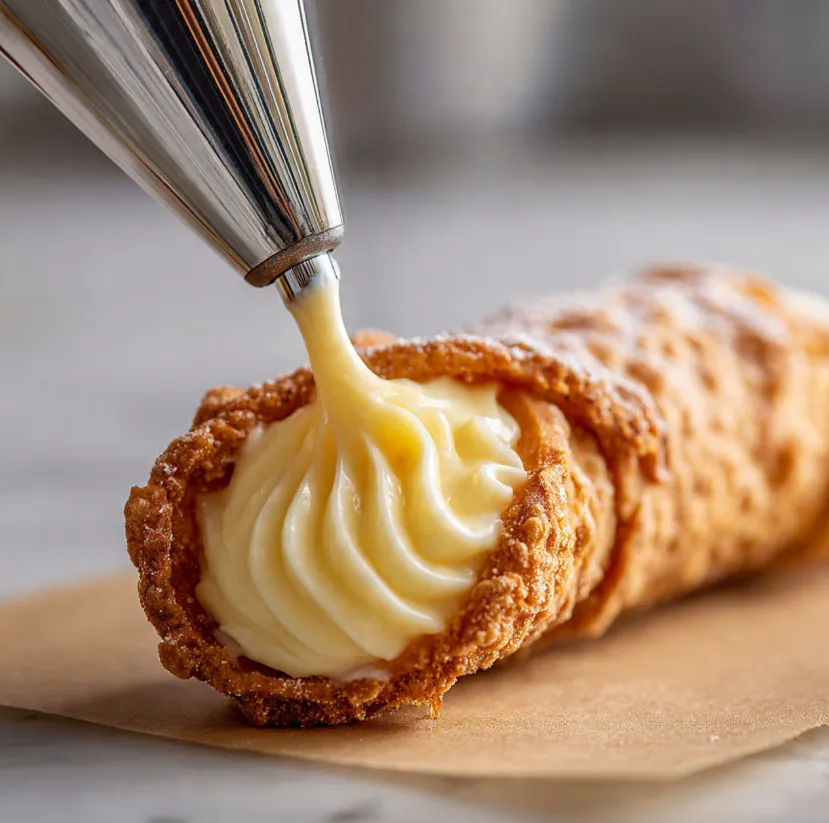
- Prepare to Fill: Transfer your chilled, firm custard to a pastry bag fitted with a large star or plain round tip. No pastry bag? Use a sturdy zip-top bag and snip off a corner.
- Fill the Shells: Gently insert the tip into one end of a cooled cannoli shell. Squeeze firmly, filling until the custard just begins to peek out of the other end. Repeat for the opposite end to ensure it’s evenly filled.
- Garnish Immediately: Dip the exposed custard ends into your chosen garnish finely chopped pistachios or mini chocolate chips work beautifully.
- Dust and Serve: Just before serving, give the cannoli a generous dusting of powdered sugar. Crucial Tip: Fill only the number of cannoli you plan to serve immediately. Filled shells will lose their crispness and become soggy within 1-2 hours.
Pro Tips for Cannoli Perfection
- Wine is Key: The acid in the wine/vinegar reacts with the flour to create a tender, blistered shell that fries up incredibly crisp. Don’t skip it!
- Fry Hot & Fast: Maintaining the correct oil temperature (365°F) is non-negotiable. Too cool = greasy shells. Too hot = burnt outside, raw inside.
- No Tubes? Improvise! Clean, untreated wooden dowels or the handles of wooden spoons can work in a pinch, though metal tubes are ideal.
- Custard Troubleshooting: If your custard seems lumpy, don’t panic! Simply press it through a fine-mesh sieve before chilling. If it’s too thin, you may not have cooked it long enough.
- Make-Ahead Strategy: You can make the shells up to 3 days ahead and store them in an airtight container at room temperature. The custard can be made 2-3 days ahead and kept refrigerated. Assemble right before serving.
Conclusion: Your Taste of Sicily Awaits
There you have it the secret to creating truly heavenly Creamy Custard Cannoli is no longer a mystery. While the process has a few steps, each one is simple and deeply rewarding. The contrast of the shatteringly crisp shell with the cool, silky vanilla custard is a dessert experience unlike any other. Don’t be intimidated; embrace the flour on your hands and the scent of fried pastry in your kitchen. Gather your ingredients, follow this guide, and prepare to amaze yourself and your loved ones. Your homemade cannoli will not just be a dessert; they’ll be a celebration. Now, go claim your title as the cannoli master in your home!