More Than Just Green Ice Cream: The Delicious History and Enduring Magic of Mint Chocolate Chip
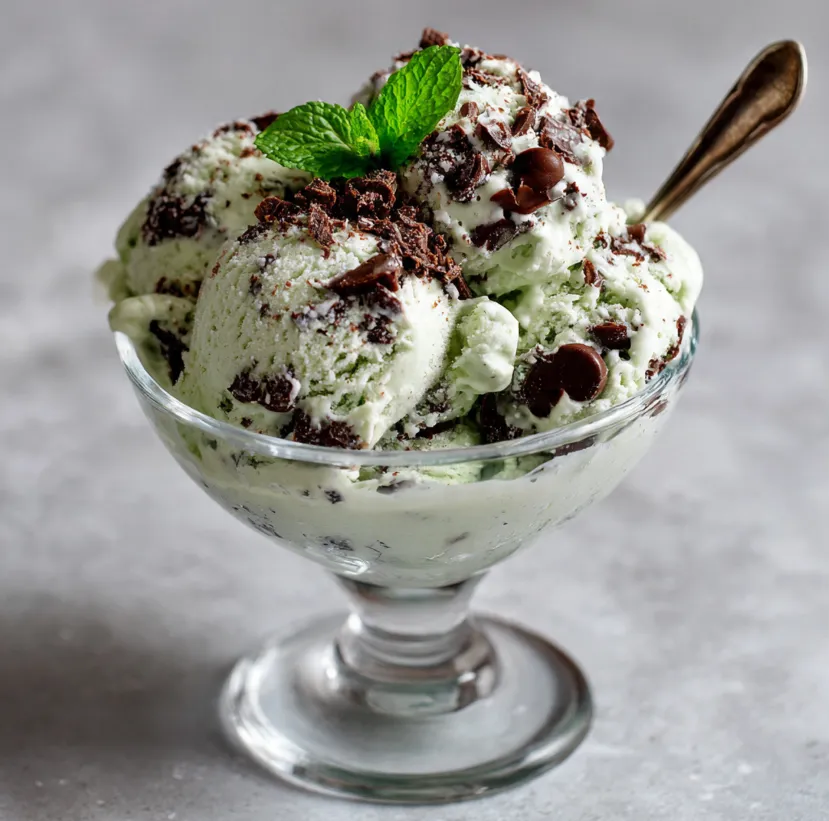
Few desserts spark such instant, universal nostalgia as a scoop of mint chocolate chip ice cream. That vibrant green (or sometimes white), studded with dark chocolate shards, promises a refreshing, creamy, and delightfully crunchy experience. But this beloved flavor is more than just a simple treat; it’s a story of innovation, a study in perfect flavor pairing, and a testament to the magic that happens when cool meets chocolate. In this article, we’re going to dive into its fascinating history and then guide you through creating the ultimate homemade mint chocolate chip ice cream. Forget the artificial versions this recipe delivers pure, peppermint bliss with rich, dark chocolate in every bite.
The Surprisingly Royal History of a Humble Flavor
Before we get to the churning, let’s appreciate where this flavor came from. Mint chocolate chip ice cream, known as “Mint Chocolate Chip” in the UK and Ireland, has a creation story that’s both specific and charming.
It was invented in 1973 by culinary student Marilyn Ricketts while studying at South Devon College in England. Her assignment was to create a new ice cream flavor for a competition. Taking inspiration from the After Dinner mint chocolates that were popular at the time (and a personal favorite), she aimed to capture that essence in frozen form. Her creation, a creamy peppermint ice cream flecked with fine dark chocolate, was a resounding success. It not only won the college competition but went on to win the “Best Ice Cream in the World” title at the 1975 International Ice Cream Competition in Karlsruhe, Germany. From a student’s project to a global phenomenon, mint chocolate chip proved that the classic combination of mint and chocolate was destined for the freezer aisle.
Why the Pairing Works So Well: A Flavor Science Primer
The enduring love for mint chocolate chip isn’t accidental. It’s rooted in sensory science:
- Contrast in Sensation: The cool, tingling sensation of peppermint (from menthol) contrasts beautifully with the rich, melting warmth of chocolate.
- Flavor Harmony: Peppermint’s sharp, clean notes cut through the fat and sweetness of the cream and chocolate, preventing the dessert from becoming cloying.
- Texture Play: The smooth, creamy ice cream base is perfectly interrupted by the satisfying snap and crunch of the chocolate pieces.
Your Guide to the Ultimate Homemade Mint Chocolate Chip
Store-bought versions often rely on artificial peppermint flavoring and green food coloring. Our homemade recipe celebrates real ingredients: fresh peppermint extract (or even steeped mint leaves) and high-quality dark chocolate. The result is a more sophisticated, deeply flavorful ice cream that’s surprisingly easy to make.
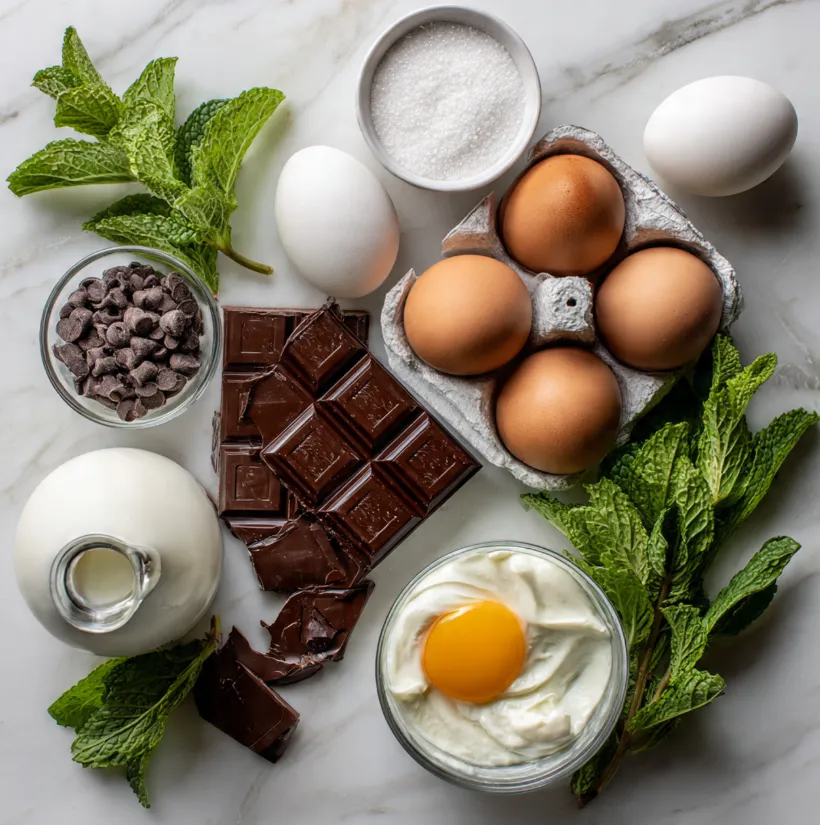
What You’ll Need: The Ingredients List
Gathering quality ingredients is the first step to ice cream magic. Here’s your shopping list:
For the Ice Cream Base:
- 2 cups heavy cream (cold)
- 1 cup whole milk (cold)
- ¾ cup granulated sugar
- ¼ teaspoon fine sea salt
- 6 large egg yolks
- 1½ – 2 teaspoons pure peppermint extract (adjust to taste)
- Optional: A few drops of natural green food coloring (we’ll discuss this later!)
For the Chocolate:
- 4 ounces high-quality dark chocolate (50-70% cacao), chopped into small, irregular chunks and shavings
- 1 teaspoon refined coconut oil (to prevent the chocolate from hardening into rocks)
Special Equipment:
- Ice cream maker
- Medium saucepan
- Mixing bowls
- Whisk
- Fine-mesh strainer
- Airtight container for freezing
Step-by-Step: Crafting Your Frozen Masterpiece
Follow these numbered steps for a foolproof process. Remember, making custard-based ice cream is about patience and gentle heat.
Part 1: Creating the Custard Base (Créme Anglaise)
- Temper the Eggs: In a medium bowl, whisk the egg yolks until slightly pale. Set aside.
- Heat the Dairy: In a saucepan over medium heat, combine the cream, milk, sugar, and salt. Heat until the mixture is steamy and just begins to bubble around the edges (do not boil), stirring to dissolve the sugar.
- Combine Gradually: Slowly pour about 1 cup of the hot cream mixture into the whisked egg yolks, whisking constantly. This “tempers” the eggs, warming them gradually without scrambling.
- Cook to Thicken: Pour the tempered egg mixture back into the saucepan with the remaining cream. Reduce heat to low. Cook, stirring constantly with a wooden spoon or spatula, until the mixture thickens enough to coat the back of the spoon (about 170-175°F / 76-80°C). A swiped finger should leave a clean path.
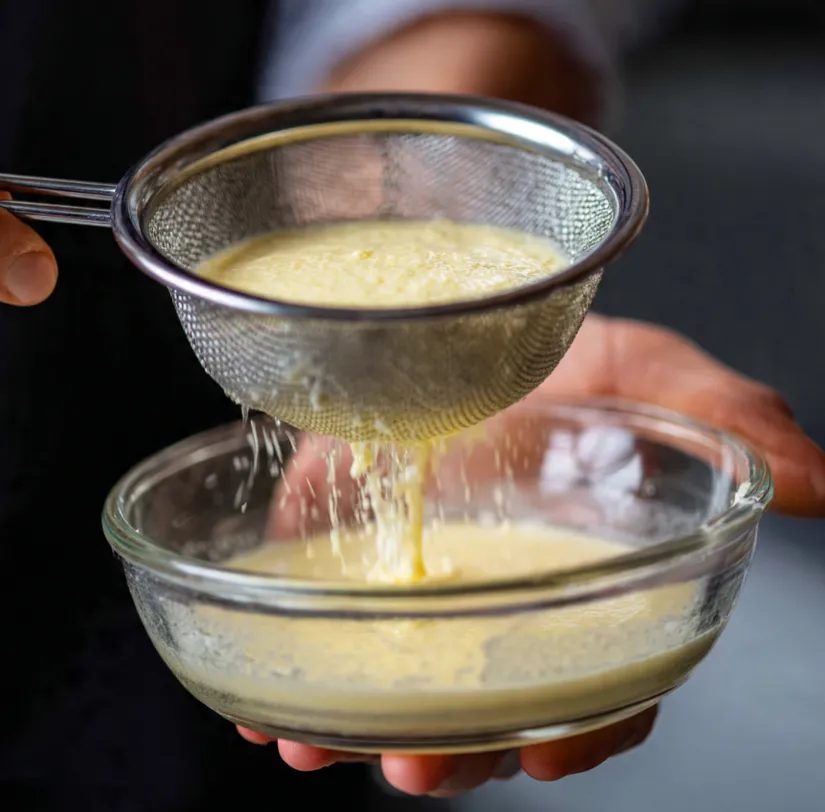
- Strain and Chill: Immediately strain the custard through a fine-mesh sieve into a clean bowl to catch any cooked egg bits. Stir in the peppermint extract. Cover with plastic wrap pressed directly onto the surface to prevent a skin from forming. Refrigerate for at least 4 hours, or preferably overnight, until completely cold.
Part 2: Preparing the Chocolate
- Create Magic Shell Chunks: About 30 minutes before churning, melt the dark chocolate with the coconut oil in a double boiler or in short bursts in the microwave, stirring until smooth. Pour the melted chocolate onto a parchment-lined plate or baking sheet, spreading it thinly. Place in the freezer for 15-20 minutes until completely solid. Once hard, use a knife or your hands to break it into small, rustic chunks and shavings. This method creates chocolate that stays crunchy and doesn’t turn powdery in the ice cream.
Part 3: Churning and Freezing
- Churn: Pour the thoroughly chilled custard into your ice cream maker and churn according to the manufacturer’s instructions (usually 20-30 minutes) until it reaches a soft-serve consistency.
- Fold in Chocolate: In the last minute of churning, add the frozen chocolate chunks through the opening. Let the machine mix them in, or transfer the soft ice cream to a container and fold them in by hand.
- Ripen: Transfer the ice cream to an airtight container. Press a piece of parchment paper on the surface, seal, and freeze for at least 4-6 hours, or until firm, to “ripen” and develop its final texture.
Pro Tips for Ice Cream Perfection
- The Mint Question: For a truly sublime flavor, you can infuse the cream with fresh mint. Steep 1 cup of packed fresh peppermint or spearmint leaves in the hot cream/milk mixture for 1 hour, then strain and proceed. Use extract to boost the flavor if needed.
- To Color or Not to Color? Traditional mint chip is green, but that’s purely aesthetic. We recommend skipping artificial dyes. If you want color, a tiny drop of natural spirulina or chlorophyll extract works, or simply leave it a natural, creamy white it will taste incredible regardless.
- Chocolate Choices: A good dark chocolate (50-70%) provides the best contrast. Avoid chocolate chips, as they contain stabilizers that make them waxy when frozen. Your homemade frozen “magic shell” chunks are far superior.
- Texture is Key: Ensure your custard base is COLD before churning. This leads to faster freezing and smaller ice crystals, resulting in a creamier texture.
- No Ice Cream Maker? No problem! Pour your chilled custard into a deep, freezer-safe dish. Freeze for 2 hours, then take it out and vigorously whisk/beat it with a fork or hand mixer to break up ice crystals. Repeat every 30-45 minutes 2-3 more times, folding in the chocolate during the last whip. The texture will be slightly less creamy but still delicious.
The Final Scoop: A Flavor Worth the Effort
Making mint chocolate chip ice cream from scratch is a rewarding kitchen adventure. It connects you to its fun history and elevates a classic to new heights. You control the mint intensity, the quality of the chocolate, and the purity of every ingredient. The result is a uniquely satisfying dessert that’s far removed from the bright green, sometimes artificial-tasting versions of childhood this is mint chocolate chip for grown-ups, with all the nostalgic joy intact.
So, gather your ingredients, embrace the process, and prepare to experience the true, enduring magic of this iconic flavor. One spoonful of your homemade creation, and you’ll understand why this combination has captivated taste buds for over half a century. Ready, set, churn!