
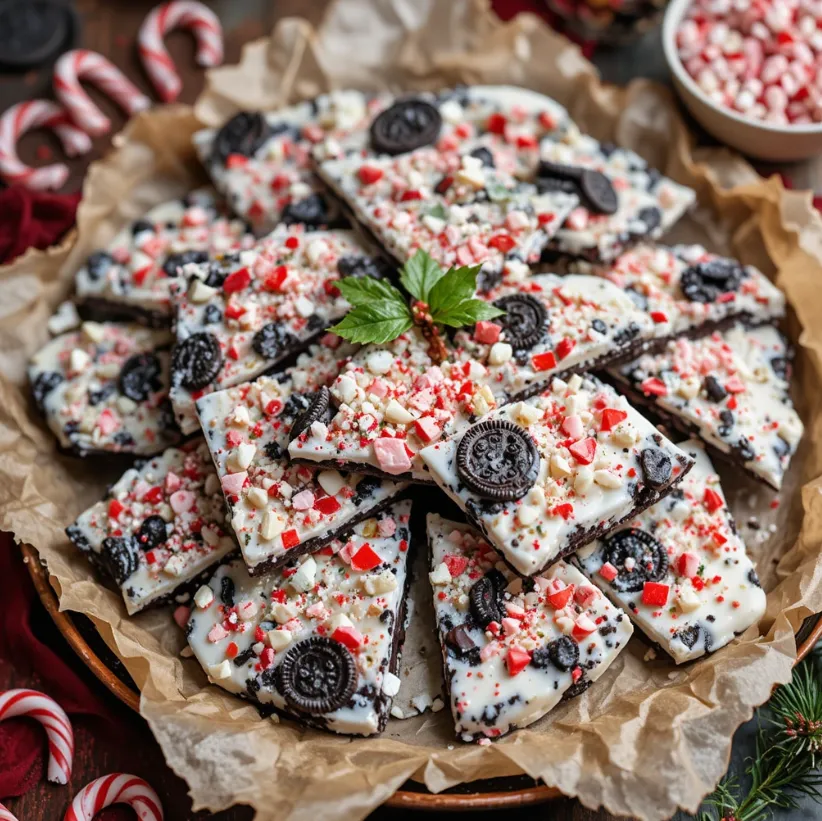
The holiday season is synonymous with the joy of baking and sharing delicious treats with loved ones. Among the myriad of festive desserts, one stands out for its incredible simplicity, stunning visual appeal, and irresistible combination of flavors and textures: Christmas Oreo Peppermint Bark. This no-bake dessert layers rich white and dark chocolate with crunchy Oreo cookies and refreshing peppermint, creating a treat that is both elegant and easy to make. Perfect for holiday parties, edible gifts, or a fun family kitchen activity, this bark is guaranteed to become a seasonal staple. In this detailed, beginner-friendly guide, we’ll walk you through every step to create this show-stopping confection.
What You’ll Need: The Ingredients List
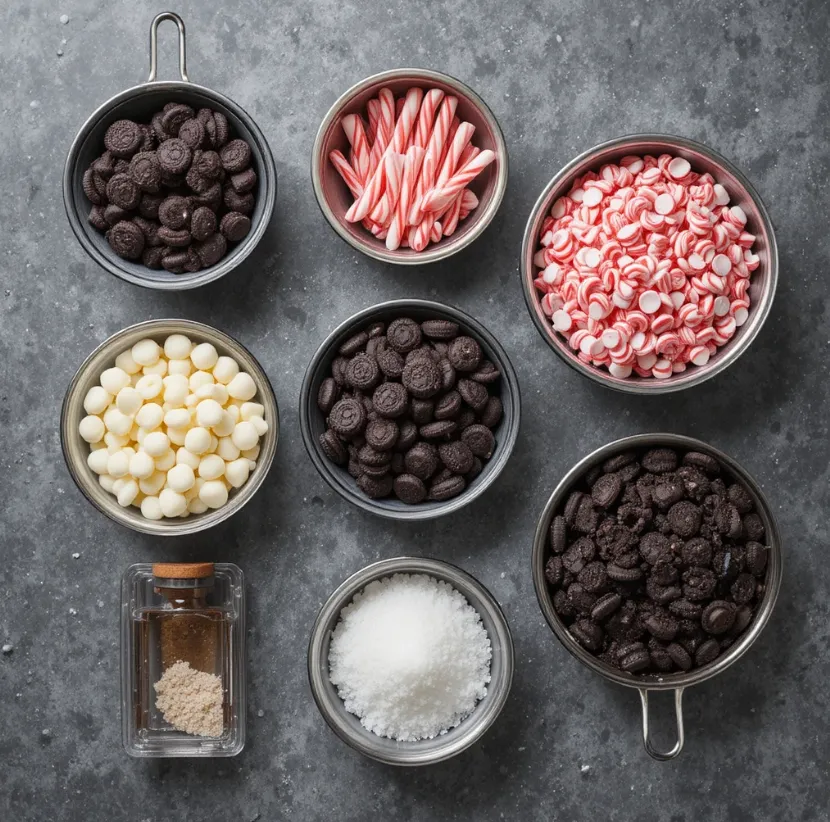
Gathering your ingredients is the first step to success. This recipe is wonderfully flexible, but using quality chocolate will make a significant difference in the final result.
Main Ingredients:
- 16 ounces (about 450g) high-quality white chocolate chips or baking bars, chopped
- 8 ounces (about 225g) dark or semi-sweet chocolate chips or baking bars, chopped
- 1 standard package (about 14.3 oz / 405g) of Original Oreo Cookies
- 5-6 regular-sized candy canes or 1/2 cup of pre-crushed peppermint candies
- 1 teaspoon of peppermint extract (optional, for a stronger mint flavor)
Optional for Garnish & Flavor:
- 1/4 cup of crushed peppermint candies for sprinkling on top
- A pinch of sea salt flakes to balance the sweetness
- Holiday sprinkles for extra color
Equipment Needed:
- A large baking sheet (approx. 9×13 inches or similar)
- Parchment paper or a silicone baking mat
- Two heatproof mixing bowls (for double boiler or microwave)
- Saucepan (for double boiler) or microwave
- Rolling pin or food processor for crushing
- Ziplock bags (for crushing candies and cookies)
- Spatula or offset knife for spreading
Step-by-Step Instructions for Perfect Peppermint Bark
Follow these numbered steps carefully for foolproof, gorgeous bark every single time.
Step 1: Prepare Your Pan and Ingredients
Line your baking sheet with parchment paper, ensuring it lies flat. Any wrinkles can transfer to the bottom of your bark. Set the pan aside.
This is also the time to prep your mix-ins. Unwrap the candy canes and place them in a sturdy ziplock bag. Use a rolling pin to crush them into small pieces (some fine powder and some small chunks). You don’t need to clean the bag you can use the same one for the Oreos next! Take about 3/4 of the Oreo cookies and coarsely crush them by hand inside the bag or by pulsing a few times in a food processor. You want a mix of sizes, from fine crumbs to quarter-sized pieces. Set aside the remaining whole Oreos for assembly.
Step 2: Melt the Dark Chocolate
In a heatproof bowl, combine your dark chocolate. You can melt it using one of two methods:
- Double Boiler Method (Recommended for Control): Place the bowl over a saucepan with about an inch of simmering water, ensuring the bottom of the bowl does not touch the water. Stir constantly until the chocolate is completely smooth and melted. Remove from heat immediately.
- Microwave Method: Microwave the chocolate in 30-second bursts at 50% power, stirring thoroughly after each interval, until smooth.
Once melted, stir in 1/2 of your crushed Oreo pieces. Mix well to combine.
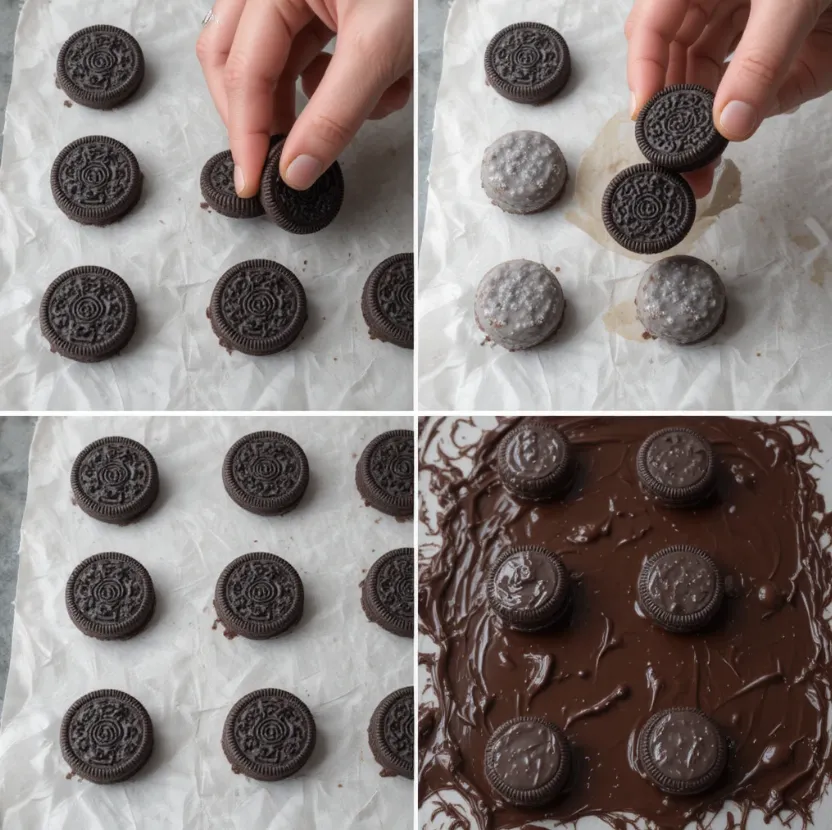
Step 3: Create the First Chocolate Layer
Pour the dark chocolate and Oreo mixture onto your prepared baking sheet. Using a spatula or the back of a spoon, spread it into a relatively even layer, about 1/4 inch thick. It doesn’t have to be perfect. Immediately, gently press the remaining whole Oreo cookies into the warm dark chocolate layer. This will create a sturdy base and delightful cookie pockets.
Place the entire pan in the refrigerator for 15-20 minutes, or until the dark chocolate layer is completely set and firm to the touch.
Step 4: Melt the White Chocolate & Add Flavor
While the base layer chills, melt the white chocolate using the same gentle method (double boiler or microwave). Crucial Tip: White chocolate scorches and seizes more easily than dark chocolate, so low, slow heat and constant stirring are vital.
Once completely smooth, remove from heat. If using, stir in the teaspoon of peppermint extract. Then, fold in the remaining crushed Oreo pieces and about 2/3 of your crushed candy cane pieces, reserving the rest for the top.
Step 5: Assemble the Final Layer and Chill
Remove the chilled pan from the refrigerator. Pour the white chocolate mixture over the firm dark chocolate base. Spread it carefully into an even layer, covering the Oreos completely.
While the white chocolate is still wet, immediately sprinkle the reserved crushed candy canes (and optional holiday sprinkles or a light pinch of sea salt) evenly over the top. Gently press them in with your hands to help them adhere.
Step 6: The Final Chill and Breaking
Return the pan to the refrigerator for at least 1-2 hours, or until the bark is completely hardened throughout. For the cleanest break, let it chill overnight.
Once fully set, remove the pan. Lift the entire sheet of bark using the parchment paper and place it on a cutting board. Use your hands to break it into rustic, uneven pieces, or use a sharp knife to cut it into clean squares or triangles.
Pro Tips for Bark Perfection
- Chocolate Quality Matters: Using chocolate baking bars (like Ghirardelli or Baker’s) that you chop yourself will yield a smoother melt and richer flavor than chocolate chips, which contain stabilizers.
- Prevent Seizing: Ensure all your equipment is completely dry. Even a drop of water can cause chocolate to become grainy and stiff.
- Room Temperature is Key: Before breaking, let the bark sit at room temperature for 5 minutes after removing it from the fridge. This prevents it from shattering uncontrollably.
- Storage & Gifting: Store the bark in an airtight container in the refrigerator for up to 2 weeks. It also freezes beautifully for up to 2 months. Layer pieces between parchment paper in a tin or cellophane bag for gorgeous holiday gifts.
- Get Creative: Try using Peppermint Oreos for an extra minty punch, or add a drizzle of melted dark chocolate on top for a more decorative finish.
Conclusion: Share the Holiday Joy
Congratulations! You’ve just created a stunning, professional-looking Christmas Oreo Peppermint Bark with minimal effort. This recipe proves that you don’t need to be an expert pastry chef to make something truly special and delicious for the holidays. The contrast of chocolates, the satisfying crunch of Oreos and peppermint, and the festive appearance are sure to impress everyone who tries it.
We encourage you to make this recipe your own. Share it with neighbors, package it beautifully for teachers and friends, or simply enjoy it as a sweet treat with your family during a cozy movie night. Don’t forget to take a picture of your creation and share it online using #ChristmasOreoBark. Happy holidays and happy baking


