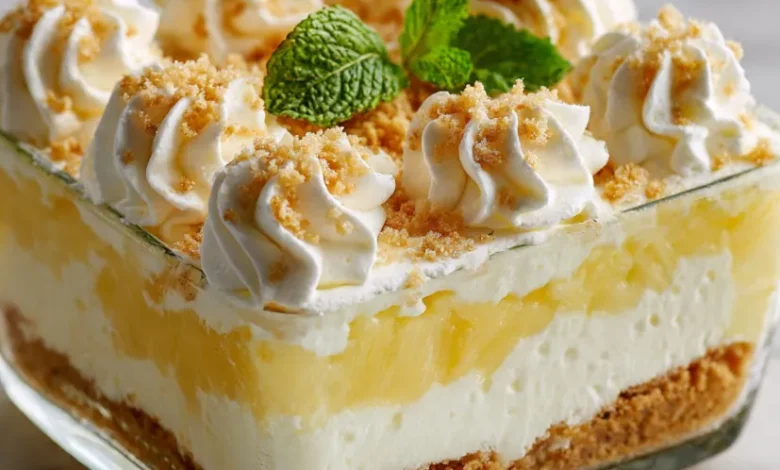
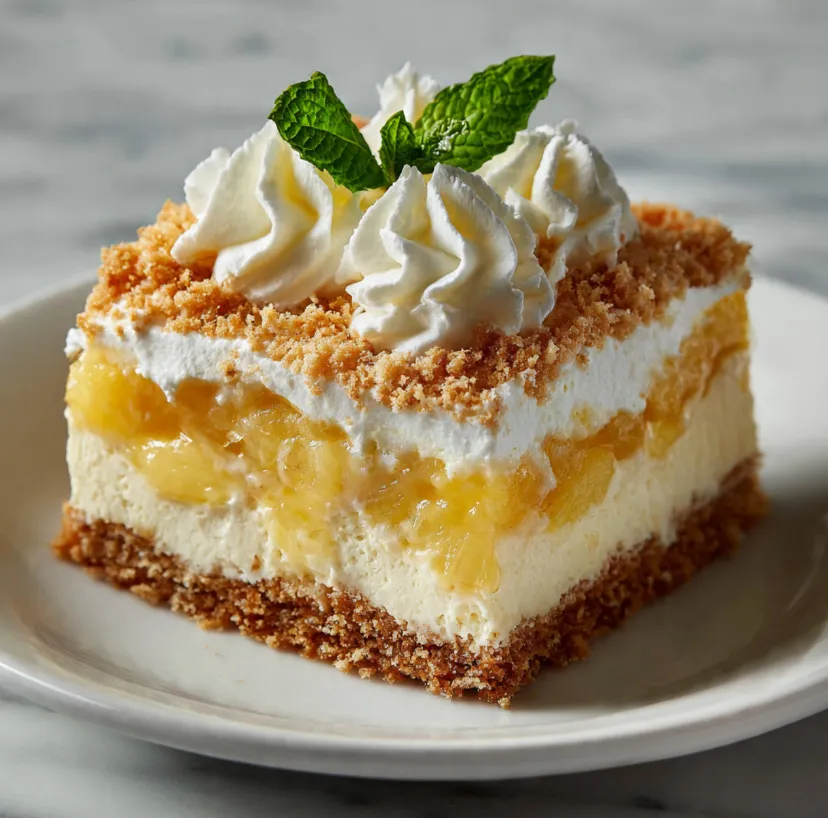
Craving a taste of the tropics without breaking a sweat in the kitchen? Look no further than this Ultimate No-Bake Pineapple Cream Dessert. It’s the perfect fusion of creamy, dreamy texture and the vibrant, sunny flavor of pineapple, all nestled in a buttery biscuit base. Whether you’re planning a summer barbecue, a potluck dinner, or simply need a sweet escape on a busy weeknight, this dessert is your ticket to paradise. It requires zero oven time, is incredibly forgiving for beginners, and promises to deliver a stunning, crowd-pleasing result every single time. Let’s dive into this easy, no-fuss recipe that brings a slice of sunshine straight to your table.
Why You’ll Fall in Love With This Dessert
Before we gather our ingredients, let’s talk about why this recipe deserves a permanent spot in your dessert rotation. First and foremost, it’s a no-bake wonder. This means no heating up your kitchen and no precise temperature monitoring. It’s all about assembly and letting the fridge do the work.
Secondly, it’s incredibly versatile. The pineapple cream filling is light yet indulgent, offering a beautiful balance of sweet and tangy. The crunchy base provides the perfect textural contrast. It’s a dessert that feels both familiar and special.
Finally, it’s a visual showstopper. The layered look, topped with swirls of cream and pineapple tidbits, makes it look like you spent hours crafting it. Only you will know the simple secret behind this impressive treat!
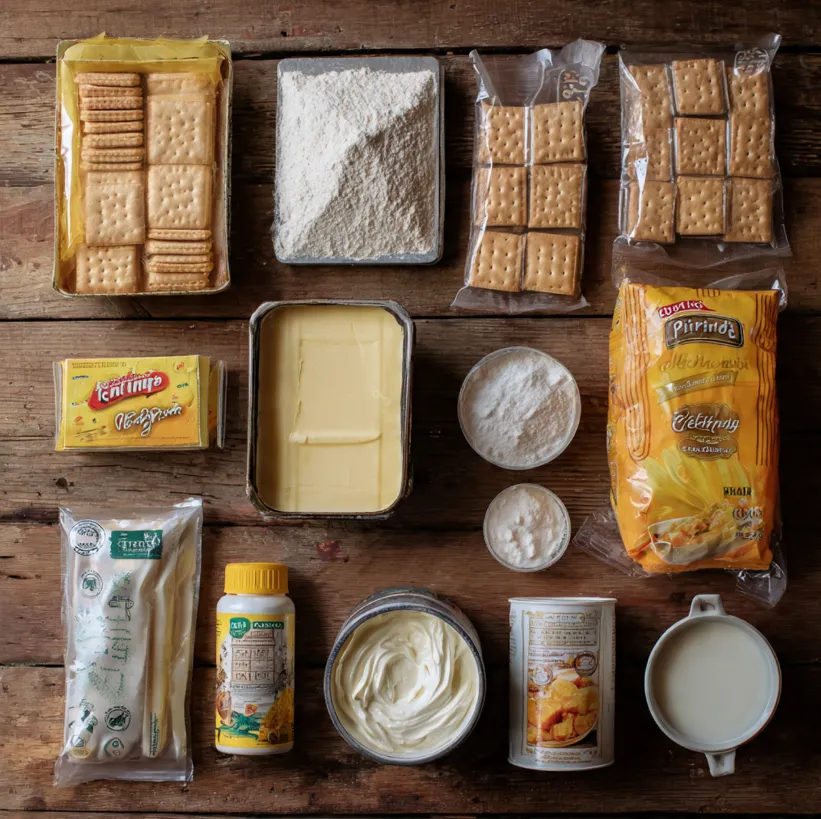
Your Complete Shopping List: Simple Ingredients, Spectacular Result
Gathering your ingredients is the first step to success. Here’s everything you’ll need, separated by component for clarity. Most items are pantry staples or easily found at any grocery store.
For the Crumb Base:
- 200g (about 2 cups) of digestive biscuits or graham crackers
- 100g (1/2 cup) of unsalted butter, melted
- 2 tablespoons of granulated sugar (optional, for extra sweetness)
For the Creamy Pineapple Filling:
- 1 can (425g / 15 oz) of crushed pineapple in juice (DO NOT DRAIN)
- 1 package (about 85g / 3.4 oz) of instant vanilla pudding mix
- 250g (1 cup) of cold full-fat cream cheese, softened
- 60g (1/2 cup) of icing sugar (confectioners’ sugar)
- 250ml (1 cup) of heavy whipping cream (cold)
- 1 teaspoon of pure vanilla extract
For the Topping & Garnish:
- 250ml (1 cup) of heavy whipping cream, cold
- 2 tablespoons of icing sugar
- ½ teaspoon of vanilla extract
- A few pineapple tidbits or slices (canned or fresh)
- A sprig of fresh mint (optional)
Kitchen Tools You’ll Need:
- 20x20cm (8×8 inch) square pan or a 23cm (9-inch) round springform pan
- Food processor or a zip-top bag and rolling pin
- Two large mixing bowls
- Electric hand mixer or stand mixer
- Spatula
- Measuring cups and spoons
Step-by-Step Instructions: Building Your Pineapple Paradise
Follow these numbered steps carefully for a flawless, layered dessert. Remember, the key is in the chilling time, so a little patience goes a long way!
Step 1: Prepare the Pan and Create the Base
Line your chosen pan with parchment paper, leaving some overhang on the sides. This “sling” will make it incredibly easy to lift the finished dessert out for clean slicing.
Place the digestive biscuits in a food processor and pulse until you have fine crumbs. No processor? Place them in a sturdy zip-top bag and crush with a rolling pin until finely ground.
In a medium bowl, combine the biscuit crumbs with the melted butter (and optional sugar) until the mixture resembles wet sand and holds together when pinched.
Pour the crumb mixture into your prepared pan. Using the bottom of a glass or a flat measuring cup, press the crumbs firmly and evenly into the base. This compact layer is the foundation of your dessert.
Place the pan in the refrigerator to chill and set while you make the filling.
Step 2: Craft the Dreamy Pineapple Cream Filling
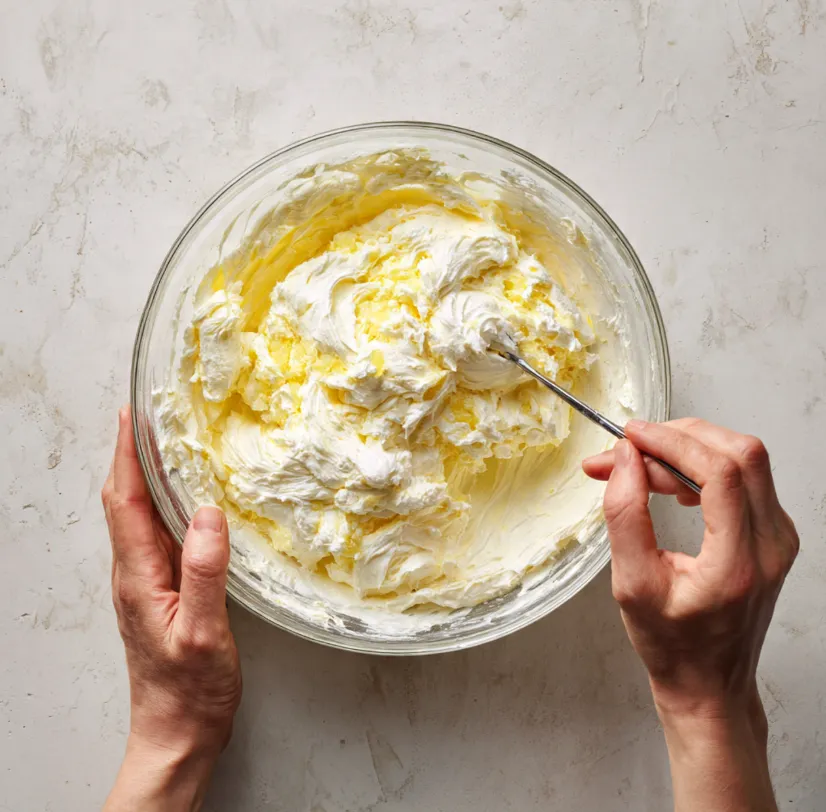
In a large mixing bowl, beat the cold cream cheese with 60g (1/2 cup) of icing sugar until completely smooth and lump-free. This should take about 2 minutes with an electric mixer. Scrape down the sides of the bowl as needed.
In a separate, cold large bowl, pour in 250ml (1 cup) of heavy whipping cream. Whip on medium-high speed until soft peaks form. This means the cream will hold its shape but the tip will curl over when you lift the beaters.
Add the whipped cream and the teaspoon of vanilla extract to the sweetened cream cheese. Gently fold them together using a spatula until just combined and uniform. Be careful not to deflate the whipped cream.
Now, add the entire can of crushed pineapple WITH its juice. Sprinkle the instant vanilla pudding mix over the top.
Immediately and quickly, fold everything together until the pudding mix is fully incorporated and the filling has thickened. The magic of the instant pudding is that it activates with the pineapple juice, setting the filling without any cooking. Your mixture will become lush and spoonable.
Step 3: Assemble and Set
Retrieve your pan with the chilled base from the refrigerator.
Pour the thickened pineapple cream filling over the crumb base. Use your spatula to spread it into an even, smooth layer.
Gently tap the pan on the counter a few times to release any air bubbles.
Cover the pan with plastic wrap or a lid and refrigerate for a minimum of 4 hours, but preferably overnight. This extended chilling is non-negotiable for the perfect, sliceable texture.
Step 4: Add the Final Whipped Cream Topping
Just before serving, prepare the final whipped cream layer. In a clean, cold bowl, whip the remaining 250ml (1 cup) of heavy cream with 2 tablespoons of icing sugar and ½ tsp vanilla until you achieve stiff peaks.
Spread or pipe the whipped cream over the fully set dessert.
Garnish with pineapple tidbits and a fresh mint sprig for a pop of color.
Pro Tips for Dessert Perfection
- Cold is Key: Ensure your cream, cream cheese, and even your mixing bowls are cold. This helps the cream whip up faster and higher, giving you a lighter, more stable filling.
- Pineapple Power: Using the juice from the can is crucial. It provides both flavor and the liquid needed to activate the instant pudding. Do not use dried pineapple or fresh pineapple that hasn’t been slightly crushed, as the enzymes in fresh pineapple can prevent setting.
- Press Firmly: Don’t be shy when pressing the crumb base. A firmly packed base won’t crumble when you slice the dessert.
- Customize It: This recipe is a fantastic canvas. Try using ginger snap biscuits for the base for a spiced twist, or add a handful of toasted coconut to the filling for extra tropical flair.
- Clean Slices: For picture-perfect slices, dip your sharp knife in hot water and wipe it clean between each cut.
Frequently Asked Questions (FAQs)
Can I make this dessert ahead of time?
Absolutely! This dessert is ideal for making ahead. Prepare it fully (through step 3) up to 24 hours in advance. Add the final whipped cream topping and garnish just a few hours before serving to keep it fresh.
Can I use fresh pineapple instead of canned?
It’s not recommended for the filling. Canned pineapple has been cooked, deactivating the enzyme (bromelain) that can break down dairy and prevent the pudding from setting properly. You can, however, use fresh pineapple for the garnish on top.
How should I store leftovers?
Keep any leftovers covered tightly with plastic wrap or in an airtight container in the refrigerator. It will stay fresh and delicious for up to 3 days.
Can I freeze this pineapple dessert?
Freezing is not advised, as the creamy filling and whipped cream layers may separate and become grainy upon thawing.
Your Taste of Paradise Awaits
There you have it the ultimate fuss-free, no-bake dessert that delivers maximum flavor and impressive style with minimal effort. This Pineapple Cream Dessert is more than just a recipe; it’s a guaranteed way to bring smiles to the table and a refreshing, creamy taste of the tropics to any occasion.
So, what are you waiting for? Gather those simple ingredients, clear some space in your fridge, and get ready to create your own slice of edible sunshine. Don’t forget to share your beautiful creation and tag your photos! Now, go forth and enjoy a well-deserved taste of paradise.