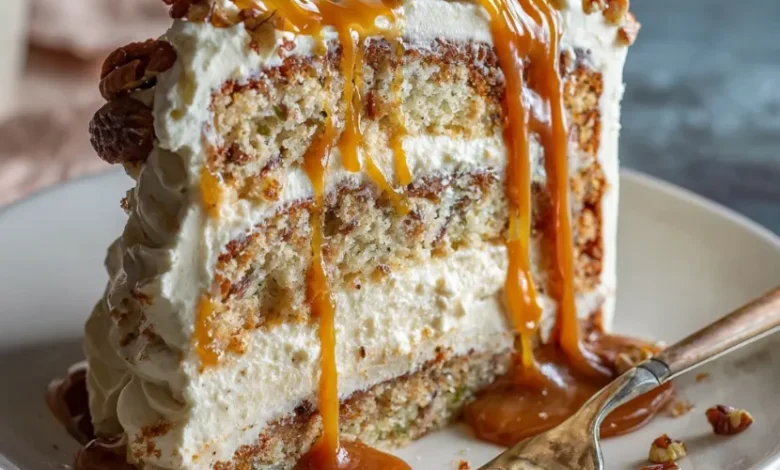
Few desserts capture the warm, comforting essence of the American South quite like a Butter Pecan Cake. This magnificent treat, with its layers of tender, brown sugar-kissed cake and rich, buttery frosting, is a symphony of flavor and texture. It’s the star of holiday tables, family reunions, and any occasion that calls for a truly special homemade dessert.
Today, we’re demystifying this classic. While it might seem like a bakery-level masterpiece, this Butter Pecan Cake recipe is surprisingly approachable, even for beginner bakers. With our detailed, step-by-step guide, you’ll learn how to toast pecans to nutty perfection, create an incredibly moist cake crumb, and whip up a frosting so luscious you’ll want to eat it with a spoon. Let’s preheat the oven and fill your kitchen with the irresistible aroma of butter and toasted nuts.
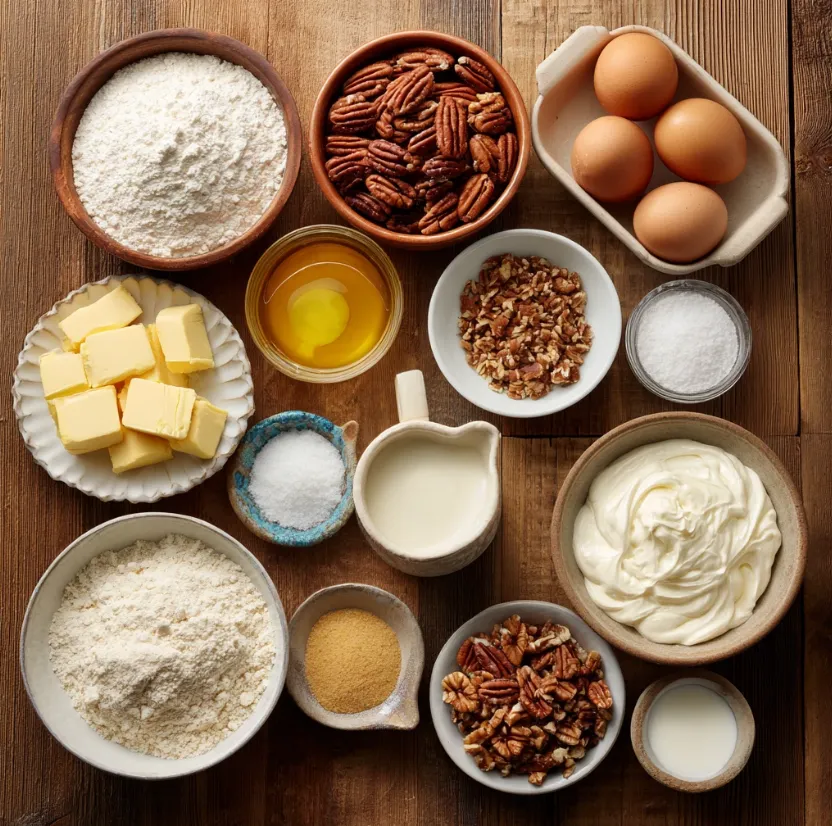
Gathering Your Ingredients for Success
The magic of this cake lies in the quality and balance of its components. Using real butter, fresh pecans, and pure vanilla extract makes a world of difference. For best results, have all your ingredients at room temperature (eggs, milk, sour cream) before you begin this ensures a smooth, evenly combined batter.
For the Toasted Pecans:
- 1 ½ cups (150g) pecans, chopped
- 2 tablespoons unsalted butter
- A pinch of salt
For the Butter Pecan Cake:
- 3 cups (375g) all-purpose flour, spooned and leveled
- 2 teaspoons baking powder
- ½ teaspoon baking soda
- 1 teaspoon salt
- 1 cup (2 sticks / 226g) unsalted butter, softened
- 1 ½ cups (300g) light brown sugar, packed
- ½ cup (100g) granulated sugar
- 4 large eggs, room temperature
- 1 tablespoon pure vanilla extract
- 1 cup (240ml) full-fat sour cream, room temperature
- ½ cup (120ml) whole milk, room temperature
For the Brown Butter Frosting:
- 1 ½ cups (3 sticks / 339g) unsalted butter
- 6 cups (720g) powdered sugar, sifted
- ¼ cup (60ml) heavy cream, plus more as needed
- 2 teaspoons pure vanilla extract
- ½ teaspoon salt
Step-by-Step Baking Instructions
Follow these numbered steps carefully for a foolproof baking experience.
Part 1: Preparing the Toasted Pecans
- Preheat your oven to 350°F (175°C). Spread the chopped pecans on a dry baking sheet.
- Toast for 5-7 minutes, watching closely, until fragrant. Remove and let cool slightly.
- In a small skillet over medium heat, melt the 2 tablespoons of butter. Add the warm toasted pecans and a pinch of salt. Cook, stirring constantly, for 2-3 minutes until the butter is absorbed and the pecans are glossy.
- Spread the pecans back onto the baking sheet to cool completely. This step intensifies their flavor and adds a wonderful buttery crunch.
Part 2: Making the Cake Batter
- Prep: Grease and flour three 8-inch (or two 9-inch) round cake pans. Line the bottoms with parchment paper for guaranteed easy release.
- Dry Mix: In a medium bowl, whisk together the flour, baking powder, baking soda, and salt. Set aside.
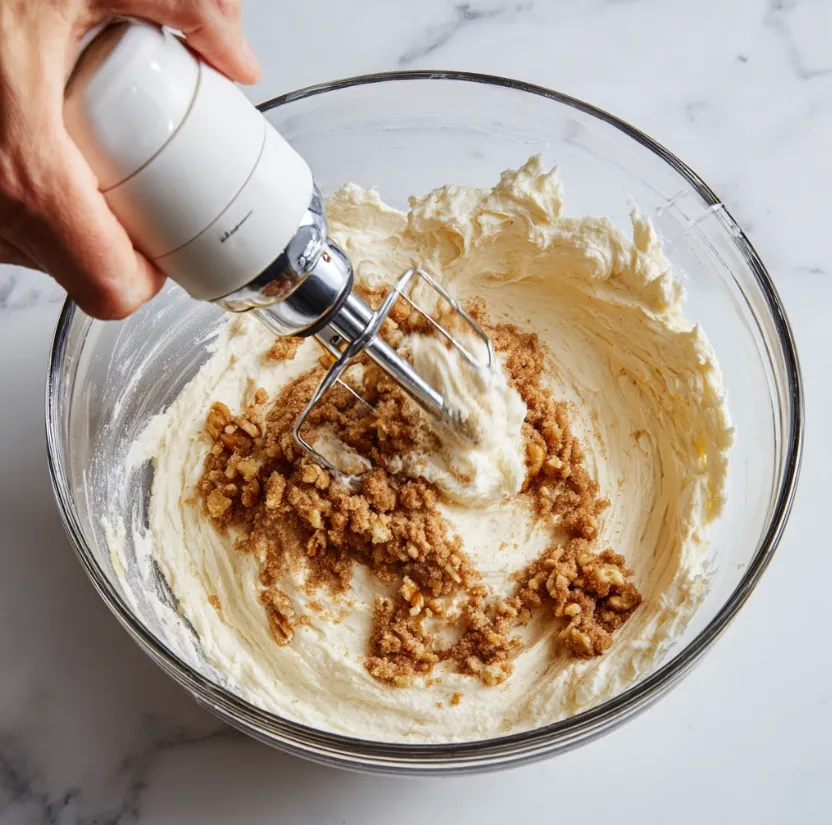
- Cream Butter & Sugars: In a large bowl using a hand mixer or stand mixer fitted with the paddle attachment, beat the softened butter, brown sugar, and granulated sugar on medium-high speed for 3-4 minutes. The mixture should be light, fluffy, and pale in color.
- Add Eggs & Vanilla: Add the eggs one at a time, beating well after each addition. Scrape down the bowl. Beat in the vanilla extract.
- Combine Wet & Dry: With the mixer on low speed, add the dry ingredients alternately with the sour cream and milk. Begin and end with the dry ingredients (3 additions of dry, 2 of wet). Mix just until combined after each addition. Do not overmix.
- Fold in Pecans: Gently fold in 1 cup of the cooled, buttered pecans, reserving the rest for garnish.
- Bake: Divide the batter evenly between the prepared pans. Bake for 25-30 minutes (or 30-35 minutes for two 9-inch pans), until a toothpick inserted into the center comes out clean.
- Cool: Let cakes cool in pans for 15 minutes, then turn out onto a wire rack to cool completely before frosting.
Part 3: Creating the Brown Butter Frosting
- Brown the Butter: In a light-colored saucepan over medium heat, melt 1 ½ cups of butter. Swirl the pan occasionally. It will foam, then crackle. Watch for golden brown milk solids at the bottom and a nutty aroma. Immediately pour into a heatproof bowl, scraping in all the brown bits. Chill for 45-60 minutes until solidified but still soft.
- Whip the Frosting: Beat the cooled brown butter on medium speed until smooth. Gradually add the sifted powdered sugar, heavy cream, vanilla, and salt. Start slow to avoid a sugar cloud!
- Finish: Once combined, beat on high speed for 2-3 minutes until the frosting is very light, creamy, and spreadable. Add a teaspoon more cream if it’s too thick.
Part 4: Assembling the Cake
- Level: If your cake domes have risen, use a serrated knife to level the tops.
- Layer: Place one cake layer on a serving plate. Spread with about ¾ cup of frosting. Repeat with remaining layers.
- Crumb Coat: Apply a thin layer of frosting over the entire cake to seal in crumbs. Chill for 15-20 minutes.
- Final Frost: Apply the remaining frosting in a thick, even layer over the chilled cake. Use a spatula or bench scraper for smooth sides.
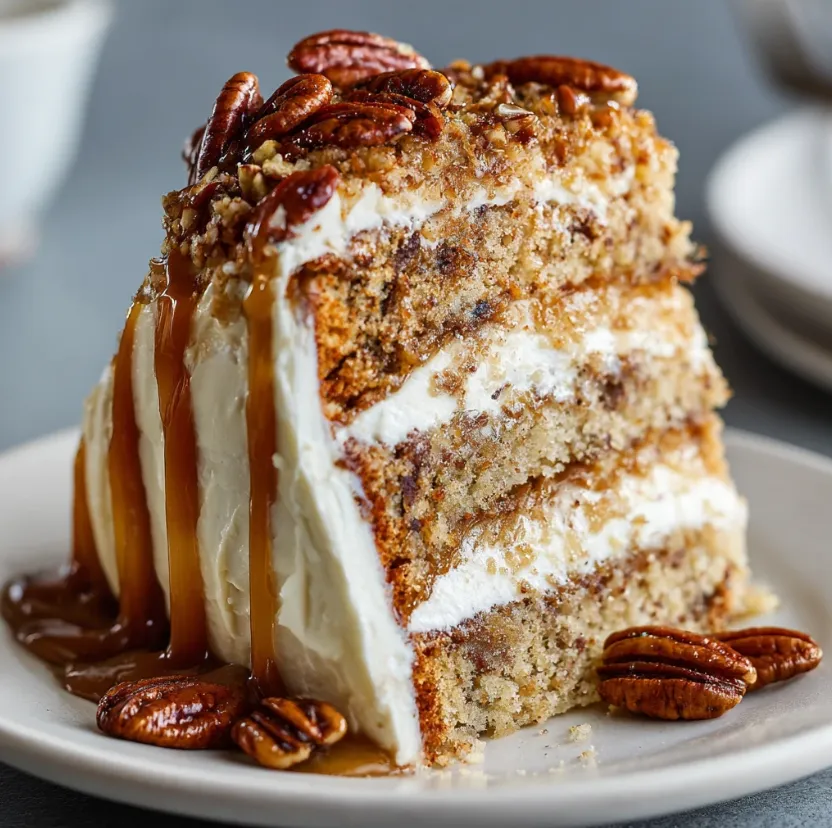
- Garnish: Press the reserved toasted pecans onto the sides of the cake or pile them on top. For extra flair, drizzle with caramel sauce.
Pro Tips for a Perfect Butter Pecan Cake Every Time
- Nut Wisdom: Toasting the pecans is non-negotiable! It unlocks their oils and deep, rich flavor.
- Brown Butter Caution: When browning butter, use a light-colored pan so you can see the color change clearly. It goes from brown to burnt very quickly.
- Room Temperature is Key: Room temp ingredients emulsify better, creating a uniform, high-rising batter without overmixing.
- Don’t Overbake: Start checking your cakes a few minutes before the timer. The cake is done when it springs back to a light touch and a toothpick has a few moist crumbs.
- Patience with Cooling: Frosting a warm cake is a recipe for melted, sliding disaster. Ensure layers are completely cool.
- Make Ahead: Cake layers can be baked, wrapped tightly, and frozen for up to 2 months. Thaw overnight before frosting.
Conclusion: Your Slice of Comfort Awaits
Congratulations! You’ve just mastered the art of the Butter Pecan Cake. This recipe is more than a list of steps it’s an invitation to create lasting memories. The process of toasting, browning, baking, and assembling is a labor of love that yields incredible rewards: a cake that’s impossibly moist, fragrant with brown butter, and studded with the satisfying crunch of pecans.
So, share this masterpiece with loved ones, savor it with a cup of coffee, or simply enjoy the pride of having baked something truly spectacular. Once you taste the rich, complex flavors of this homemade version, you’ll never look at a store-bought cake the same way again. Don’t forget to pin this recipe, and share your beautiful creation online with #MyButterPecanCake. Happy baking


