Peruvian Chicken (Pollo a la Brasa Style) — Your Ultimate Guide to a Juicy Rotisserie Favorite
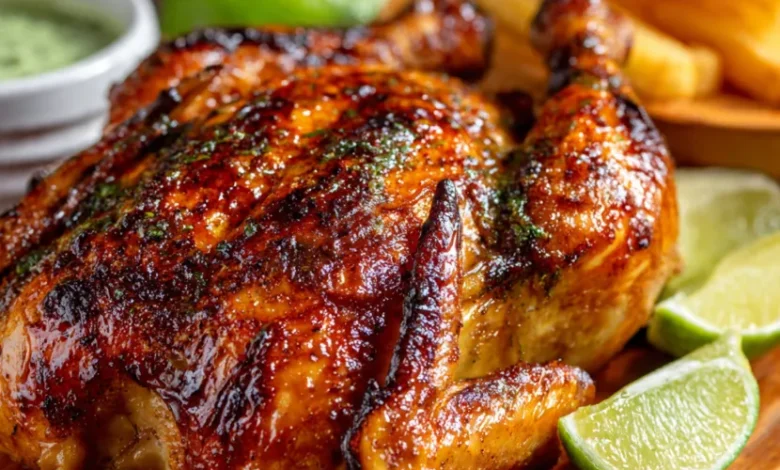
Imagine the irresistible aroma of perfectly seasoned, crispy-skinned chicken, slow-roasted to juicy, tender perfection. That’s the magic of Peruvian Chicken, known as Pollo a la Brasa. This isn’t just any roast chicken; it’s a cultural icon of Peru, famed for its explosive flavor profile achieved through a unique marinade and cooking technique. The result? Unbelievably moist meat with a savory, slightly tangy, and deeply spiced crust that will have everyone asking for seconds. In this comprehensive, beginner-friendly guide, we’ll unlock the secrets to making authentic-tasting Peruvian Chicken at home, no fancy rotisserie required. Get ready to bring the vibrant taste of a Peruvian pollería to your kitchen!
What Makes Peruvian Chicken So Special?
Before we dive into the recipe, let’s understand why Pollo a la Brasa is a global sensation. The key lies in its marinade. Unlike simple roast chicken, Peruvian chicken is bathed in a potent blend of ingredients that work together to tenderize and flavor the meat to its core.
- The Foundation: Soy sauce provides umami depth and saltiness.
- The Tang: Vinegar (often red wine or white) tenderizes the skin and meat while adding a sharp brightness.
- The Aroma: A generous amount of garlic and cumin form the aromatic backbone.
- The Secret Spice: While recipes vary, many include a touch of aji panca (a smoky, fruity Peruvian chili paste) or its more accessible cousin, smoked paprika. For heat, aji amarillo paste is traditional.
- The Herb: Fresh cilantro or oregano adds a final layer of freshness.
This marinade, combined with slow, even roasting, creates the signature juicy texture and complex flavor that define the best Peruvian rotisserie chicken.
Ingredients for Authentic Pollo a la Brasa Style Chicken
Gathering your ingredients is the first step to success. This recipe is designed for accessibility, using common substitutes for traditional Peruvian ingredients without compromising on flavor.
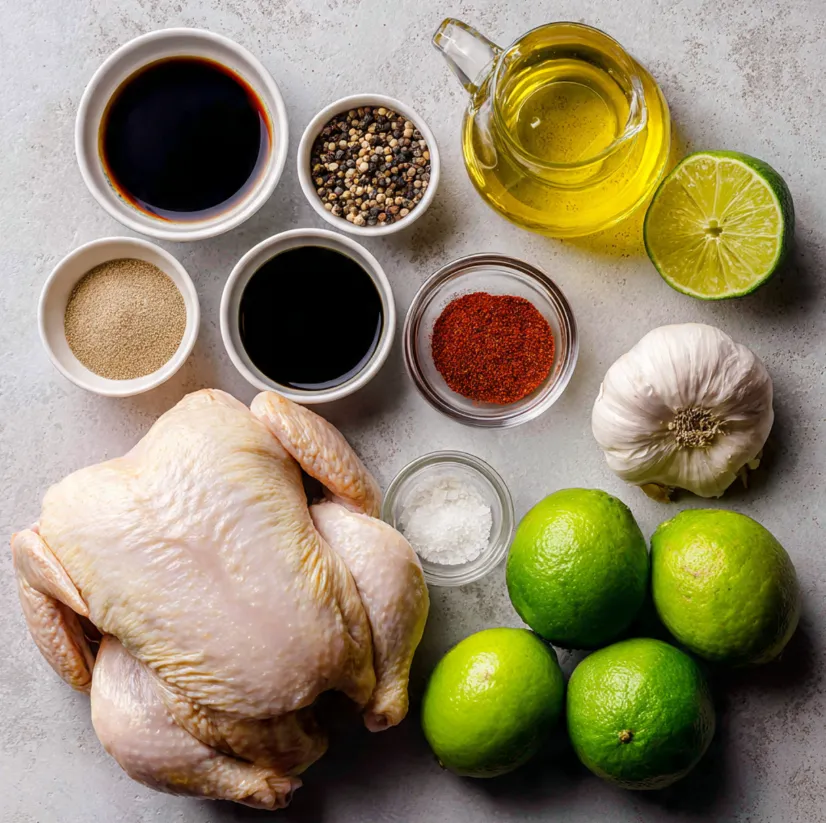
For the Chicken and Marinade:
- 1 whole chicken (about 4-5 lbs / 1.8-2.3 kg): Pat it dry for crispier skin.
- ¼ cup soy sauce (or tamari for gluten-free)
- ¼ cup red wine vinegar or white vinegar
- 10-12 large garlic cloves, peeled
- 2 tablespoons ground cumin
- 1 tablespoon smoked paprika (this is our substitute for aji panca paste)
- 1 tablespoon aji amarillo paste (optional, but highly recommended for authentic flavor; find it in Latin markets or online)
- 2 teaspoons freshly ground black pepper
- 1 teaspoon dried oregano (or 1 tablespoon fresh)
- 2 teaspoons salt
- ⅓ cup olive oil or vegetable oil
- Juice of 1 lime
For Serving (Traditional Sides):
- Green Sauce (Aji Verde): A creamy, spicy herb sauce that is non-negotiable! (We’ll provide a simple recipe in the tips section).
- French Fries or Yuca Frita: The classic pairing.
- Fresh limes: For squeezing over the chicken.
- Simple salad: Lettuce, tomato, and red onion with a light vinaigrette.
Step-by-Step Instructions for Perfect Peruvian Chicken
Follow these numbered steps carefully for a foolproof, incredibly flavorful result. Set aside at least 2 hours for marinating, or ideally, overnight.
Step 1: Prepare the Marinade Paste
- In a blender or food processor, combine the soy sauce, vinegar, garlic cloves, cumin, smoked paprika, aji amarillo paste (if using), black pepper, oregano, salt, and olive oil.
- Blend until you have a completely smooth, thick paste. The consistency should be like a loose pesto. Taste and adjust salt if needed.
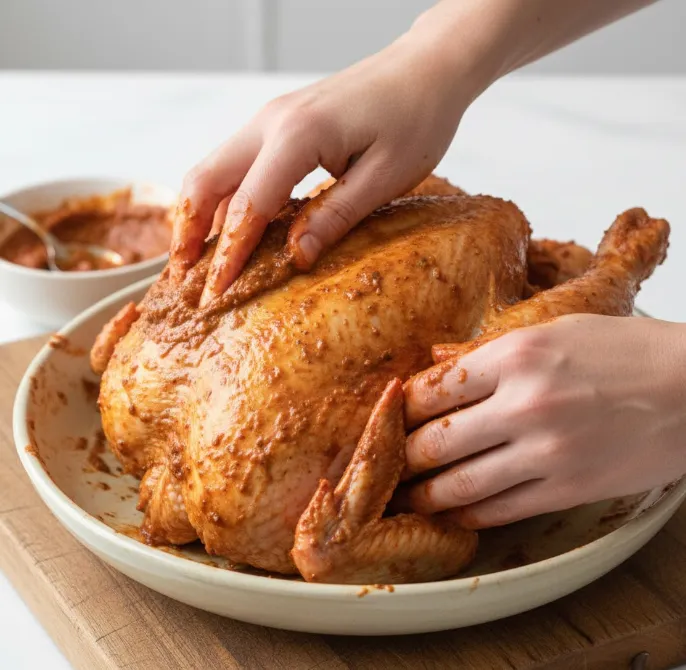
Step 2: Prepare and Marinate the Chicken
- Place your whole chicken on a clean work surface. Remove any giblets from the cavity. Using paper towels, pat the chicken completely dry, inside and out. This is crucial for crispy skin.
- To maximize flavor: Gently loosen the skin over the breast and thighs by sliding your fingers underneath it. Be careful not to tear it.
- Place the chicken in a large bowl, roasting pan, or a sturdy zip-top bag.
- Using your hands, rub about one-third of the marinade paste directly onto the meat under the loosened skin. Rub another third all over the outside of the chicken. Pour the remaining third into the cavity and massage it in.
- Ensure the chicken is thoroughly coated. Cover the bowl (or seal the bag) and refrigerate. Marinate for at least 2 hours, but for the best flavor, let it marinate overnight (8-12 hours).
Step 3: Preheat and Prepare for Roasting
- Remove the chicken from the refrigerator about 45 minutes before cooking to take the chill off. This promotes even cooking.
- Preheat your oven to 425°F (220°C). Position a rack in the middle-lower part of the oven. Place a wire rack inside a rimmed baking sheet or roasting pan. This setup allows hot air to circulate around the chicken, mimicking a rotisserie effect and preventing the bottom from steaming.
- Transfer the marinated chicken to the wire rack, breast-side up. Tie the legs together with kitchen twine if desired (this helps with even shape).
Step 4: Roast the Chicken to Perfection
- Place the chicken in the hot oven and roast at 425°F (220°C) for 20 minutes. This initial high heat helps crisp the skin.
- After 20 minutes, reduce the oven temperature to 375°F (190°C).
- Continue roasting until the internal temperature in the thickest part of the thigh (without touching the bone) reaches 165°F (74°C). This will take approximately 50-70 more minutes, depending on the size of your chicken.
- Pro Tip: For extra-crispy skin, during the last 10 minutes of cooking, you can brush the chicken with a little honey or maple syrup mixed with 1 tablespoon of the pan drippings.
Step 5: Rest and Serve
- Once cooked, remove the chicken from the oven. Loosely tent it with aluminum foil and let it rest for 15-20 minutes. This allows the juices to redistribute throughout the meat, guaranteeing a moist and juicy Peruvian chicken.
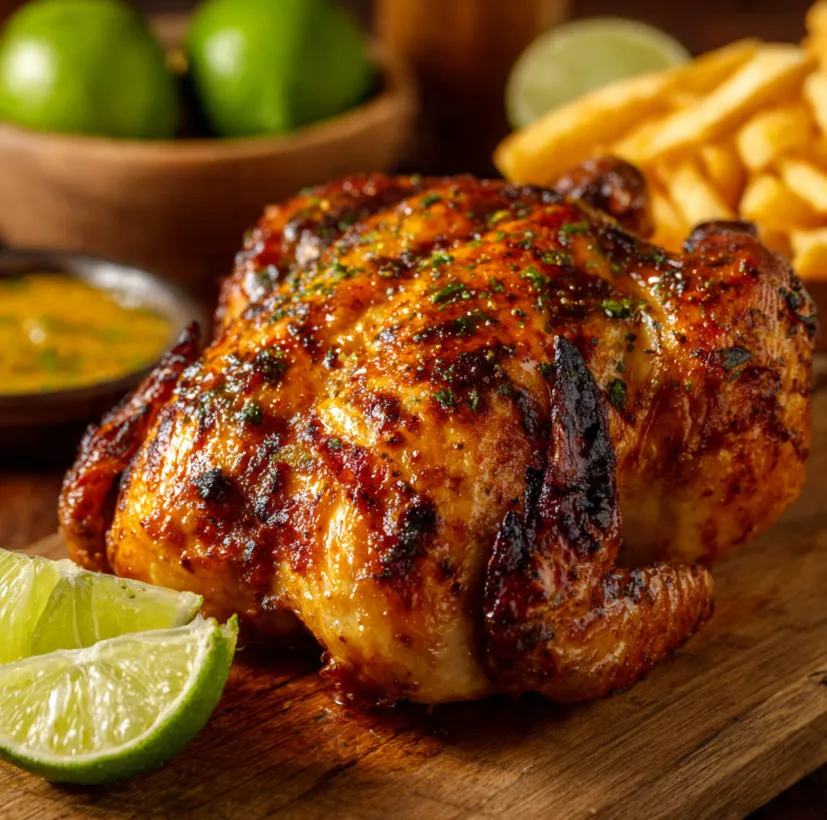
- Carve the chicken, serve with plenty of limes, your chosen sides, and the essential green sauce.
Pro Tips for the Best Homemade Peruvian Chicken
- The Dry Skin Secret: Don’t skip drying the chicken. Moisture is the enemy of crisp skin.
- Marinate Overnight: The flavor difference between a 2-hour marinade and an overnight one is monumental. Plan ahead!
- No Blender? Finely mince the garlic and whisk all marinade ingredients together. It will be slightly less smooth but just as tasty.
- Spatchcocking (Butterflying): For faster, more even cooking and even crispier skin, consider spatchcocking your chicken. Remove the backbone with kitchen shears, press the bird flat, and marinate/roast as directed. Cooking time will be reduced by about 25%.
- Quick Aji Verde (Green Sauce) Recipe: In a blender, combine 1 cup mayonnaise (or ½ cup mayo + ½ cup sour cream), 1 cup fresh cilantro leaves, 1-2 tablespoons aji amarillo paste, 2 garlic cloves, ¼ cup cotija or feta cheese, 2 tablespoons lime juice, and 2 tablespoons olive oil. Blend until smooth. Season with salt. Thin with a little water if needed.
- Using Leftovers: This chicken makes incredible sandwiches, salads, tacos, or fried rice. The flavorful meat never goes to waste.
Conclusion: Bring the Flavors of Peru to Your Table
Making restaurant-quality Pollo a la Brasa style chicken at home is not only possible but incredibly rewarding. With this detailed guide, you have everything you need to master the marinade, the roasting technique, and the serving traditions. The symphony of garlic, cumin, smoked paprika, and tangy vinegar creates a chicken that is in a league of its own unfailingly juicy, aromatic, and packed with flavor in every single bite.
So, gather your ingredients, blend that marinade, and get ready for your kitchen to smell like your favorite Peruvian rotisserie. Don’t forget the fries and that addictive green sauce! We’d love to see your results! Share your masterpiece on social media and tag it #MyPeruvianChickenAdventure. ¡Buen provecho