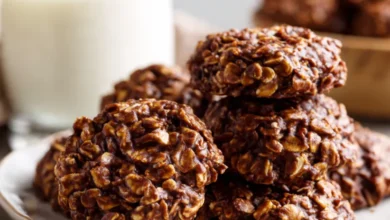
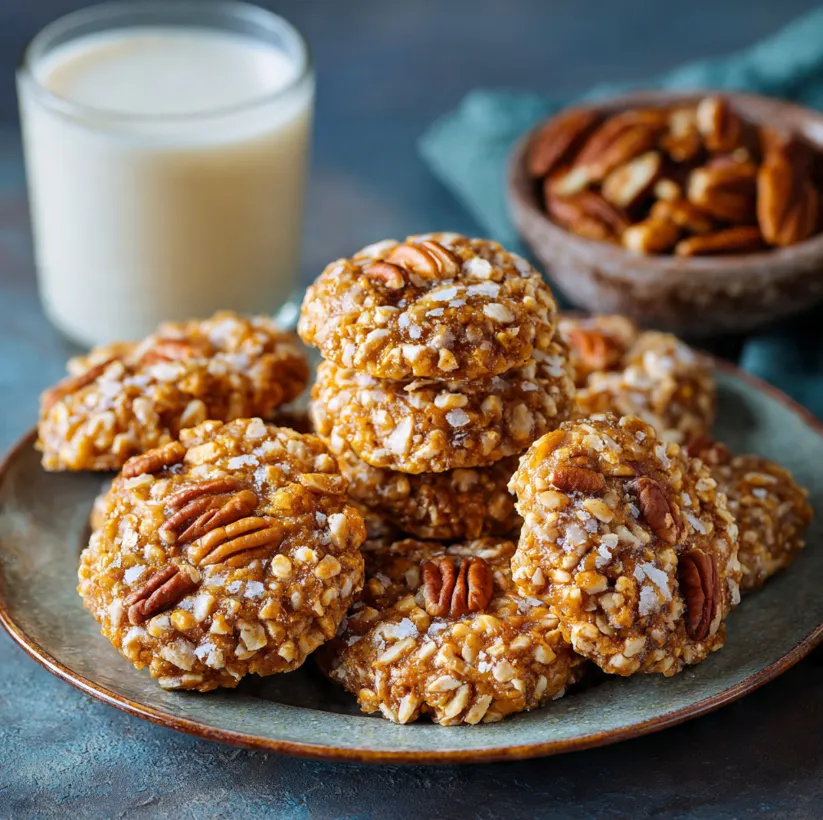
No-Bake Coconut Pecan Praline Cookies (Easy 20-Minute Recipe)
Imagine biting into a cookie that’s delightfully chewy, packed with the rich, buttery flavor of toasted pecans, and covered in sweet, shredded coconut all without ever turning on your oven. These No-Bake Coconut Pecan Praline Cookies are your ticket to dessert heaven in just 20 minutes. Perfect for busy weeknights, last-minute guests, or when a sudden sweet craving strikes, this recipe requires minimal effort and delivers maximum satisfaction. Whether you’re a seasoned baker or a complete beginner in the kitchen, this foolproof guide will walk you through every step to create irresistible, gourmet-tasting cookies that will impress everyone. Let’s dive into this effortless culinary magic!
Everything You Need: The Simple Ingredient List
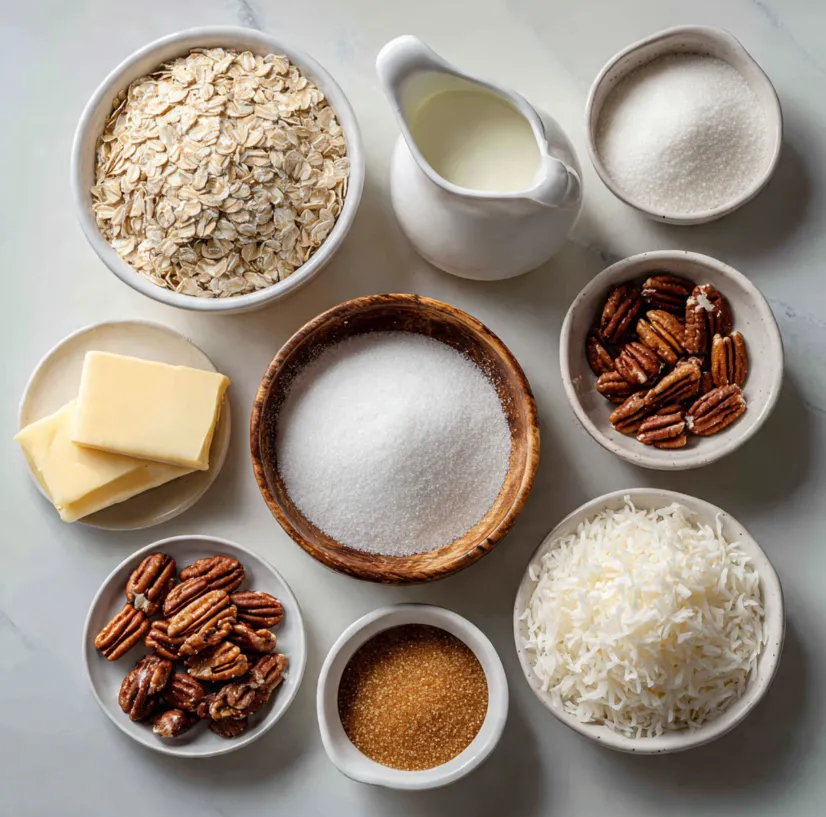
The beauty of this recipe lies in its simplicity. You likely have most of these pantry staples on hand already. Here’s what you’ll need to make about 24 delicious cookies:
- 3 cups quick-cooking oats (not old-fashioned rolled oats, as they won’t bind as well)
- 1 cup granulated sugar
- 1 cup packed light brown sugar (for that deep molasses flavor)
- 1/2 cup (1 stick) unsalted butter
- 1/2 cup whole milk
- 1 teaspoon pure vanilla extract
- 1 cup chopped pecans (toasted for best flavor)
- 1 1/2 cups sweetened shredded coconut (divided into 1 cup for the mix and 1/2 cup for rolling)
Let’s Make Magic: Step-by-Step Instructions
Follow these numbered steps closely for perfect, no-fail cookies every single time.
Step 1: Prepare Your Workspace
Before you start cooking, it’s crucial to be prepared. This process moves quickly at the end. Line two large baking sheets with parchment paper or silicone baking mats. Have all your ingredients measured and ready to go (this is called mise en place). This includes toasting your pecans if you haven’t already (simply spread them on a dry skillet over medium heat for 3-5 minutes until fragrant).
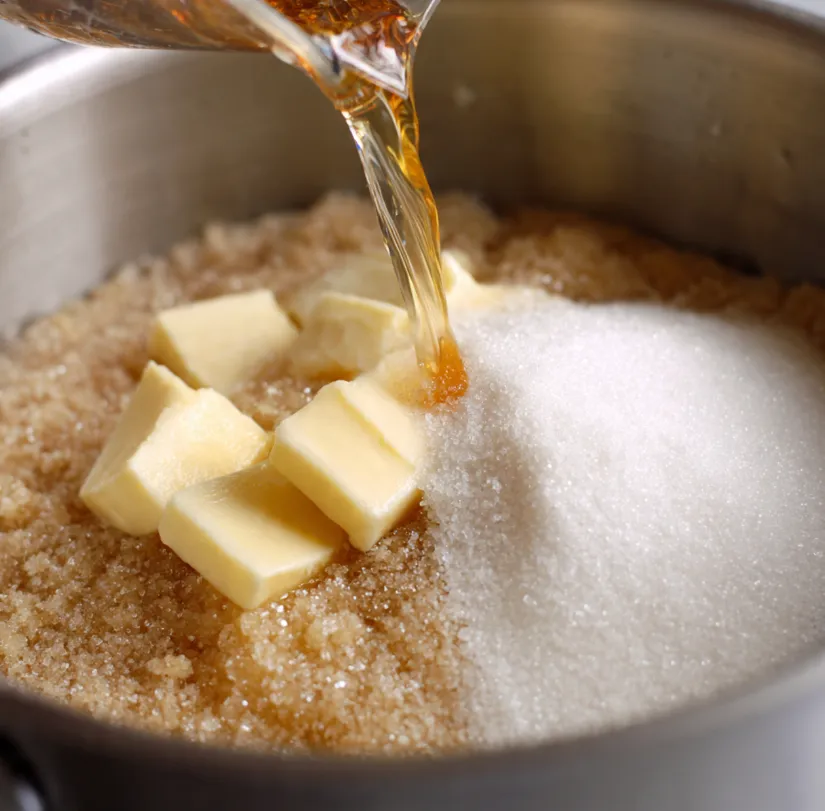
Step 2: Combine the Base Ingredients
In a medium to large heavy-bottomed saucepan, combine the granulated sugar, brown sugar, butter, and milk. Place the saucepan over medium heat. Stir continuously with a wooden spoon or heatproof spatula until the butter has completely melted and the sugars have begun to dissolve. This should take about 3-4 minutes.
Step 3: The Crucial Boil
Once the mixture is smooth and bubbly, bring it to a full, rolling boil. Let it boil without stirring for exactly 1 minute and 30 seconds. Use a timer! This step is critical for the cookies to set properly. Boiling too little will result in sticky cookies; boiling too long can make them dry and crumbly.
Step 4: Mix in the Remaining Ingredients
After the precise boil time, immediately remove the saucepan from the heat. Quickly stir in the vanilla extract. Then, add the quick oats, 1 cup of the shredded coconut, and the chopped toasted pecans. Stir vigorously until everything is thoroughly combined and the oats are fully coated in the sugary syrup. The mixture will be very thick.
Step 5: Form and Roll the Cookies
Working swiftly while the mixture is still warm, use a tablespoon or a small cookie scoop to portion out the dough. Roll each portion between your palms to form a ball. If the mixture is too hot to handle, let it cool for just a minute—but don’t let it cool completely, or it will harden in the pan.
Place the remaining 1/2 cup of shredded coconut in a shallow bowl. Roll each cookie ball in the coconut until well-coated, then place it on your prepared parchment-lined baking sheet. Gently flatten each ball slightly with your fingers to form a cookie shape.
Step 6: Let Them Set
Allow the cookies to cool and firm up at room temperature for at least 30 minutes. As they cool, the sugars will crystallize, giving them their characteristic chewy yet firm texture. For faster setting, you can place the baking sheets in the refrigerator for 15-20 minutes.
Pro Tips for Perfect Cookies Every Time
- The Pan Matters: Always use a heavy-bottomed saucepan to prevent the sugar mixture from scorching or burning.
- Timing is Key: Do not guess the boiling time. Use a kitchen timer for the exact 90 seconds once a full, rolling boil is achieved.
- Oat Advice: Stick to quick-cooking oats. They absorb the liquid perfectly and create the ideal texture. Old-fashioned oats are too thick and won’t soften enough.
- Nut Notes: Toasting the pecans is highly recommended. It unlocks their oils and deep, rich flavor, taking your cookies from good to exceptional.
- Storage Solution: Store completely cooled cookies in an airtight container at room temperature for up to 5 days. They can also be frozen for up to 3 months. Separate layers with parchment paper to prevent sticking.
Frequently Asked Questions (FAQs)
Q: Can I use old-fashioned rolled oats instead?
A: We do not recommend it. Quick oats have a finer texture that blends and sets perfectly with the syrup. Rolled oats will result in a crumbly, less cohesive cookie.
Q: My cookies didn’t set and are still sticky. What went wrong?
A: The most common reason is not boiling the syrup mixture for the full, precise time. The 90-second boil is essential for the sugar to reach the correct temperature for setting.
Q: Can I make these gluten-free or dairy-free?
A: Absolutely! Ensure your oats are certified gluten-free. For dairy-free, use a plant-based butter (like coconut oil butter) and a non-dairy milk (such as almond or oat milk).
Q: Can I add other mix-ins?
A: Definitely! Try adding 1/4 cup of mini chocolate chips, dried cranberries, or swap the pecans for walnuts or almonds.
Conclusion
There you have it the simplest, most satisfying no-bake cookie recipe that looks and tastes like you spent hours in the kitchen. These Coconut Pecan Praline Cookies are a testament to the fact that incredible desserts don’t require complex techniques or special equipment. They are chewy, nutty, coconutty, and utterly addictive. So, what are you waiting for? Clear just 20 minutes on your clock, gather those simple ingredients, and treat yourself to a batch of these delightful bites. Don’t forget to share them (or not, we won’t judge!) and let us know in the comments how your no-bake adventure turned out. Happy cooking