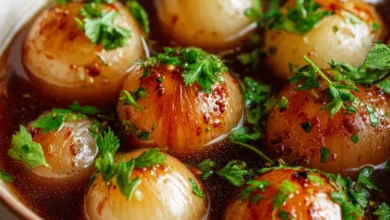
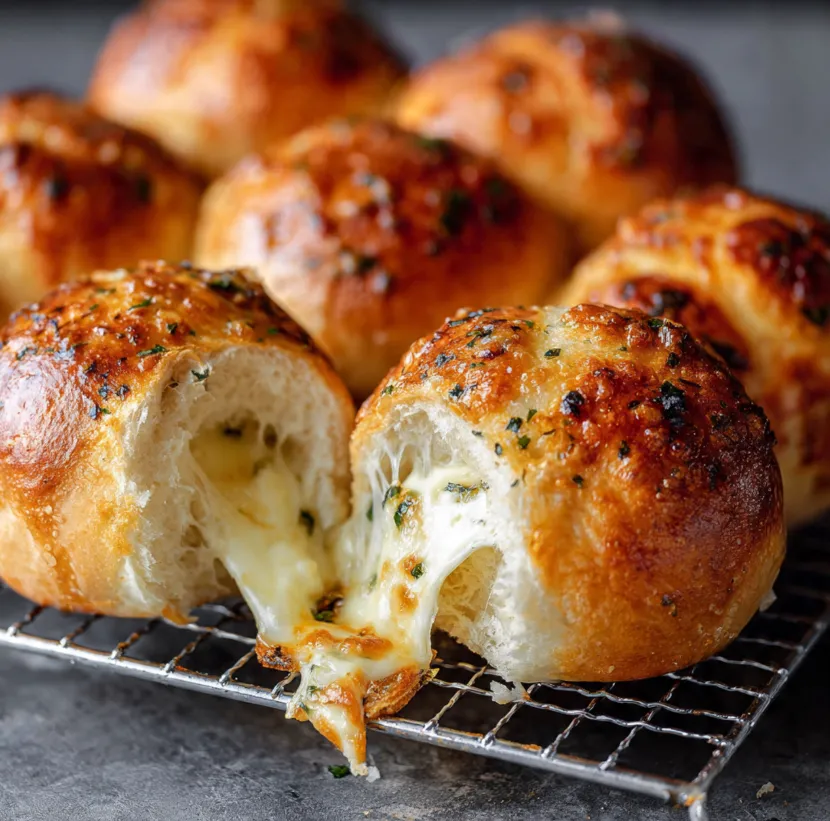
Have you ever taken a bite of something so unexpectedly perfect that it stopped you in your tracks? Imagine the soft, warm embrace of a freshly baked milk bun. Now, picture it enveloping a rich, tangy pocket of creamy cheese, all cloaked in a glossy, sweet, and savory garlic butter glaze that crackles with sugar on the outside. This isn’t just a bread roll; it’s a sensory experience. Welcome to the world of Korean Cream Cheese Garlic Buns, the viral sensation that has taken bakeries and home kitchens by storm.
This recipe demystifies this iconic treat, breaking it down into simple, foolproof steps. You don’t need to be a master baker or hunt down obscure ingredients. We’re creating these iconic buns from scratch, guiding you from the first proof of dough to that final, irresistible pull-apart moment. Get ready to fill your home with the heavenly aroma of baking bread and roasted garlic and impress everyone with your homemade version of this Korean bakery masterpiece.
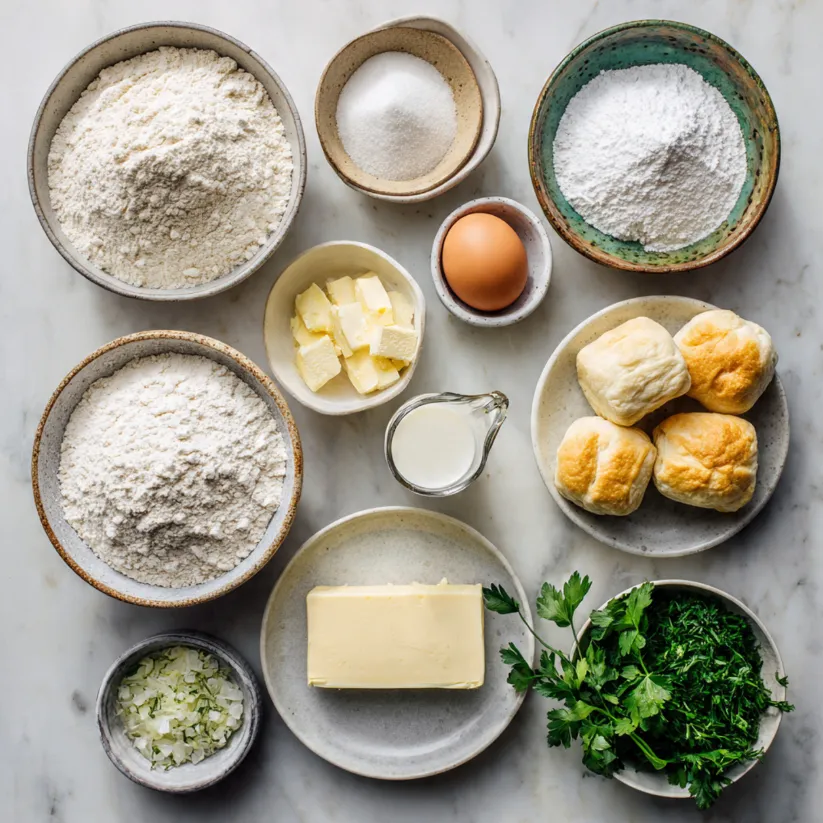
Everything You’ll Need: The Ingredients List
Gathering your ingredients beforehand (a French technique called mise en place) is the secret to a smooth and enjoyable baking process. Here’s your complete shopping list, divided logically for the dough, filling, and that magical garlic glaze.
For the Soft Milk Bread Dough:
- 3 cups (375g) bread flour (high-protein flour is essential for soft, chewy texture)
- 1/4 cup (50g) granulated sugar
- 1 tsp (5g) fine sea salt
- 1 packet (2 1/4 tsp / 7g) active dry yeast or instant yeast
- 1 large egg, at room temperature
- 1/2 cup (120ml) whole milk, warm (about 110°F/43°C)
- 1/4 cup (60ml) warm water
- 4 tbsp (57g) unsalted butter, softened and cubed
For the Cream Cheese Filling:
- 8 oz (225g) full-fat cream cheese, softened to room temperature
- 1/4 cup (50g) granulated sugar
- 1 tsp pure vanilla extract
For the Signature Garlic Butter Glaze:
- 1/2 cup (115g) unsalted butter
- 5-6 large garlic cloves, finely minced (about 1/4 cup)
- 2 tbsp fresh parsley, finely chopped
- 2 tbsp sweetened condensed milk (key for the signature flavor!)
- 1 tbsp light corn syrup or honey
- 1/2 tsp fine sea salt
- 1/2 cup (50g) powdered sugar, for coating
Step-by-Step Guide to Bakery-Perfect Buns
Follow these numbered steps carefully. The process involves making the dough, letting it rise, shaping, a second rise, baking, and finally, the transformative glaze.
Part 1: Making the Dough & First Rise
- Activate the Yeast: In the bowl of a stand mixer, combine the warm milk, warm water, and a pinch of the measured sugar. Sprinkle the yeast over the top, give it a gentle stir, and let it sit for 5-10 minutes until it becomes frothy. This “proofs” the yeast, ensuring it’s alive and active.
- Combine Dry Ingredients: In a separate bowl, whisk together the bread flour, the remaining sugar, and the salt.
- Mix the Dough: To the yeast mixture, add the egg and half of the flour mixture. Using the dough hook attachment, mix on low speed until combined. Gradually add the remaining flour until a shaggy dough forms.
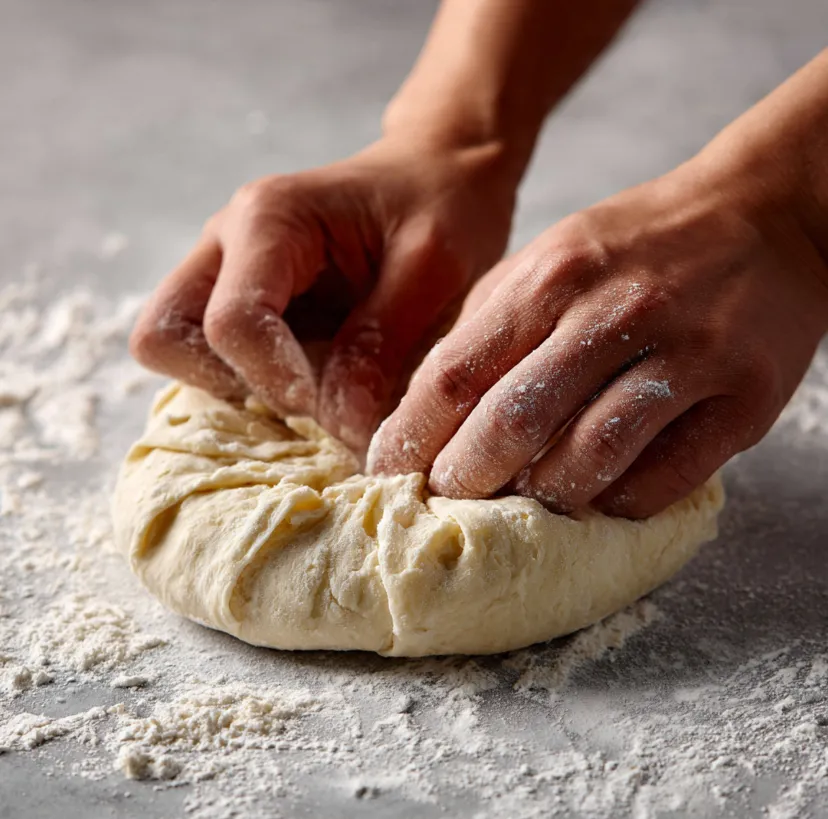
- Knead with Butter: With the mixer on medium-low speed, begin adding the softened butter, one cube at a time, allowing each piece to incorporate fully before adding the next. This may take a few minutes.
- Develop Gluten: Once all butter is incorporated, increase speed to medium and knead for 8-10 minutes. The dough is ready when it pulls away cleanly from the sides of the bowl, is smooth, elastic, and passes the “windowpane test”: stretch a small piece; it should thin out without tearing easily.
- First Proof: Shape the dough into a smooth ball. Place it in a lightly oiled bowl, turning to coat. Cover with a damp cloth or plastic wrap and let it rise in a warm, draft-free place for 1 to 1.5 hours, or until doubled in size.
Part 2: Preparing the Filling & Shaping
- Make the Filling: While the dough rises, beat the softened cream cheese, sugar, and vanilla extract together with a hand mixer or whisk until completely smooth and lump-free. Place in the refrigerator to firm up slightly.
- Divide and Shape: Once the dough has doubled, gently punch it down to release air. Turn it out onto a lightly floured surface. Divide it into 8 equal pieces (use a scale for accuracy).
- Fill the Buns: Roll each piece into a smooth ball, then flatten it into a disc about 4-5 inches wide. Place a heaping tablespoon (about 20g) of the chilled cream cheese filling in the center. Gather the edges and pinch them together tightly at the top to seal completely. Roll gently in your hands to ensure a smooth, round bun with no seams showing.
- Second Proof: Place the sealed buns, seam-side down, on a parchment-lined baking sheet, spaced about 2 inches apart. Cover loosely and let them rise again for 45-60 minutes, until puffy.
Part 3: Baking & The Final Garlic Glaze
- Preheat and Bake: About 20 minutes before the second rise ends, preheat your oven to 350°F (175°C). Bake the risen buns for 18-22 minutes, or until they are a light golden brown on top.
- Make the Garlic Glaze: While the buns bake, melt the butter in a small saucepan over low heat. Add the minced garlic and cook gently for 1-2 minutes until fragrant but not browned. Remove from heat and stir in the chopped parsley, condensed milk, corn syrup (or honey), and salt. Set aside.
- The Glazing Ritual: As soon as the buns come out of the oven, let them cool just enough to handle (they should still be warm). Have your garlic butter sauce ready and a bowl with the powdered sugar.
- Step A: Carefully roll each warm bun in the garlic butter sauce, ensuring it’s fully coated. Let excess drip off.
- Step B: Immediately roll the butter-coated bun in the powdered sugar until generously covered.
- Serve: Place the glazed buns back on the wire rack to set for a few minutes. They are best served warm, when the cheese is delightfully soft and the glaze is at its peak.
Pro Tips for Guaranteed Success
- Yeast is Key: Ensure your milk/water is warm, not hot. Temperatures above 130°F (54°C) can kill the yeast. If using instant yeast, you can mix it directly with the dry ingredients.
- Bread Flour is Best: The high protein content (12-14%) in bread flour creates more gluten, giving you the signature soft, chewy, tearable texture that all-purpose flour can’t quite achieve.
- Seal Tightly: Any open seam will cause the cream cheese to leak out during baking. Take your time to pinch the dough closed securely.
- Don’t Overbake: The buns should be lightly golden. Overbaking will dry them out.
- Glaze While Warm: Coating the buns while they’re warm allows the glaze to adhere perfectly and soak in just a little.
- Customize Your Glaze: Add a pinch of chili flake to the butter for heat, or swap parsley for chives. You can also add a tablespoon of grated Parmesan cheese to the powdered sugar for an extra savory note.
Conclusion: Your New Favorite Baking Project
There you have it the complete journey to creating your own unforgettable Korean Cream Cheese Garlic Buns. This recipe might look involved, but each step is simple and immensely rewarding. The contrast of the sweet, crunchy, garlicky exterior with the pillowy soft bread and cool, creamy center is a masterpiece of texture and flavor balance.
Don’t be intimidated by the process; embrace it. The smell of the dough rising and the garlic toasting in butter is therapy in itself. These buns are perfect for a special weekend breakfast, an impressive brunch offering, or simply as a triumphant treat to share with loved ones (or keep all to yourself we won’t judge).
So, preheat your oven, roll up your sleeves, and get ready to bake. Once you pull that first perfectly glazed, fragrant bun apart, you’ll understand why the world fell in love with this unique treat. Happy baking