
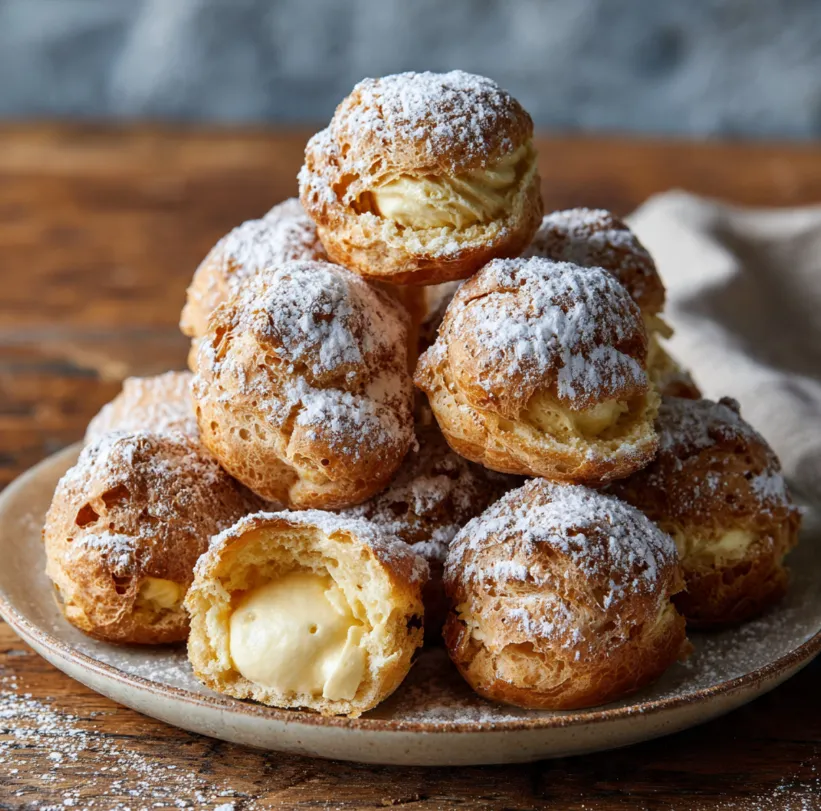
Demystifying the Classic Choux Pastry
Have you ever walked past a patisserie window, admired the perfect cream puffs (or choux à la crème), and thought they were far beyond your baking skills? It’s time to banish that thought forever. This guide is your golden ticket to creating stunning, airy, and delicious cream puffs in your own kitchen. Far from being an intimidating French secret, choux pastry is one of the most forgiving and science-friendly doughs to master. With this detailed, step-by-step recipe crafted for beginners, you’ll learn not just the “how,” but the “why” behind each step. Get ready to impress your family, friends, and most importantly, yourself, with these elegant yet surprisingly easy-to-make pastries. Let’s turn your kitchen into a boutique bakery!
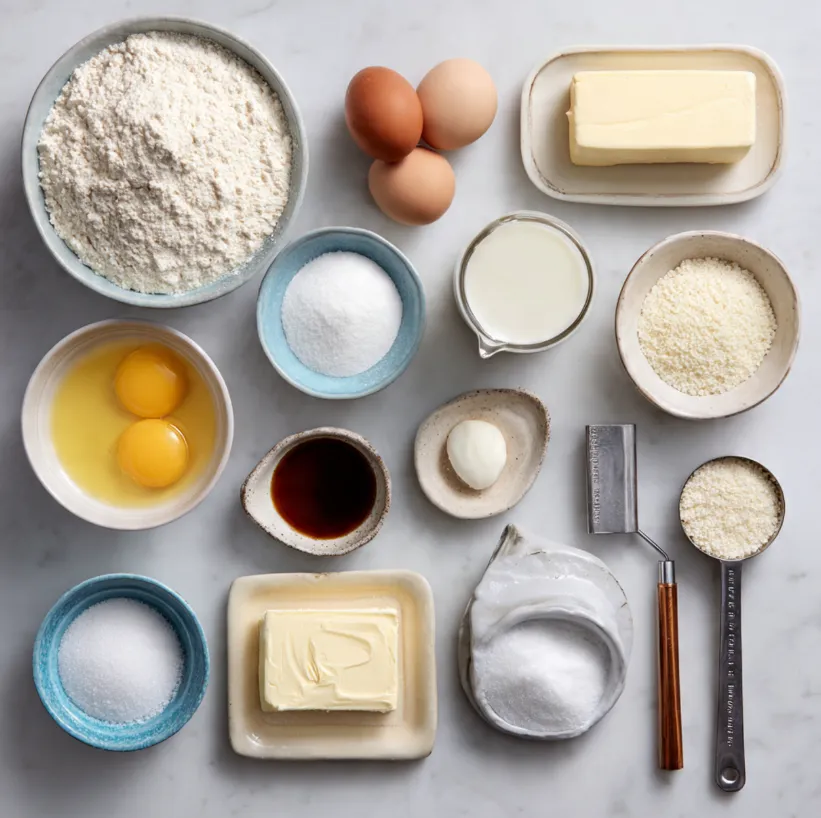
What You’ll Need: The Simple Ingredients List
The beauty of cream puffs lies in their humble ingredients. You likely have most of these in your pantry already. Precision is key, so we recommend using a digital kitchen scale for the best results.
For the Choux Pastry (The Puff Shells):
- 1 cup (240ml) water: The steam is crucial for the rise.
- 1/2 cup (115g) unsalted butter, cut into pieces: Adds richness and flavor.
- 1 teaspoon granulated sugar: For a hint of sweetness and color.
- 1/4 teaspoon fine salt: Balances the flavors.
- 1 cup (125g) all-purpose flour, sifted: The structure-builder.
- 4 large eggs, at room temperature: The magic ingredient for lift and structure.
For the Vanilla Pastry Cream (Crème Pâtissière):
- 2 cups (480ml) whole milk: For a rich, creamy texture.
- 1/2 cup (100g) granulated sugar, divided.
- 1/4 cup (30g) cornstarch: The thickening agent.
- 1/4 teaspoon fine salt.
- 4 large egg yolks: Creates a luxuriously smooth and thick cream.
- 2 teaspoons pure vanilla extract (or 1 vanilla bean, seeds scraped): For authentic flavor.
For Finishing (Optional):
- Powdered sugar, for dusting.
- Melted dark or semi-sweet chocolate, for drizzling.
Your Step-by-Step Guide to Perfect Cream Puffs
Follow these numbered steps carefully, and you’ll be guaranteed success.
Part 1: Making the Choux Pastry Dough
1. Prepare and Heat the Wet Ingredients. In a medium-sized saucepan, combine the water, cubed butter, sugar, and salt. Place over medium heat. Stir occasionally until the butter is completely melted and the mixture just begins to simmer. Don’t let it boil vigorously.
2. Cook the Flour (The “Panade”). Remove the pan from heat. Immediately add all of the sifted flour at once and stir vigorously with a wooden spoon. It will look messy at first. Return the pan to medium-low heat. Continue stirring and cooking the dough for about 1-2 minutes. A film will form on the bottom of the pan, and the dough will come together into a smooth ball. This step cooks the flour and removes excess moisture, which is vital for proper absorption of the eggs.
3. Cool the Dough Slightly. Transfer the hot dough ball to a large mixing bowl or the bowl of a stand mixer. Let it cool for about 5-7 minutes. It should be warm to the touch but not hot enough to cook the eggs. You can spread it out to help it cool faster.
4. Incorporate the Eggs. Using a hand mixer, stand mixer with paddle attachment, or strong arm with a wooden spoon, begin adding the eggs one at a time. Beat thoroughly after each addition until the egg is fully incorporated before adding the next. The dough will look slippery and broken at first but will become smooth and cohesive again with mixing. After all eggs are added, beat for another 30 seconds until the dough is thick, smooth, and glossy. It should fall from the beater or spoon in a thick “V” shape. This is your choux pastry dough.
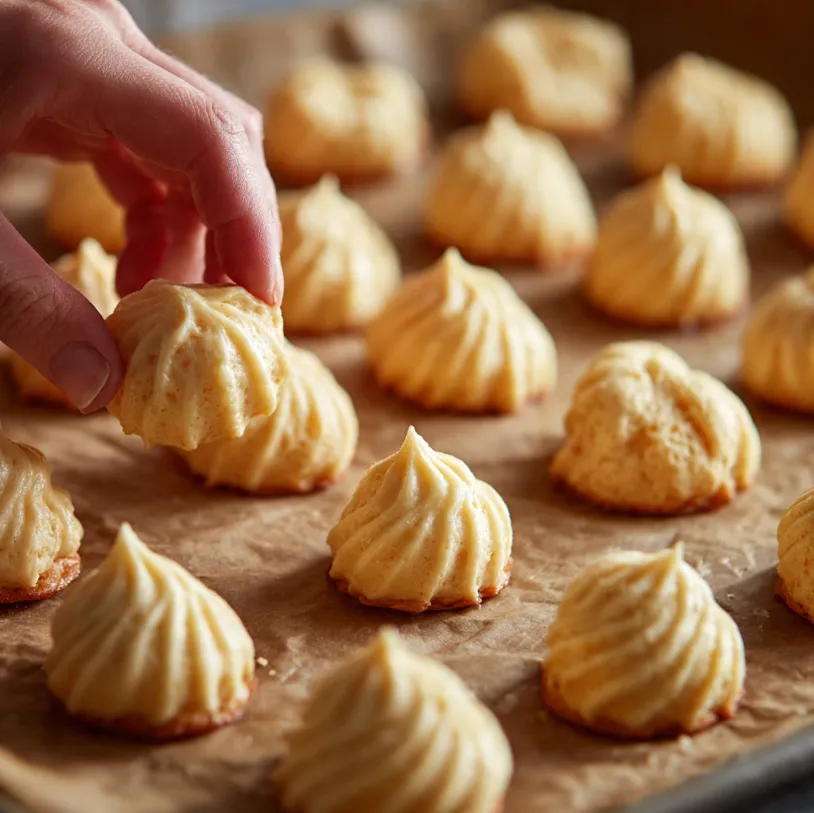
5. Pipe the Puffs. Preheat your oven to 425°F (220°C). Line two baking sheets with parchment paper. Fill a large piping bag fitted with a 1/2-inch round tip (or a large zip-top bag with a corner snipped) with the dough. Pipe 1.5-inch diameter mounds, spacing them about 2 inches apart. With a wet finger, gently smooth down any pointed peaks.
6. Bake to Perfection. Place one sheet in the oven and bake for 15 minutes at 425°F (220°C). Then, without opening the oven door, reduce the temperature to 350°F (175°C) and bake for another 20-25 minutes. Do not open the oven during this time! The puffs need steady steam to rise properly. They are done when deeply golden brown, crisp, and sound hollow when tapped. Transfer to a wire rack and immediately poke a small hole in the side of each with a toothpick to let steam escape and prevent sogginess. Let cool completely.
Part 2: Making the Vanilla Pastry Cream
7. Heat the Milk. In a medium saucepan, heat the milk over medium heat until it just begins to simmer. Remove from heat.
8. Whisk the Yolk Mixture. In a separate medium bowl, whisk the egg yolks, half of the sugar, the cornstarch, and salt until very smooth and pale.
9. Temper the Eggs. While whisking the yolk mixture constantly, slowly drizzle in about half of the hot milk. This gradual process prevents the eggs from scrambling.
10. Cook to Thicken. Pour the tempered egg-milk mixture back into the saucepan with the remaining milk. Cook over medium heat, whisking constantly, until the mixture thickens dramatically and large bubbles break the surface for about 1 minute. This ensures the cornstarch is fully activated.
11. Finish and Chill. Remove from heat and whisk in the vanilla extract. Pour through a fine-mesh sieve into a clean bowl to ensure it’s perfectly smooth. Press plastic wrap directly onto the surface to prevent a skin from forming. Chill in the refrigerator for at least 2 hours, until completely cold and set.
Part 3: Assembling Your Cream Puffs
12. Fill the Puffs. Once shells and cream are completely cool, fill a piping bag fitted with a small round tip (or a bismarck tip) with the pastry cream. Insert the tip into the hole you made earlier (or slice the top third off the puff). Gently pipe until you feel the puff become heavy. Alternatively, you can slice them in half and spoon the cream in.
13. Decorate and Serve. Dust with powdered sugar or drizzle with melted chocolate. Serve immediately for the crispiest experience, or refrigerate for up to 4 hours before serving.
Pro Tips for Guaranteed Cream Puff Success
- Room Temp Eggs are Key: They incorporate into the dough much more easily than cold eggs.
- Measure Flour Correctly: Spoon and level your flour, or better yet, use a scale. Too much flour makes dry, heavy puffs.
- The Dough Consistency Test: The “V” shape fall from your spoon/beater is the best indicator your dough is ready.
- Oven Door Shut! Resist the temptation to peek. A drop in temperature can cause the puffs to collapse.
- Poking Holes: Releasing the steam immediately after baking is non-negotiable for crisp shells.
- Storage: Unfilled shells can be frozen in an airtight bag for up to a month. Recrisp in a 300°F (150°C) oven for 5 minutes. Fill only when ready to serve.
- Flavor Twists: Add a tablespoon of cocoa powder to the flour for chocolate puffs. Infuse the pastry cream milk with citrus zest, espresso powder, or a dash of liqueur.
Conclusion: Your Pastry Journey Starts Now
You’ve just unlocked the secret to one of the most beloved pastries in the world. Cream puffs are more than a dessert; they are a testament to the simple magic of flour, butter, eggs, and heat. Remember, even if your first batch isn’t picture-perfect, they will undoubtedly still be delicious. Each attempt makes you a better baker. So, tie on your apron, preheat that oven, and embrace the joy of creating something truly special. Share your beautiful, puffy creations, bask in the compliments, and most importantly, enjoy every light, creamy, glorious bite. Happy baking


