
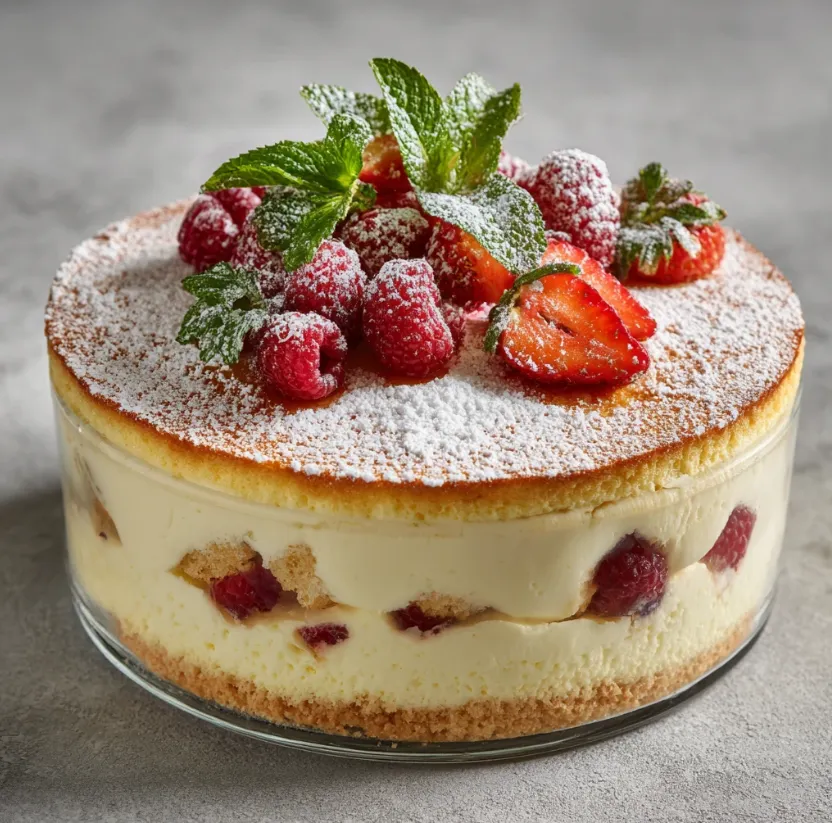
Dive into a Cloud of Creamy Bliss
Imagine a dessert so smooth, so luscious, and so effortlessly delightful that it feels like eating a sweet, creamy cloud. Welcome to the world of Creamy Milk Cake! This no-bake wonder is the perfect solution for when you crave a show-stopping dessert without wanting to turn on the oven. Originating from simple, humble ingredients, this cake transforms into an elegant, layered treat that’s a cross between a rich custard, a light mousse, and a classic cake. It’s a global favorite, known by many names, and loved for its silky texture and delicate milky flavor. Whether you’re a complete beginner in the kitchen or a seasoned baker looking for a quick fix, this foolproof recipe will guide you to create a dessert that promises to impress family and friends at any gathering. Let’s unlock the secret to this creamy dream!
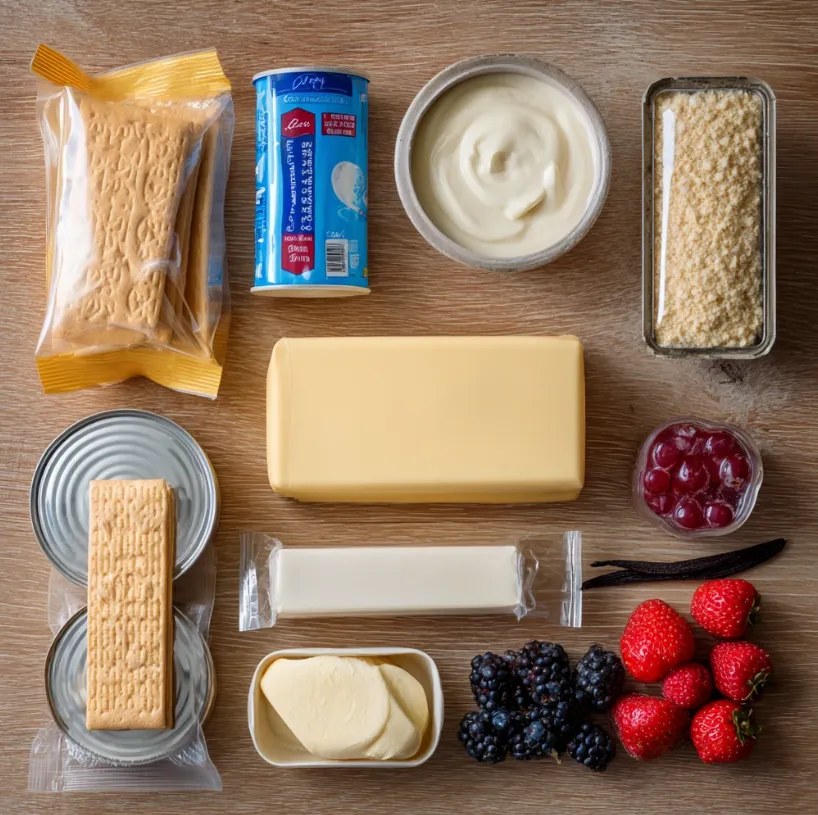
What You’ll Need: The Simple Ingredients List
One of the best aspects of this Creamy Milk Cake is its simplicity. You likely have most of these ingredients in your pantry already! Using full-fat versions is key for that signature rich and creamy texture.
For the Crust (Base Layer):
- 200 grams (about 7 oz) of digestive biscuits or graham crackers
- 100 grams (7 tablespoons) of unsalted butter, melted
- 1 tablespoon of granulated sugar (optional, depending on biscuit sweetness)
For the Creamy Filling:
- 500 ml (2 cups + 2 tbsp) of full-fat fresh cream or heavy whipping cream, cold
- 1 can (397g or 14 oz) of sweetened condensed milk
- 250 grams (approx 1 cup) of full-fat cream cheese, softened at room temperature
- 2 teaspoons of pure vanilla extract or the seeds from 1 vanilla bean
- 1 packet (about 2 teaspoons or 7g) of unflavored gelatin powder
- 60 ml (¼ cup) of cold water (for blooming the gelatin)
- A pinch of fine salt
For the Milk Soak (Optional but Recommended):
- 200 ml (¾ cup + 1 tbsp) of whole milk
- 2 tablespoons of sugar
For Garnish:
- Fresh strawberries, raspberries, or blueberries
- A light dusting of cocoa powder or powdered sugar
- Mint leaves
Prep Time: 30 minutes | Setting Time: 6 hours or overnight | Total Time: 6 hours 30 minutes | Servings: 10-12
Step-by-Step Instructions: Creating Your Masterpiece
Follow these simple, numbered steps for a guaranteed perfect result every single time.
Step 1: Prepare the Springform Pan
Lightly grease a 20 cm (8-inch) springform pan with butter or line it with parchment paper for easy removal. Set it aside.
Step 2: Make the Biscuit Base
- Place the digestive biscuits in a sturdy zip-top bag and crush them finely using a rolling pin. Alternatively, pulse them in a food processor until you get fine crumbs.
- In a medium bowl, combine the fine biscuit crumbs with the melted butter (and optional sugar). Mix thoroughly until the mixture resembles wet sand and holds together when pressed.
- Pour the crumb mixture into the prepared pan. Using the bottom of a glass or a flat measuring cup, press the crumbs down firmly and evenly to create a compact base.
- Place the pan in the refrigerator to chill while you prepare the creamy filling.
Step 3: Bloom the Gelatin
This crucial step ensures your gelatin dissolves smoothly without clumps.
- In a small bowl, sprinkle the unflavored gelatin powder over the ¼ cup of cold water.
- Stir gently and let it sit for 5-10 minutes. It will become a thick, spongy solid. This is called “blooming.”
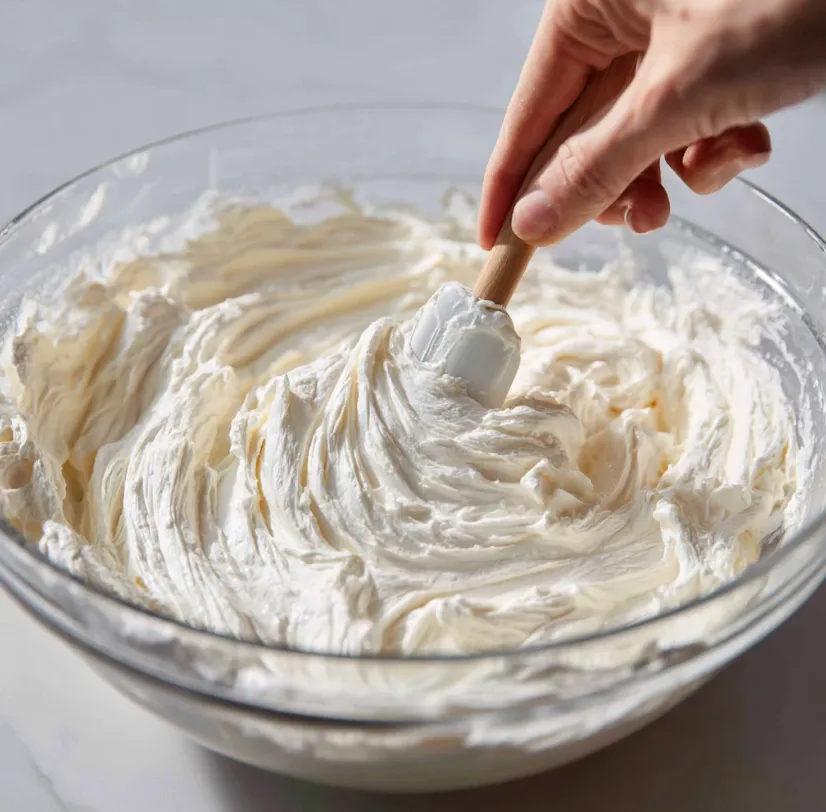
Step 4: Whip the Cream
- In a large, cold mixing bowl, pour the cold heavy cream.
- Using a hand mixer or stand mixer with the whisk attachment, whip the cream on medium-high speed until it forms soft peaks. Be careful not to overwhip it into butter! It should be thick and pillowy. Set aside.
Step 5: Create the Creamy Cheese Mixture
- In another large bowl, add the softened cream cheese. Beat it with a mixer for about 1 minute until it’s smooth and lump-free.
- Pour in the entire can of sweetened condensed milk and the vanilla extract. Beat again on medium speed until the mixture is completely smooth, creamy, and well combined.
Step 6: Combine Everything
- Melt the Gelatin: Take the bloomed gelatin and melt it. You can do this by placing the small bowl in a larger bowl of hot water, or microwaving it for 10-15 seconds until it becomes a clear liquid. Do not let it boil.
- Temper the Gelatin: To prevent the gelatin from seizing when it hits the cold mixture, take a few spoonfuls of the cream cheese mixture and stir it vigorously into the melted gelatin. This warms the gelatin gradually.
- Combine: Now, pour this tempered gelatin mixture back into the main bowl of the cream cheese filling. Mix on low speed until fully incorporated.
- The Final Fold: Finally, using a large spatula, gently fold the whipped cream into the cream cheese-gelatin mixture. Use a “cut and fold” motion until no white streaks remain. The filling should be homogeneous, thick, and airy.
Step 7: Assemble and Set
- Take the chilled biscuit base out of the fridge.
- Pour the luxurious creamy filling over the base. Smooth the top with an offset spatula or the back of a spoon.
- Gently tap the pan on the counter a few times to release any air bubbles.
- Optional Milk Soak: If using, gently warm the milk and sugar in a saucepan or microwave until the sugar dissolves. Let it cool slightly. Using a spoon, drizzle it lightly and evenly over the entire surface of the cake. It will seep down, adding extra moisture.
- Cover the pan with plastic wrap, ensuring it doesn’t touch the surface of the cake.
- Refrigerate for at least 6 hours, but preferably overnight. This patience is key for the gelatin to set the cake perfectly.
Step 8: Serve and Garnish
- Once fully set, run a thin knife around the edge of the pan.
- Carefully release the springform clamp and remove the ring.
- Transfer the cake to a serving plate.
- Garnish generously with fresh berries, a dusting of powdered sugar or cocoa, and mint leaves just before serving.
- Use a hot, clean knife to slice for perfect portions.
Useful Tips & Tricks for the Perfect Cake
- Room Temperature is Key: Ensure your cream cheese is truly soft. This prevents a lumpy filling.
- Cold Cream for Volume: Your bowl and beaters should be cold for whipping the cream. Chill them in the freezer for 15 minutes beforehand.
- Gelatin Substitute: For a vegetarian version, you can use agar-agar. Follow the packet instructions for setting an equivalent amount of liquid.
- Flavor Twists: Add 2 tablespoons of lemon juice for a tangy twist, or mix in some finely grated citrus zest. For a chocolate version, sift ¼ cup of cocoa powder into the cream cheese mixture.
- No Springform Pan? Use a deep pie dish or a regular cake pan lined with parchment paper with overhanging edges to lift the cake out.
- Storage: Keep the cake covered in the refrigerator for up to 4 days. The biscuit base will soften over time but will still be delicious.
- Make it Ahead: This is the perfect make-ahead dessert. Prepare it the day before your event for stress-free entertaining.
Conclusion: Your No-Bake Triumph Awaits
Congratulations! You’ve just mastered the art of making a stunning, restaurant-quality Creamy Milk Cake right in your own kitchen. This recipe proves that you don’t need complex techniques or fancy equipment to create something truly magical. It’s a celebration of texture and flavor that is sure to earn you rave reviews.
So, what are you waiting for? Gather those simple ingredients, clear some space in your fridge, and treat yourself and your loved ones to this sublime creamy creation. Don’t forget to share your beautiful results and tag your photos! Once you try this foolproof method, this Creamy Milk Cake will become your go-to dessert for every occasion. Happy no-baking


