Hearty Chicken and Vegetable Stew: Your Ultimate Guide to Comfort in a Bowl
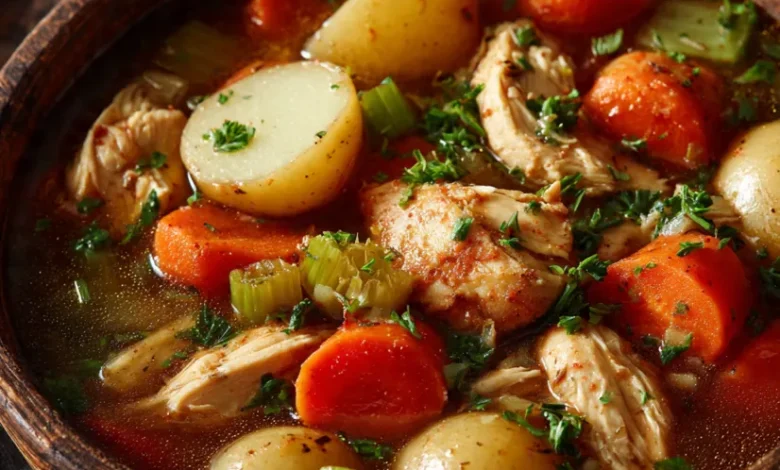
There’s something magical about a simmering pot of stew. It fills your home with an irresistible aroma, promising warmth, nourishment, and pure comfort with every spoonful. This Hearty Chicken and Vegetable Stew is more than just a meal; it’s a hug in a bowl, a timeless classic that soothes the soul and satisfies the deepest hunger. Perfect for chilly evenings, busy weeknights, or whenever you need a reliable culinary embrace, this stew is packed with tender chicken, vibrant vegetables, and a rich, savory broth. This ultimate guide will walk you through every step, ensuring a foolproof and delicious result, even if you’re a beginner in the kitchen. Let’s create some comfort.

Everything You’ll Need: The Stew Shopping List
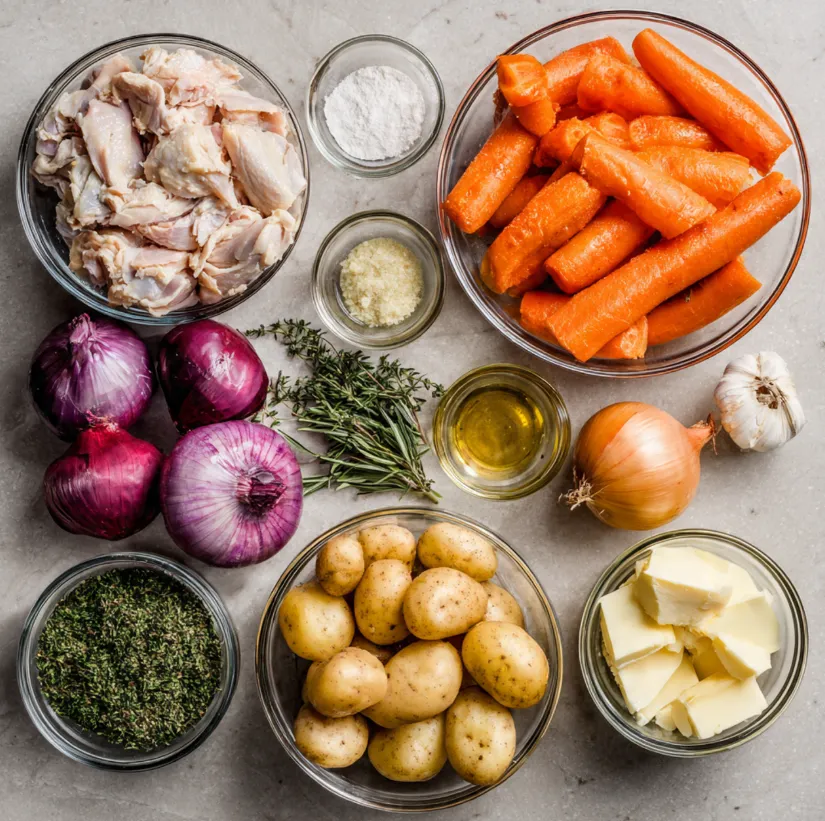
Gathering your ingredients is the first step to success. Using fresh, high-quality components will make a noticeable difference in the depth of flavor.
Main Ingredients for Your Chicken Stew
- Protein: 1.5 lbs (700g) boneless, skinless chicken thighs (preferred for juiciness) or chicken breasts, cut into 1-inch chunks.
- Aromatics: 1 large yellow onion (diced), 3 cloves garlic (minced).
- Vegetables (The Heart of the Stew):
- 3 large carrots, peeled and sliced into thick coins.
- 3 medium potatoes (Yukon Gold or Russet), peeled and cubed.
- 3 stalks celery, sliced.
- 1 cup frozen peas.
For the Broth and Seasoning
- Liquid Base: 4 cups low-sodium chicken broth, 1 cup water.
- Thickening Agent: ⅓ cup all-purpose flour.
- Fat for Cooking: 2 tablespoons olive oil, 2 tablespoons butter.
- Herbs & Seasonings:
- 1 teaspoon dried thyme (or 3 sprigs fresh).
- 2 bay leaves.
- 1 teaspoon paprika (adds a subtle warmth).
- Salt and freshly ground black pepper to taste.
- Optional Finish: ¼ cup fresh parsley, chopped, for garnish.
Step-by-Step Cooking Instructions: Building Layers of Flavor
Follow these numbered steps carefully. The key to a great stew is building flavor at each stage.
How to Make Chicken and Vegetable Stew
1. Prepare and Season the Chicken
Pat the chicken pieces completely dry with paper towels. This is crucial for getting a good sear. Place them in a bowl, and toss with 1 teaspoon of salt, ½ teaspoon of black pepper, and the ⅓ cup of flour until evenly coated.
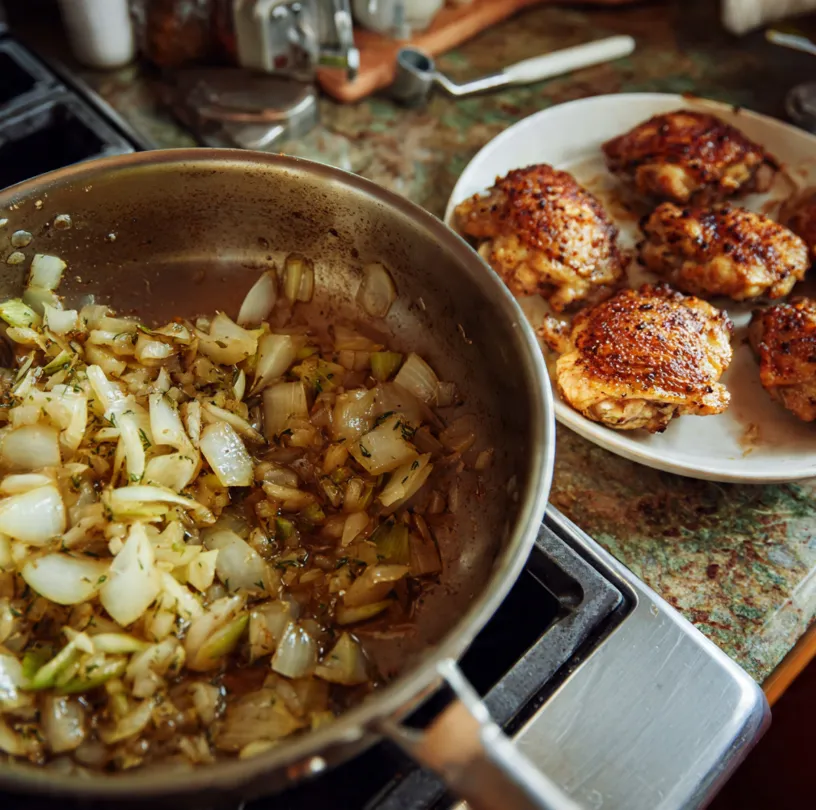
2. Sear the Chicken to Perfection
In a large Dutch oven or heavy-bottomed pot, heat the olive oil and 1 tablespoon of butter over medium-high heat. Working in batches to avoid crowding, add the chicken. Cook for 3-4 minutes per side until golden brown. Don’t worry about cooking it through; this step is for color and flavor. Remove the chicken and set it aside on a plate.
3. Sauté the Aromatics
In the same pot, add the remaining tablespoon of butter. Add the diced onion and cook for 4-5 minutes until softened. Add the minced garlic and cook for another 1 minute until fragrant.
4. Deglaze and Build the Broth
Pour in about ½ cup of the chicken broth. Use a wooden spoon to scrape up all the delicious browned bits (the fond) from the bottom of the pot. This is pure flavor! Once the bottom is clean, add the remaining broth and water.
5. Combine and Simmer
Add the seared chicken (and any accumulated juices) back into the pot. Stir in the sliced carrots, cubed potatoes, celery, dried thyme, paprika, and bay leaves. Bring the mixture to a boil.
6. Low and Slow Cooking
Once boiling, immediately reduce the heat to low, cover the pot with a lid slightly ajar, and let it simmer gently for 30-40 minutes. The stew is ready when the potatoes and carrots are fork-tender and the chicken is cooked through.
7. Final Touches
Stir in the frozen peas and cook for an additional 5 minutes, uncovered. Taste the stew and adjust seasoning with more salt and pepper if needed. Remove the bay leaves.
8. Serve and Enjoy
Ladle the hot stew into deep bowls. Garnish generously with freshly chopped parsley for a burst of color and freshness.
Pro Tips for the Perfect Stew Every Time
- Don’t Skip the Sear: Browning the flour-coated chicken not only adds flavor but also helps thicken the stew later.
- Vegetable Swap: Feel free to use other root vegetables like parsnips, sweet potatoes, or turnips. Green beans or corn can stand in for peas.
- Thickness Control: For a thicker stew, mix 1 tablespoon of cornstarch with 2 tablespoons of cold water. Stir this slurry into the simmering stew during the last 5 minutes. For a thinner stew, add a splash more broth or water.
- Make it Ahead: Stews taste even better the next day! Let it cool completely, store in an airtight container in the fridge for up to 3 days. Reheat gently on the stovetop.
- Freezing Instructions: This stew freezes beautifully. Store in freezer-safe containers for up to 3 months. Thaw overnight in the refrigerator before reheating.
Conclusion: Your Bowl of Comfort Awaits
Congratulations! You’ve just mastered the art of the perfect Hearty Chicken and Vegetable Stew. This recipe is a foundational template reliable, forgiving, and endlessly customizable. It’s the kind of dish that gathers people around the table and creates lasting memories. So, the next time the weather turns, or you simply crave something deeply nourishing, remember this guide. Put on your apron, grab your pot, and treat yourself (and your loved ones) to the ultimate comfort in a bowl. Don’t just read about it taste it. Happy cooking