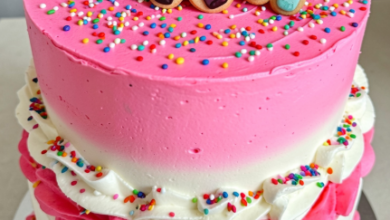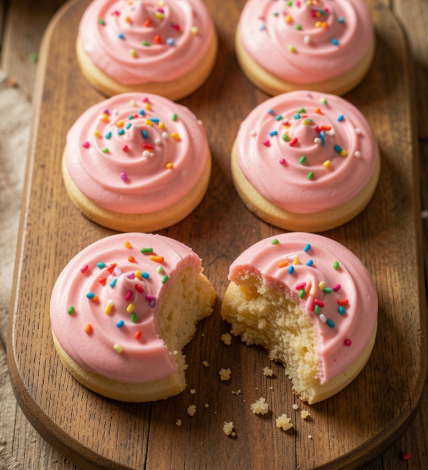
There’s a certain kind of magic in a cookie that’s soft enough to bend, frosted with a thick swoop of buttercream, and topped with sprinkles that crunch ever so slightly. It’s the cookie you’d beg your mom to buy in that clear plastic clamshell at the grocery store. But what if I told you that you can make a version at home that’s softer, richer, and completely devoid of that weird artificial aftertaste?
These Soft Frosted Sugar Cookies are that recipe. They bake up thick and pillowy with a signature tender crumb that stays soft for days, thanks to a secret ingredient combination and a simple no-roll method . Topped with a silky vanilla buttercream that’s just sweet enough, they’re the kind of cookie that brings pure nostalgia to the table. Whether you’re baking for a holiday, a birthday, or just a Tuesday, get ready to meet your new go-to cookie.
Soft Frosted Sugar Cookies Recipe (Better Than Bakery Style)
There’s a certain kind of magic in a cookie that’s soft enough to bend, frosted with a thick swoop of buttercream, and topped with sprinkles that crunch ever
Table of Contents
Recipe Overview
- Prep Time: 20 minutes
- Chill Time: 2 hours minimum
- Cook Time: 10-12 minutes
- Total Time: 2 hours 30 minutes
- Servings: 14-16 large cookies
- Cuisine: American
- Course: Dessert, Snack
- Calories (Approximate): 362 per cookie
Why You’ll Love This Recipe
You know those super-soft, thick, cake-like sugar cookies you find in grocery store bakeries? The Lofthouse-style ones that vanish in seconds? This recipe is a better-than-bakery copycat that captures all that pillowy perfection without any mystery ingredients. Here’s why it works:
- Unbelievably Soft Texture: A mix of butter, oil, and a touch of cornstarch creates a cookie that’s incredibly tender and stays soft for days .
- No Rolling, No Cutting: This is a “scoop and bake” recipe. Just scoop the chilled dough, flatten slightly, and bake—no rolling pin or cookie cutters required .
- The Dreamiest Buttercream: The frosting is a simple, creamy vanilla buttercream that sets just enough to stack but stays silky and delicious.
- Pink & Pretty: A few drops of food coloring and a shower of sprinkles turn these into the cutest treats, perfect for any celebration.
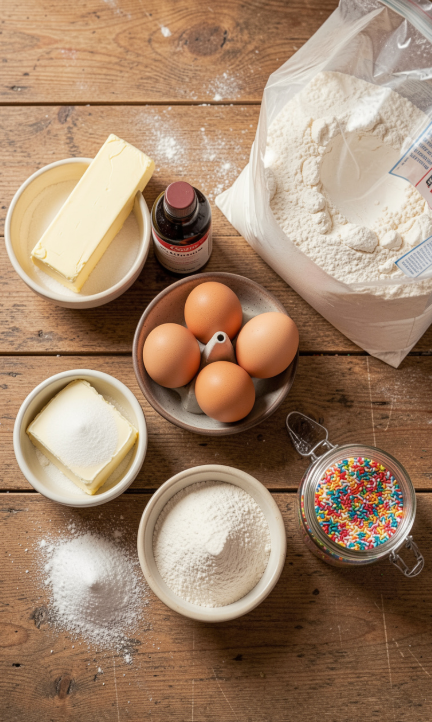
Ingredients
For the Soft Sugar Cookies:
- ½ cup (1 stick) unsalted butter, softened to room temperature
- 1 ¼ cups granulated sugar
- 1 large egg, at room temperature
- 3 tablespoons canola or vegetable oil
- 2 teaspoons pure vanilla extract
- 2 ¼ cups all-purpose flour
- 1 teaspoon baking soda
- 1 tablespoon cornstarch
- ½ teaspoon kosher salt
For the Vanilla Buttercream:
- ½ cup (1 stick) unsalted butter, softened
- 2 cups powdered sugar
- 2 teaspoons vanilla extract
- 1-2 tablespoons milk
For Decoration:
- Pink food coloring (gel or liquid)
- Rainbow sprinkles
Ingredient Notes
- Butter & Oil Combo: Using both butter and oil is the secret to that soft, bakery-style texture. The butter gives flavor while the oil locks in moisture and prevents the cookies from drying out .
- Cornstarch: This is the magic ingredient that creates a tender, melt-in-your-mouth crumb. Don’t skip it .
- Sour Cream Substitute: If you have sour cream on hand, you can substitute ½ cup for a slightly richer, cake-like texture that stays moist for days .
- Room Temperature Ingredients: It’s crucial that your butter, egg, and other dairy are at room temperature so they cream together smoothly. Cold ingredients can lead to a lumpy, uneven batter .
Step-by-Step Instructions
1. Cream the Butter and Sugar
Preheat your oven to 350°F. In a large mixing bowl, beat the softened butter and sugar together with an electric mixer until the mixture is light, fluffy, and creamy about 2-3 minutes .
2. Add the Wet Ingredients
Add the egg, canola oil, and vanilla extract to the butter mixture. Beat until smooth and well combined.
3. Incorporate the Dry Ingredients
In a separate bowl, whisk together the flour, baking soda, cornstarch, and salt. Gradually add the dry ingredients to the wet mixture, mixing on low speed just until combined. Do not overmix—this can make the cookies tough .
4. Chill the Dough
Cover the bowl and refrigerate the dough for at least 2 hours, or up to overnight. Chilling is essential as it solidifies the fat, preventing the cookies from spreading too much and resulting in a thick, fluffy cookie .
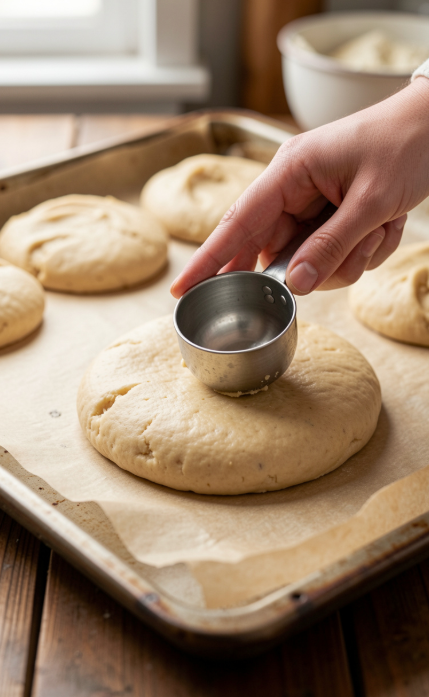
5. Scoop and Flatten
Line a baking sheet with parchment paper. Using a 3-tablespoon cookie scoop, portion the chilled dough into balls and place them on the prepared sheet, spacing them about 2 inches apart. Gently flatten each dough ball with the palm of your hand until about ½ inch thick .
6. Bake
Bake for 10-12 minutes, or until the edges are set but have not begun to brown. The centers should look slightly underdone. This is the key to a soft cookie .
7. Cool Completely
Let the cookies cool on the baking sheet for 5 minutes before transferring them to a wire rack to cool completely. Wait until they are fully cool before frosting.
8. Make the Buttercream
In a separate bowl, beat the softened butter until creamy. Gradually add the powdered sugar, vanilla extract, and 1 tablespoon of milk. Continue beating until smooth and creamy, adding more milk as needed to reach a spreadable consistency .
9. Frost and Decorate
Add a few drops of pink food coloring to the frosting and mix until evenly colored. Spread a generous layer of frosting over each cooled cookie. Top immediately with rainbow sprinkles.
Expert Tips
- Bake Until Just Set: The biggest trick to soft cookies is taking them out before they start to brown. If the edges are brown, they’ll be crunchy instead of soft. They will finish setting on the hot pan .
- Chilling is Non-Negotiable: Don’t skip the fridge time! It prevents the butter from getting too warm and the cookies from spreading into flat discs .
- Frosting Warm Cookies is a No-No: Frosting a warm cookie will cause the beautiful buttercream to melt and slide right off .
- The Bread Trick: To keep your frosted cookies soft for days, store them in an airtight container with a slice of bread. The bread will absorb the excess moisture and keep the cookies pillowy .
Variations
- Almond Extract: For that classic bakery flavor, add ½ teaspoon of almond extract along with the vanilla in both the cookies and the frosting .
- Change the Color: Swap the pink food coloring for any color you like blue for a baby shower, green for St. Patrick’s Day, or leave them white for a classic look.
- Lemon Sugar Cookies: Add the zest of one lemon to the cookie dough and replace the vanilla in the frosting with lemon juice for a bright, citrusy twist .
- Chocolate Frosting: Replace 2 tablespoons of powdered sugar with unsweetened cocoa powder for a rich chocolate buttercream.
Storage Instructions
Store your frosted sugar cookies in an airtight container at room temperature for up to 4-5 days . Place parchment paper between layers to prevent sticking. For longer storage, you can freeze unfrosted cookies for up to 3 months .
Reheating Tips
These cookies are best enjoyed at room temperature. If you want that fresh-baked feel, you can pop them in a 300°F oven for 3-4 minutes—but be careful not to melt the frosting!
Common Mistakes to Avoid
- Overmixing the Dough: Mix the dry ingredients just until combined. Overmixing develops gluten, which leads to a tough, dense cookie .
- Baking Until Brown: They should come out looking slightly underdone. Brown edges = crunchy cookies .
- Skipping the Chill: Don’t rush this step. Cold dough is the key to thick, puffy cookies .
- Frosting Before Fully Cooled: If the cookie is warm, the buttercream will melt and slide off. Patience is key!
What to Serve With
- A Cold Glass of Milk: It’s a classic pairing for a reason.
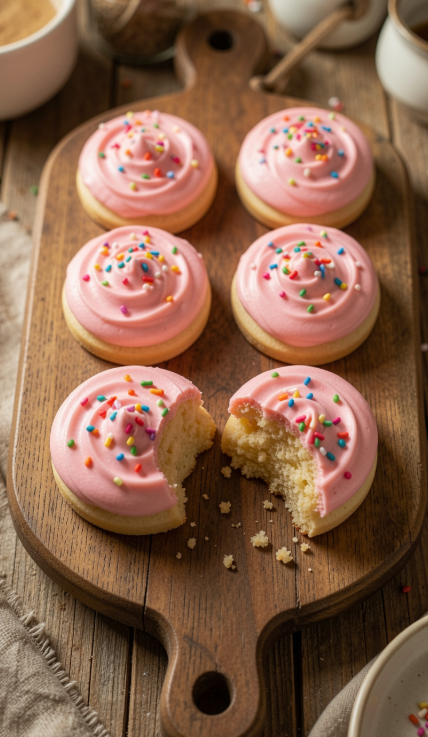
- Coffee or Tea: These cookies are the perfect afternoon pick-me-up with a hot beverage .
- Ice Cream Sandwiches: Press a scoop of vanilla ice cream between two unfrosted cookies for a decadent treat .
Frequently Asked Questions
Q: Can I use a different type of sugar?
A: This recipe is designed with granulated sugar for the cookies and powdered sugar for the frosting. You can swap the granulated sugar for caster sugar, but don’t use brown sugar as it will change the texture .
Q: How do I get my frosting super smooth?
A: Make sure your butter is softened and beat it until creamy before adding the powdered sugar. Sifting the powdered sugar also helps avoid lumps .
Q: Do I have to chill the dough?
A: Yes! Chilling for at least 2 hours is essential to prevent the cookies from spreading and to achieve that thick, soft bite .
Q: Can I make these dairy-free?
A: Yes, you can use dairy-free butter and a plant-based milk alternative in both the cookies and the frosting .
Q: Why did my frosting turn out runny?
A: If your frosting is too thin, add more powdered sugar. If it’s too thick, add more milk. Adjust until you get a spreadable consistency .
Conclusion
There’s truly nothing quite like a soft, frosted sugar cookie. It brings a sense of nostalgia and pure joy that’s hard to beat. This recipe makes it easy to enjoy that classic Lofthouse-style treat at home, and it’s even better than the store-bought version .
So, preheat your oven, break out the sprinkles, and get ready to bake the most deliciously soft cookies. They’re perfect for sharing, celebrating, or just treating yourself. I hope you love them as much as I do!
Have you made these Soft Frosted Sugar Cookies? I’d love to hear how they turned out! Share your photos, tips, and favorite decorating ideas in the comments below. Happy baking!