A Symphony of Sweet, Savory, and Sophisticated Flavors
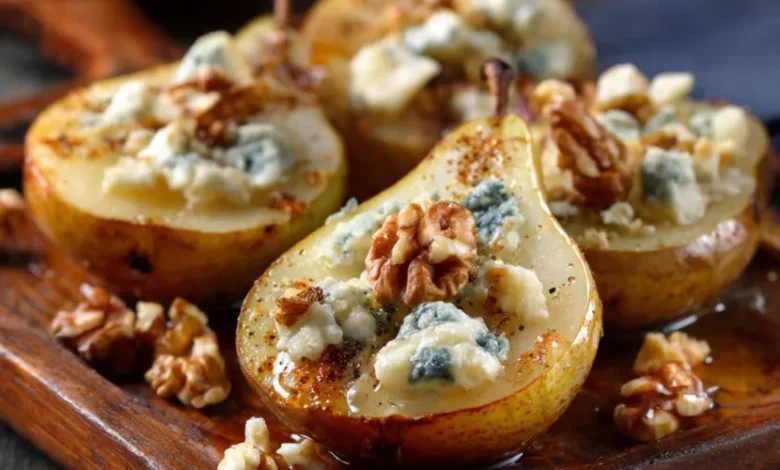
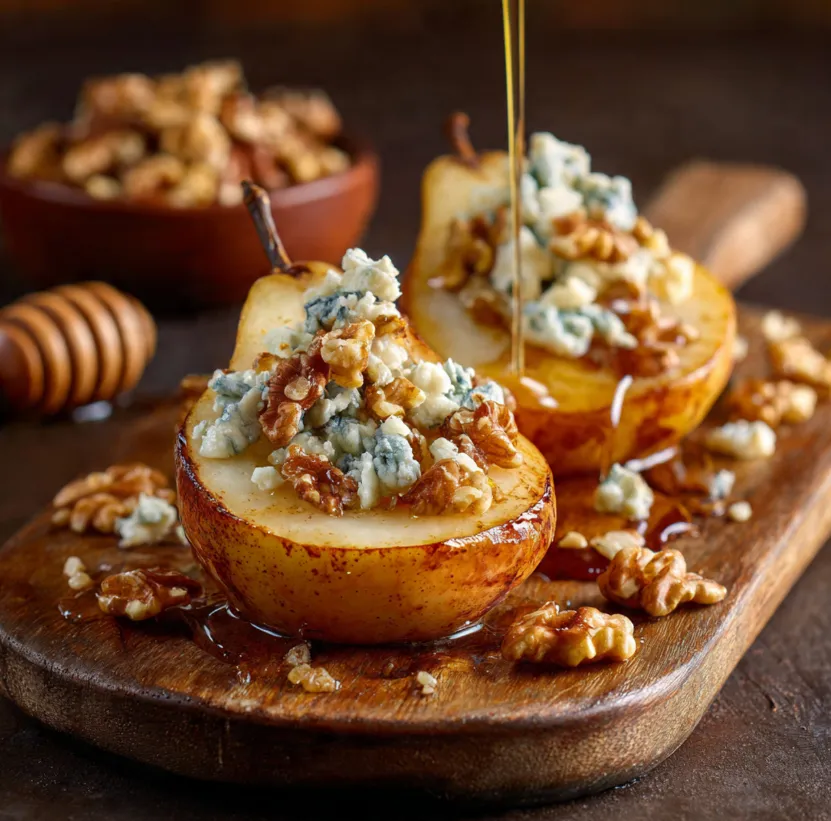
Imagine a dish that effortlessly bridges the gap between a stunning appetizer, an elegant side, and a sophisticated dessert. A creation where the humble pear is transformed into a caramelized, tender masterpiece, its natural sweetness perfectly balanced by the bold, tangy punch of blue cheese and the earthy crunch of walnuts. This recipe for The Best Roasted Pears with Blue Cheese and Walnuts is exactly that a gourmet delight that looks like it came from a high-end restaurant kitchen but is deceptively simple to make at home.
Whether you’re looking to impress dinner party guests, create a memorable date-night meal, or simply treat yourself to something special, this dish is your answer. It’s a celebration of textures and flavors that are both comforting and luxurious. Don’t be intimidated by its elegant appearance; we’ll guide you through every step to ensure perfect results, even if you’re a complete beginner in the kitchen.
What You’ll Need: A Simple, Quality-Driven Ingredient List
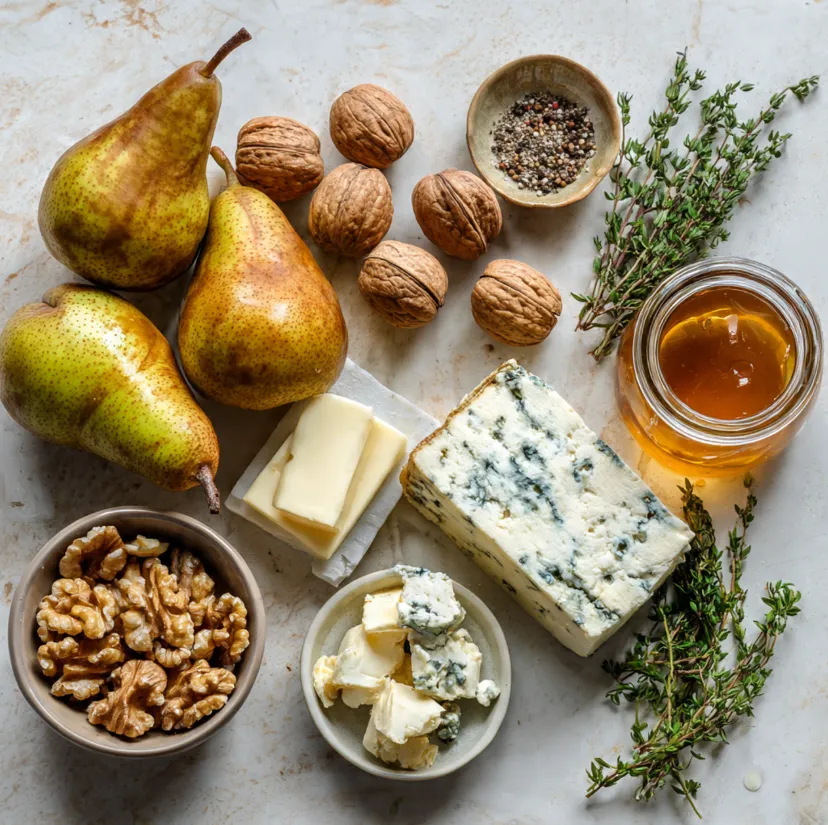
The magic of this recipe lies in the quality of its few ingredients. Each one plays a crucial role, so choose the best you can find for an unforgettable result.
Core Ingredients
- 4 ripe but firm Bosc or Anjou Pears: Bosc pears are ideal for roasting as they hold their shape beautifully.
- 3 ounces (about 85g) high-quality Blue Cheese: Choose a variety like Gorgonzola Dolce (milder and creamier) or Roquefort (sharper and more intense), crumbled.
- 1/2 cup Walnut halves, roughly chopped.
- 3 tablespoons Unsalted Butter, melted.
- 3 tablespoons Honey, plus extra for drizzling. For a deeper flavor, try buckwheat or wildflower honey.
- 1 tablespoon fresh Thyme leaves, plus extra sprigs for garnish.
- 1/2 teaspoon freshly ground Black Pepper.
- A pinch of Flaky Sea Salt (like Maldon) for finishing.
Optional Enhancements
- A handful of arugula or mixed baby greens for serving.
- 2 tablespoons Balsamic Glaze for an extra layer of sweet-tart complexity.
- A splash of dry white wine or apple cider for the roasting pan.
Your Step-by-Step Guide to Gourmet Perfection
Follow these simple, numbered steps to create your own masterpiece.
How to Make Roasted Pears with Blue Cheese and Walnuts
1. Preheat and Prepare.
Start by preheating your oven to 375°F (190°C). This ensures even roasting. While the oven heats, line a baking dish or sheet pan with parchment paper for easy cleanup.
2. Prep the Pears.
Wash the pears thoroughly. Using a sharp knife, carefully slice them in half lengthwise. The next step is key for presentation and even cooking: use a small spoon or a melon baller to gently scoop out the core and seeds from each half, creating a small, neat well. There’s no need to peel them—the skin adds color, texture, and nutrients.
3. Create the Flavor Base.
In a small bowl, combine the melted butter, honey, fresh thyme leaves, and black pepper. Whisk until it forms a smooth, fragrant glaze. This mixture will coat the pears and create that irresistible caramelized coating.
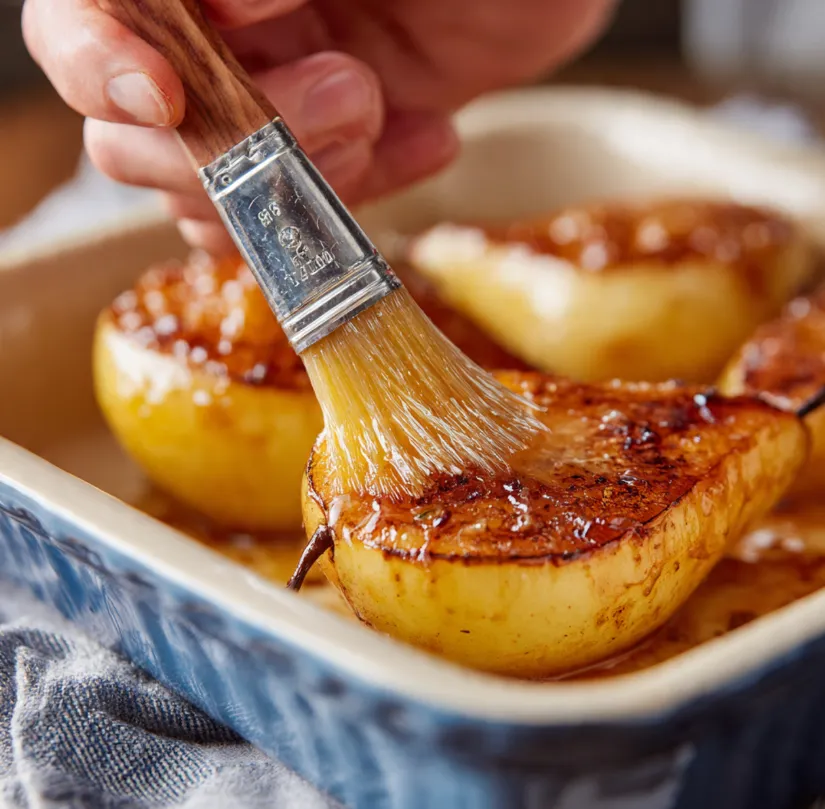
4. Coat and Arrange.
Place the pear halves in your prepared baking dish, cut-side up. Using a pastry brush or a spoon, generously coat each pear half with the honey-butter glaze, making sure to get it into the wells. Pour any remaining glaze into the bottom of the dish this will become a delicious sauce.
5. The First Roast.
Place the baking dish in the preheated oven and roast for 25-30 minutes. The pears should become tender when pierced with a fork but not mushy, and the edges will start to turn a beautiful golden brown.
6. Toast the Walnuts.
While the pears roast, place the chopped walnuts in a small, dry skillet over medium heat. Toast them for 3-5 minutes, stirring frequently, until they become fragrant and lightly golden. Be careful not to burn them. Set aside to cool. This step intensifies their flavor and crunch.
7. Add Cheese and Finish.
After the initial roast, carefully remove the pears from the oven. Sprinkle the crumbled blue cheese and toasted walnuts into the wells and over the top of each pear half. Return the dish to the oven for a final 5-7 minutes, just until the cheese is slightly melted and gooey.
8. Plate and Garnish.
Use a spatula to transfer the warm pear halves to a serving platter or individual plates. Drizzle with an extra bit of honey and, if using, a balsamic glaze. Finish with a sprinkle of flaky sea salt and a few fresh thyme sprigs. For a complete presentation, serve them on a bed of peppery arugula.
Pro Tips for the Best Results Every Time
- Pear Perfection: The ripeness of your pears is crucial. They should yield slightly to gentle pressure near the stem but still be firm. Overly soft pears will become mushy when roasted.
- Cheese Choice: If you’re new to blue cheese or serving cautious guests, start with a milder, creamier variety like Gorgonzola Dolce. Blue cheese aficionados can opt for a stronger Stilton or Roquefort.
- Make it Your Own: This recipe is wonderfully adaptable. Try substituting pecans for walnuts, using goat cheese for a tangier twist, or adding a sprinkle of crispy prosciutto bits for a salty, savory note.
- Wine Pairing: Serve this dish with a glass of sweet-tart Riesling, a sparkling Prosecco, or a rich Port wine. The flavors complement each other magnificently.
- Make-Ahead Strategy: You can prep the pears (cut and cored) and make the glaze a few hours ahead. Store separately in the fridge, then assemble and roast just before serving for the best texture.
Conclusion: Your Journey to a Restaurant-Quality Dish Starts Now
There you have it the secret to creating The Best Roasted Pears with Blue Cheese and Walnuts is no secret at all. It’s a straightforward process that rewards you with a dish of incredible depth and elegance. The contrast of the warm, sweet pear, the pungent, creamy cheese, and the crunchy, nutty walnuts is nothing short of magical.
This recipe proves that gourmet cooking doesn’t require complicated techniques or a pantry full of obscure ingredients. It’s about combining a few excellent components with care and letting the oven do most of the work.
So, preheat your oven, gather your simple ingredients, and take that first step. In less than an hour, you’ll have a stunning, flavorful creation that will dazzle your taste buds and anyone you choose to share it with. Happy cooking