Unlocking the Secrets to the Ultimate Chocolate Cake: A Timeless Treat
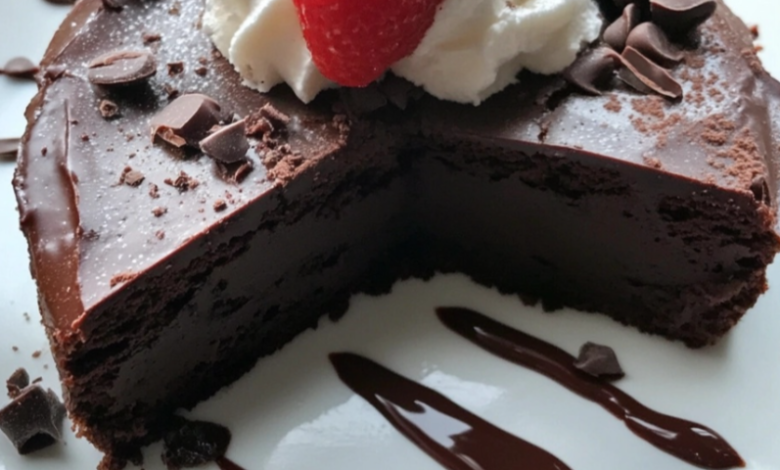
More Than Just a Cake
There’s a reason chocolate cake is a cornerstone of global dessert culture. It’s the star of birthday celebrations, the comfort food for a tough day, and the symbol of pure, unadulterated joy. But not all chocolate cakes are created equal. The journey from a simple, dry slab to a sublime, moist, and intensely chocolatey masterpiece is paved with careful technique and quality ingredients.
This article is your definitive guide to baking a classic chocolate layer cake that is sure to impress. We’ll delve beyond the basic recipe to explore the why behind each step, empowering you with the knowledge to create not just a cake, but an experience. Forget boxed mixes; the path to a truly exceptional homemade chocolate cake starts here.
The Anatomy of a Perfect Chocolate Cake: Understanding the Ingredients
Before we preheat the oven, let’s understand the role each component plays in creating the perfect structure, texture, and flavor.
For the Chocolate Cake Layers:
- 2 cups (400g) Granulated Sugar: Provides sweetness and, crucially, helps to retain moisture, ensuring a tender crumb.
- 1 ¾ cups (220g) All-Purpose Flour: The structural backbone of the cake. We spoon and level the flour to avoid a dense, dry cake.
- ¾ cup (75g) Unsweetened Cocoa Powder (High-Quality): This is the soul of your cake. Using a high-quality, natural cocoa powder (like Ghirardelli or Valthona) makes a world of difference in achieving a deep, complex chocolate flavor.
- 2 teaspoons Baking Soda: Our primary leavening agent. It reacts with the acidic components (buttermilk and coffee) to create a strong rise and an open, soft texture.
- 1 teaspoon Baking Powder: Provides an additional lift for a perfectly balanced crumb.
- 1 teaspoon Fine Sea Salt: A non-negotiable ingredient. Salt enhances and intensifies the chocolate flavor, cutting through the sweetness.
- 2 Large Eggs, at room temperature: Eggs provide structure and richness. Room-temperature eggs incorporate more easily, leading to a better-aerated batter.
- 1 cup (240ml) Buttermilk, at room temperature: The secret to incredible moisture and tenderness. Its acidity reacts with the baking soda and also tenderizes the gluten in the flour.
- ½ cup (120ml) Vegetable or Canola Oil: Oil creates a moister cake than butter because it remains liquid at room temperature. It results in a supremely tender and soft texture that stays fresh longer.
- 2 teaspoons Pure Vanilla Extract: Adds a warm, aromatic depth that complements the chocolate.
- 1 cup (240ml) Hot, Strongly Brewed Coffee: This is the ultimate professional baker’s secret. You will not taste the coffee. Instead, it magnifies and rounds out the chocolate flavor, making it taste richer and more chocolatey.
For the Chocolate Frosting:
- 1 ½ cups (340g) Unsalted Butter, softened to room temperature: The base of our frosting, providing a rich, creamy texture and flavor.
- 1 cup (95g) Unsweetened Cocoa Powder, sifted: For that intense chocolate hit in the frosting.
- 5 cups (600g) Powdered Sugar, sifted: Provides the sweetness and structure. Sifting is crucial to avoid a lumpy frosting.
- ½ cup (120ml) Heavy Cream or Whole Milk: Thins the frosting to a spreadable, creamy consistency.
- 1 tablespoon Pure Vanilla Extract: Balances the sweetness.
- A pinch of Salt: Again, to elevate the chocolate flavor.
The Method: A Step-by-Step Guide to Perfection
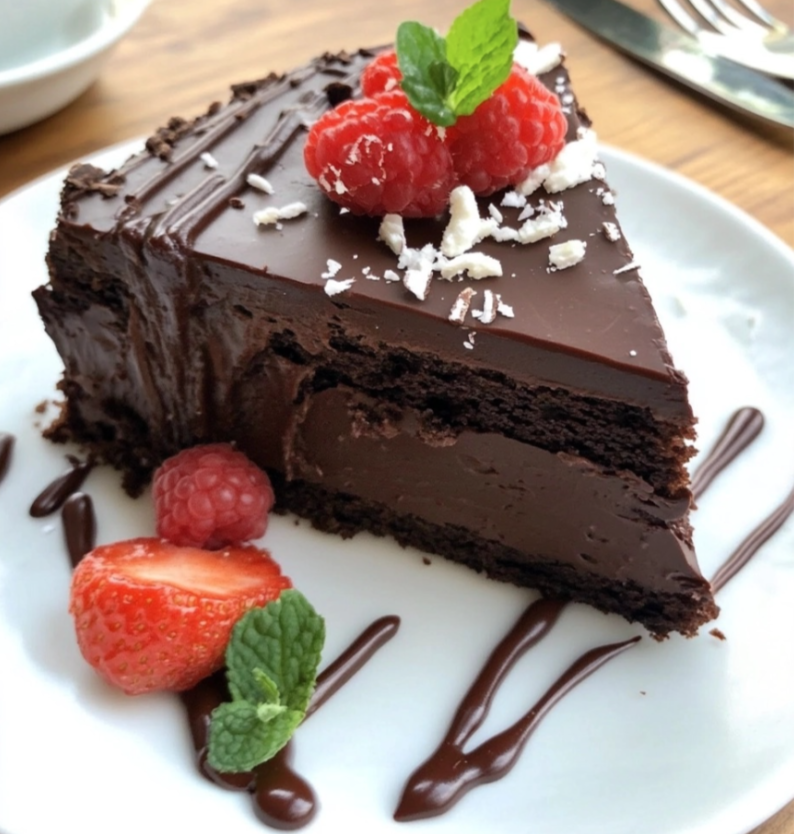
Follow these steps carefully for a flawless result.
Part 1: Baking the Cake Layers
- Preparation is Key: Preheat your oven to 350°F (175°C). Grease and flour two 9-inch round cake pans, then line the bottoms with parchment paper circles. This guarantees easy release.
- Combine Dry Ingredients: In the bowl of a stand mixer fitted with a paddle attachment (or a large bowl with a hand mixer), whisk together the sugar, flour, cocoa powder, baking soda, baking powder, and salt. Whisk on low for a minute to ensure everything is evenly distributed and aerated.
- Add Wet Ingredients: In a separate medium bowl, whisk the eggs, buttermilk, oil, and vanilla together until just combined.
- The Critical Combining Stage: With the mixer on low speed, gradually pour the wet ingredient mixture into the dry ingredients. Mix until just combined a few streaks of flour are okay. Do not overmix! Overmixing develops gluten, leading to a tough cake.
- Incorporate the Coffee: Carefully pour in the hot coffee. The batter will be very thin; this is normal and correct. Mix on low until the coffee is fully incorporated and the batter is smooth.
- Bake to Perfection: Divide the batter evenly between the prepared pans. Tap the pans on the counter a few times to release any large air bubbles. Bake for 30-35 minutes, or until a wooden skewer inserted into the center comes out with a few moist crumbs attached.
- Cooling is Crucial: Allow the cakes to cool in their pans on a wire rack for 15 minutes. Then, run a knife around the edges and carefully invert them onto the rack to cool completely. The cakes must be completely cool before frosting, or the frosting will melt and slide off.
Part 2: Making the Chocolate Frosting
- Cream the Butter: In a large bowl, beat the softened butter with a mixer on medium-high speed until it is very pale, smooth, and creamy about 3-4 minutes.
- Incorporate Cocoa and Sugar: Add the sifted cocoa powder and beat on low until combined. Gradually add the sifted powdered sugar, one cup at a time, alternating with a splash of heavy cream, beating on low speed after each addition.
- Whip it Good: Once all ingredients are added, increase the mixer speed to medium-high and beat for 2-3 minutes until the frosting is light, fluffy, and spreadable. Beat in the vanilla and pinch of salt.
Part 3: Assembling the Masterpiece
- Level the Cakes (Optional but Recommended): If your cake layers have domed tops, use a long serrated knife to carefully slice off the very top to create a flat surface.
- The Base Layer: Place one cake layer on your serving plate or cake stand. Spread a generous, even layer of frosting over the top.
- Stack and Crumb Coat: Gently place the second cake layer on top. Apply a thin layer of frosting over the entire cake—this is the “crumb coat.” It traps any loose crumbs and provides a clean base for the final layer. Refrigerate the cake for 15-20 minutes to set this coat.
- Final Frosting: Apply the remaining frosting to the chilled cake, using an offset spatula to create smooth sides and a beautiful top. Get creative with your swirls and patterns!
Pro-Tips for a Flawless Finish
- Room Temperature is Non-Negotiable: Using room-temperature eggs, buttermilk, and butter ensures they emulsify properly, creating a uniform, well-risen batter and a smooth frosting.
- Weigh Your Ingredients: For ultimate precision and consistency, use a kitchen scale. It is the most accurate way to bake.
- Don’t Overbake: Start checking the cake a few minutes before the timer goes off. An overbaked cake is a dry cake.
- Customize It! Fold in chocolate chips, add a layer of raspberry jam, or use a different frosting like cream cheese or vanilla buttercream.
Conclusion: Your New Go-To Recipe
This chocolate cake is more than a recipe; it’s a reliable formula for creating moments of happiness. It’s rich, moist, deeply chocolatey, and surprisingly straightforward. By understanding the ingredients and trusting the process, you have unlocked the secret to a dessert that feels both timeless and uniquely yours. So, preheat your oven, gather your ingredients, and prepare to bake the chocolate cake that will become a legend in your own kitchen.
